
|
Isuzu Trooper Owners Club UK
Isuzu Trooper, Rodeo, Bighorn, Mu & VehiCROSS Owners Club
|
| View previous topic :: View next topic |
| Author |
Message |
Da Gregsta
**

Joined: 11 Jul 2011
Posts: 76
Location: Kent
|
 Posted: Sun Jan 08, 2012 3:41 Post subject: Da gregsters pics (very pic heavy) Posted: Sun Jan 08, 2012 3:41 Post subject: Da gregsters pics (very pic heavy) |
 |
|
Wotcha...
Though I should post some pics of the first frontera that I "played with"...a make over is on the to-do list in the next few months...but anyway, heres the build...
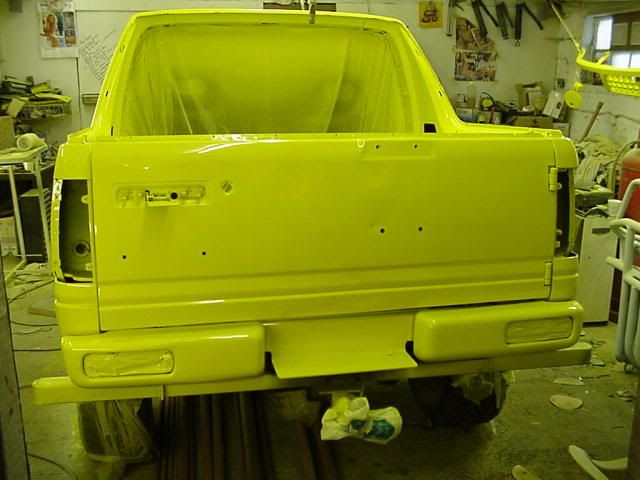
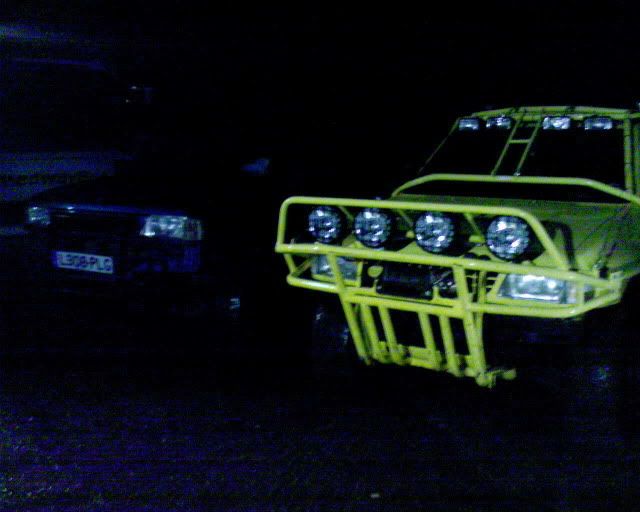
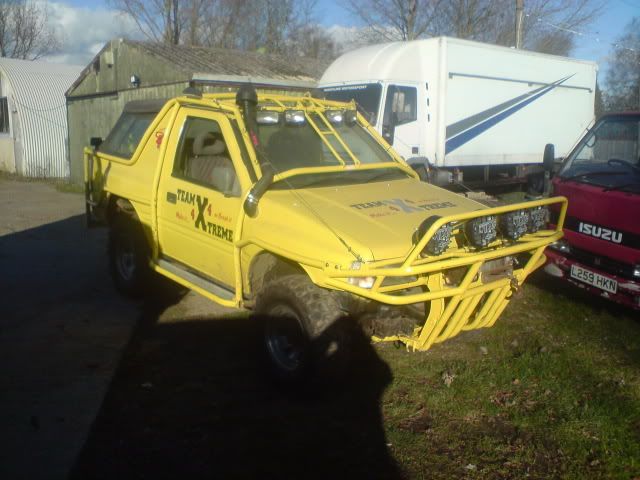
My yellow fronterror started off life as a stock Fronty A sport leaf sprung 2.0i...
Did a torsion bar lift and SOA conversion to the rear to start...and fitted a set of landcruiser steels with 31-10.50-15 Bronco Dirt Devils I had lurking around..
The fronty the went into my workshop for some "minor repairs" and then everything got a bit out of hand 
Spec of the Fronterror...
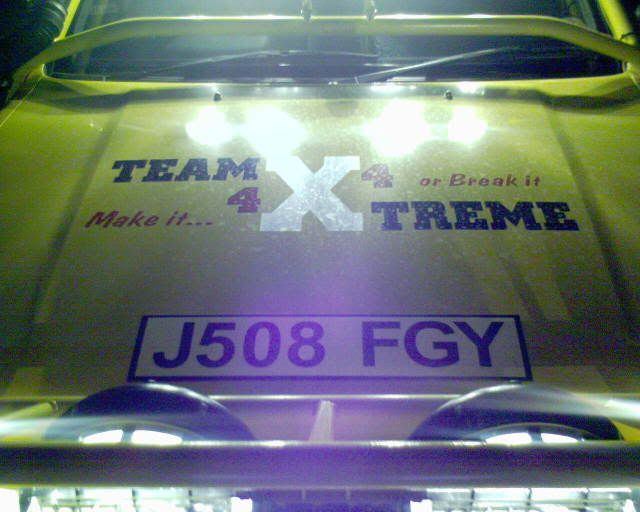
J reg 2.0i sport...
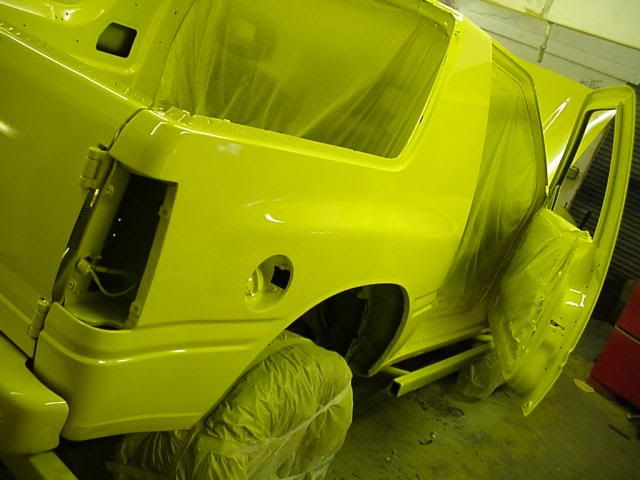
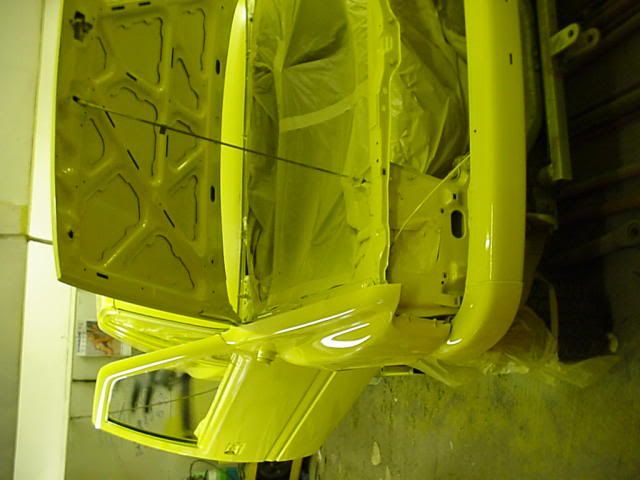
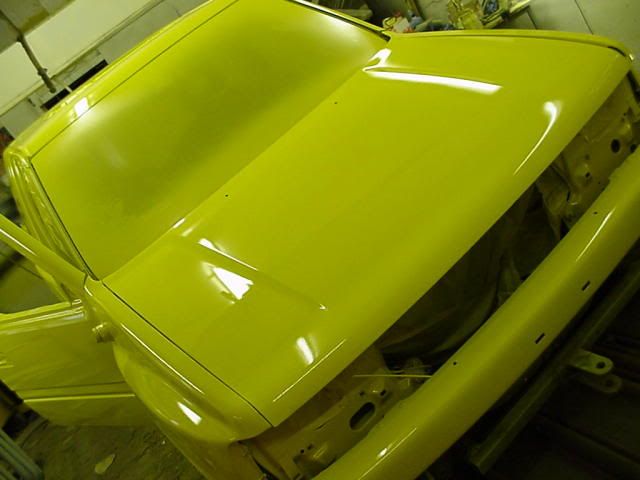
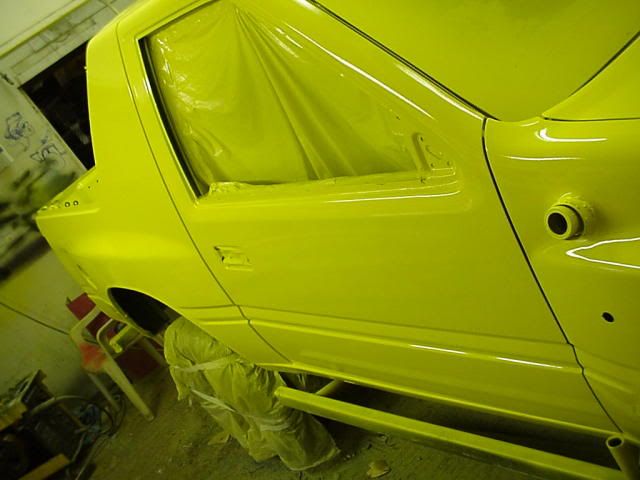
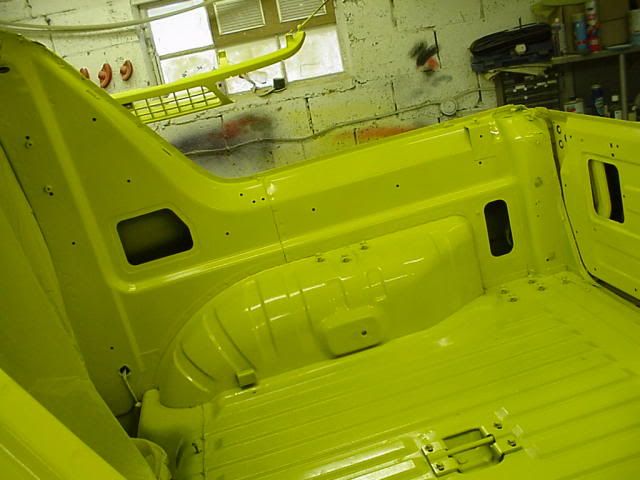
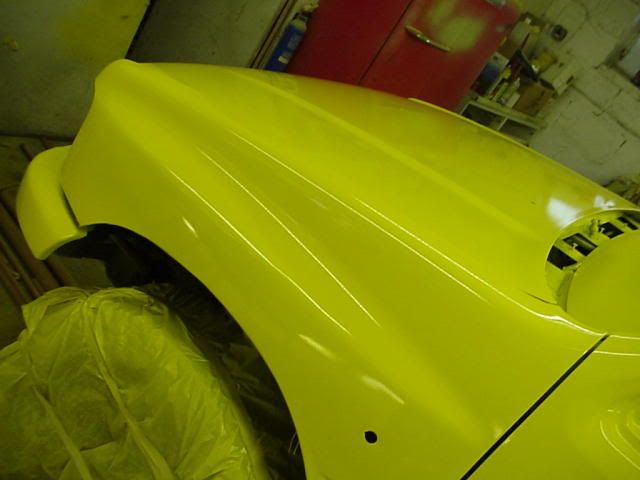
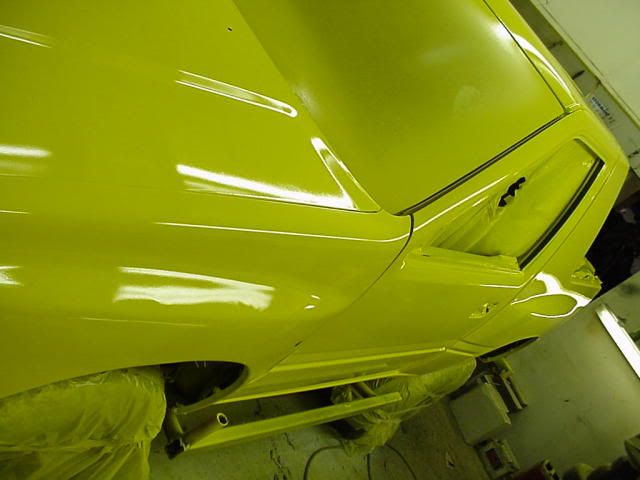
Full respray in daytona yellow...
Gregster splat attack paintwork on engine bay and wheels and subs...
Full external cage, with tree and rocksliders...
Swing away rear cage, incorporating twin jerrycan rack, highlift mount and highlift softground plate..
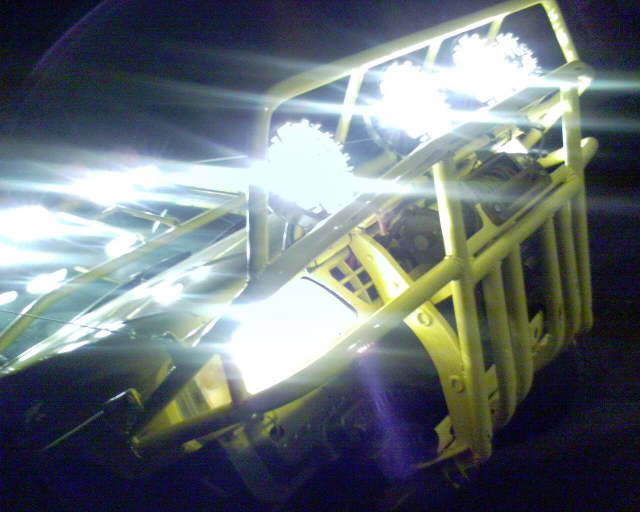
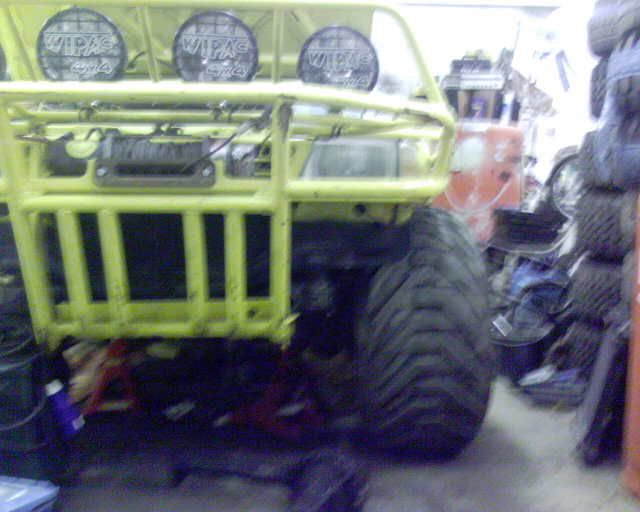
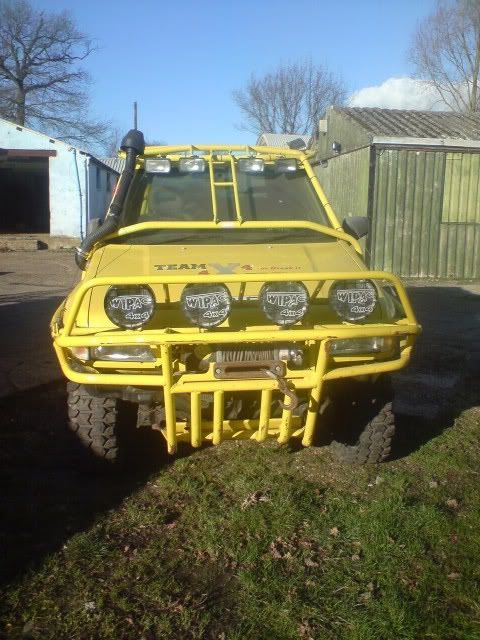
Rockcrawler style monster bullbar, bolted into cage, and housing a warn m8000 winch and 4 8" wipac4x4 driving lamps with 150watt bulbs
Further 8 rectangular spots on cage, 4 forwards, 1 each side and 2 rear facing...
Landrover snorkel..
Front bumper removed for better aproach and tyre clearance...
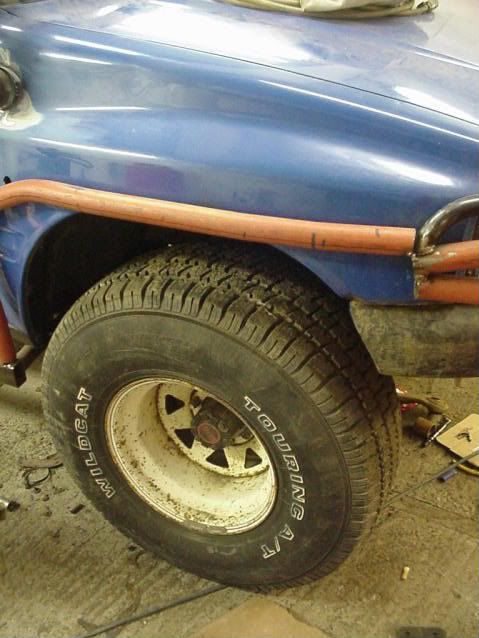
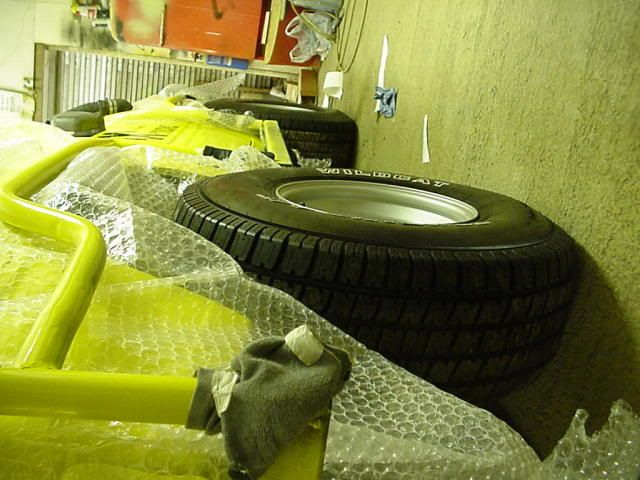
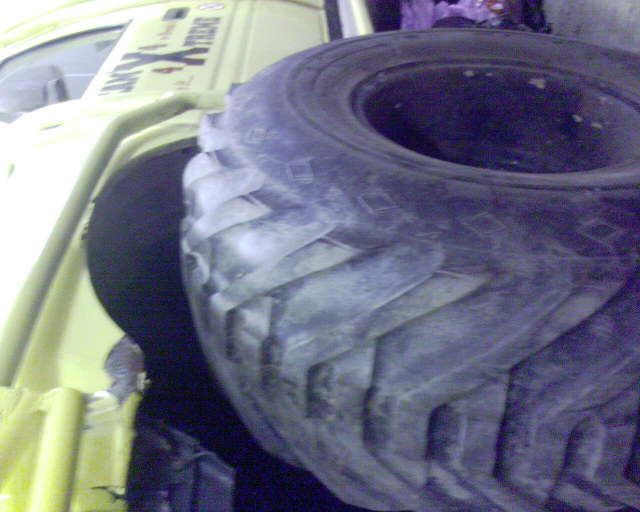
33-12.50-15 Wildcat touring A/T tyres on 10j x15 8 spoke wheels...painted to match car...
Spring over axle conversion at rear, with extended prop shaft...
Torsion bar lift at front which shortened droop stops...
Heavy duty battery..
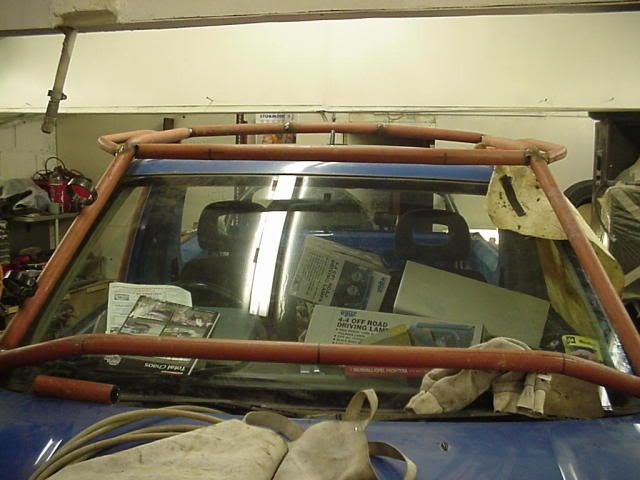
Brush wires, and screen bars at front of cage...
Side step to enable roof access on side of cage...
Twin side exit 3" diameter exhaust system...
Rear set removed cos I gotta big dog!
Hardtop removed and fronty soft top now fitted...
Moonraker CB and magmount aerial
Alpine CD head, 2x 12" kicker solabaric subs, pheonix gold components in rear, alpines in front, 2x alpine v12's running subs, denon 6 channel running components via active cross over...2 x 1 farad stiffening caps..
and a very friendly MOT tester...
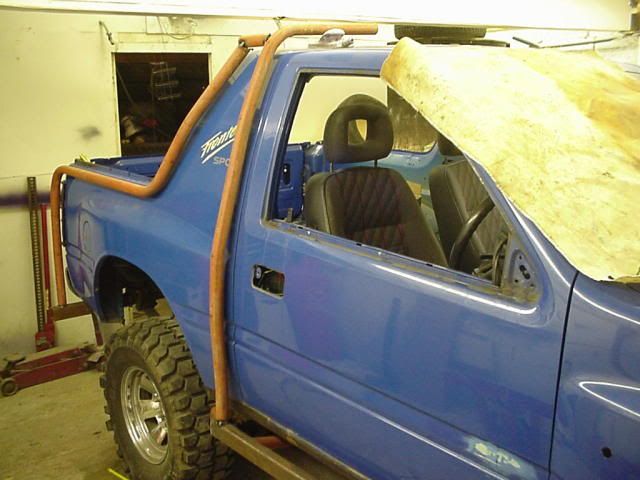
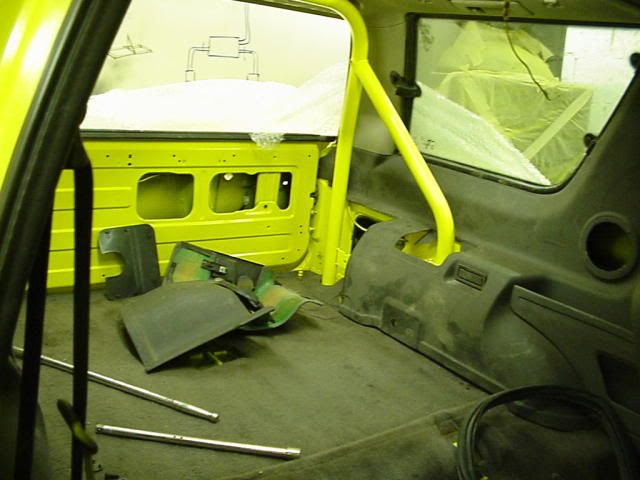
First car was partially stripped and then cage building began...
Used gas barrel for this cage, slightly smaller diameter than scaffold tube...
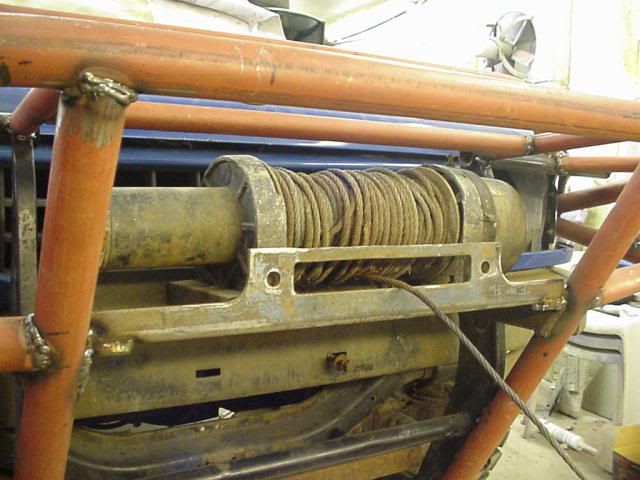
Wanted a winch on the front but not low down so bullbar sort of started the whole concept...
Winch to be fitted was warn m8000, the knackered ramsey was just used to get an idea of size..
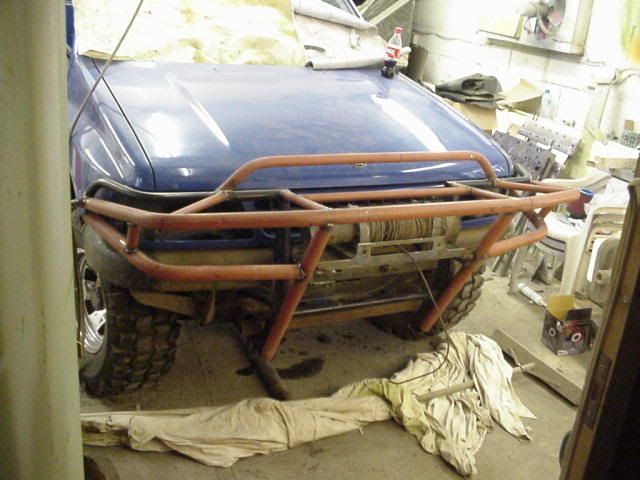
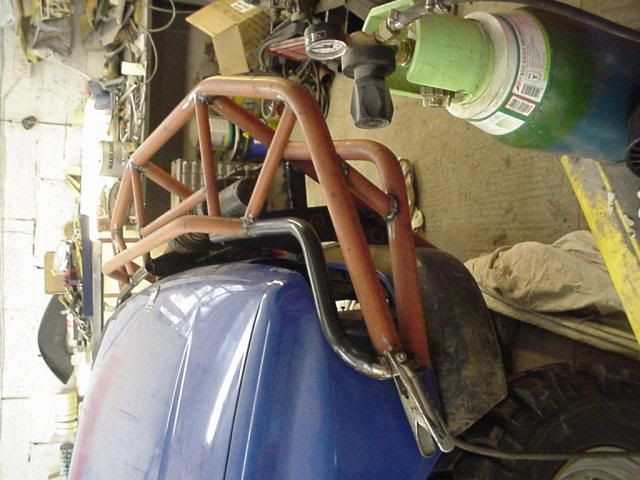
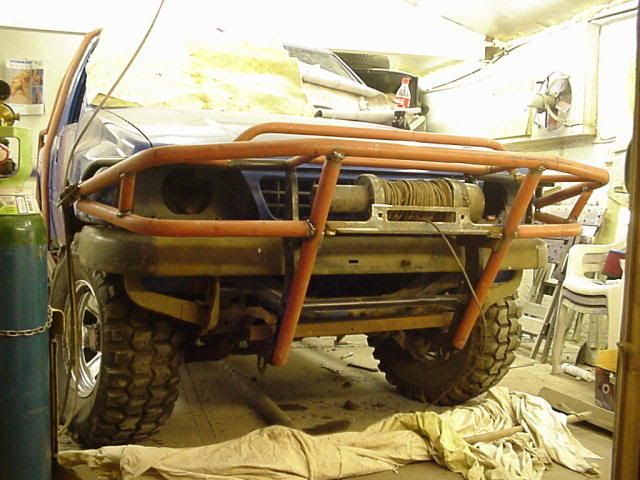
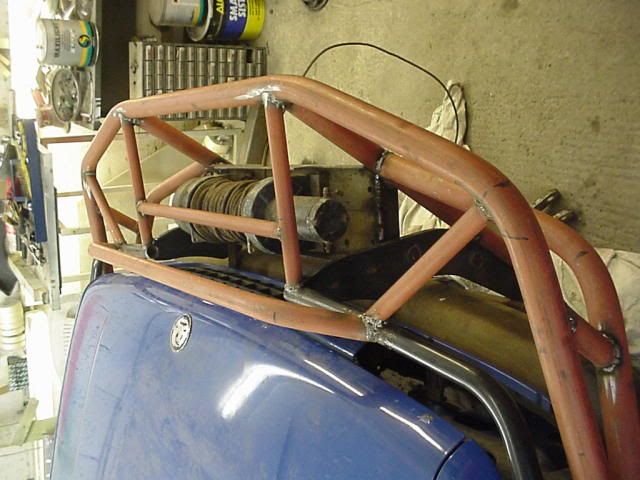
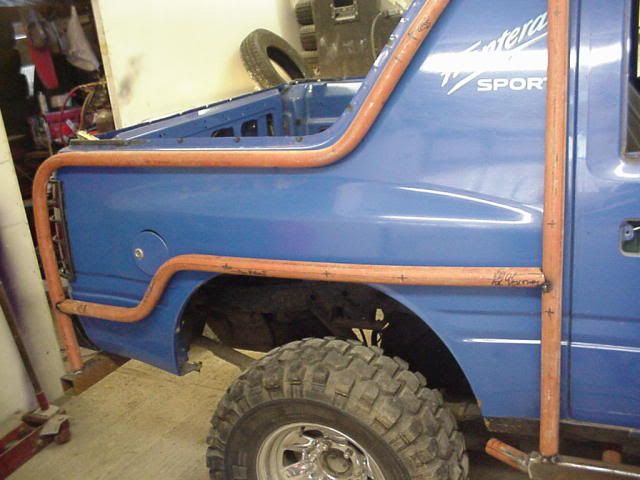
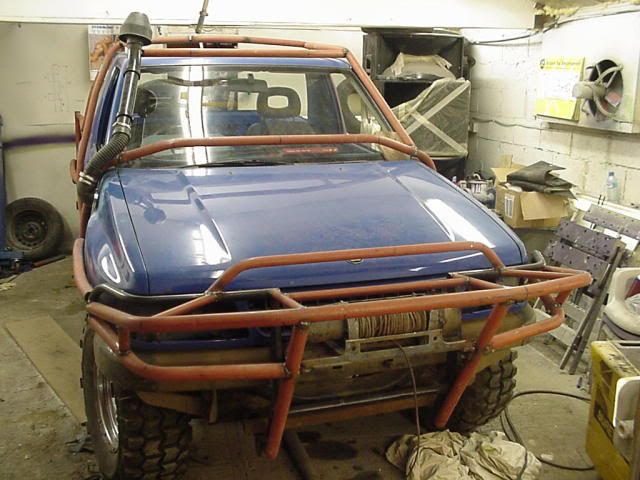
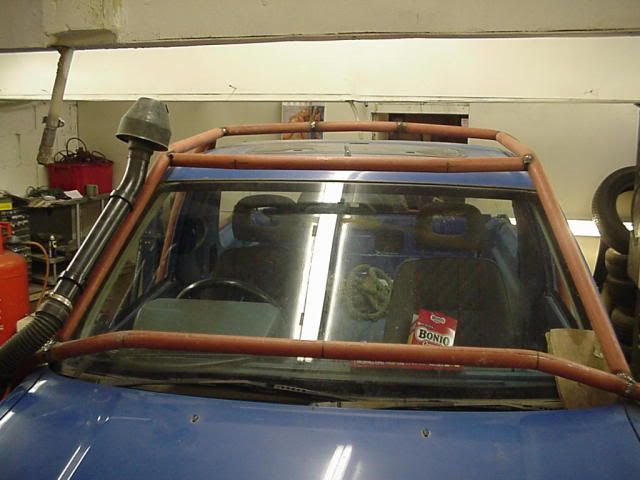
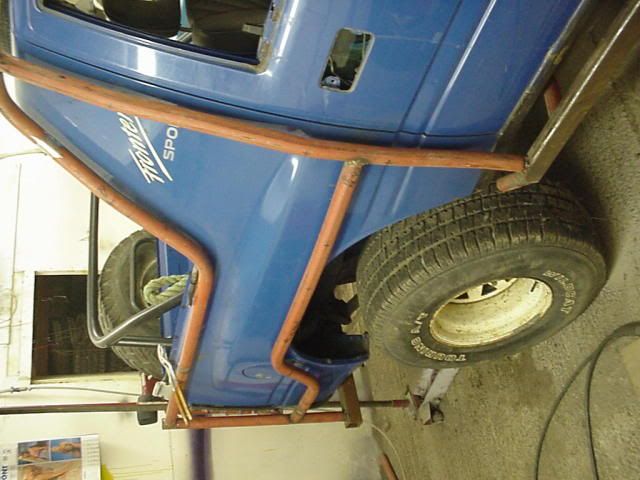
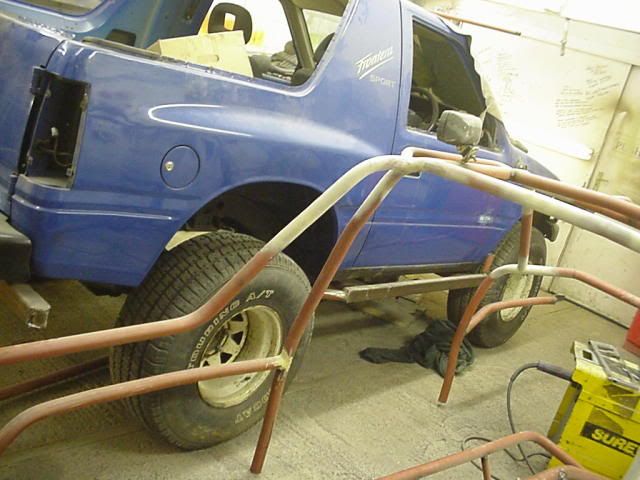
Then the rest of the cage started to develop...took a lot of bending as I wanted to the tubes to follow the curvy lines of the sport, and not look all square on a rounded car....wanted all round protection also...changed the wheels and tyres to a set of 10j 8 spokes with 33-12.50-15 Wildcat touring all terrains to check they would fit after!
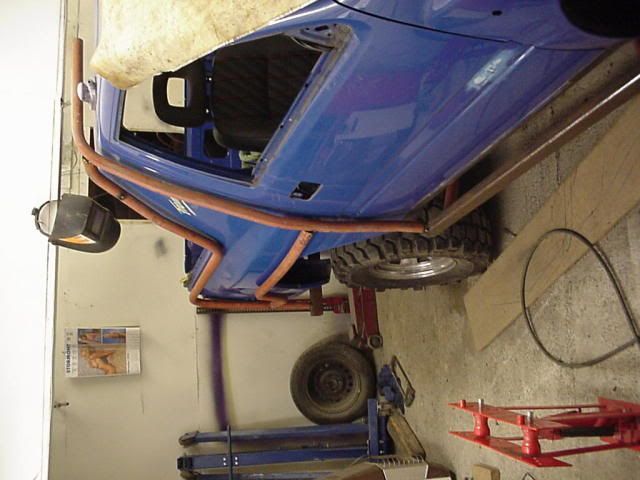
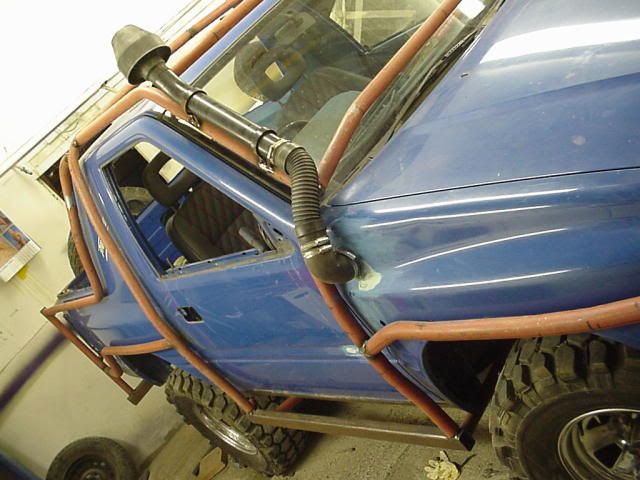
With the cage taking shape, a snorkel was added....snorkel is a landrover one, as cheap to get top cans for when they get battered...Simply welded a tube into a whole cut in the wing, ran a flexy hose from the hole to the airbox (industrial hoover pipe!) and sealed both ends in...then used a rubber 90 degree angle tube off a bmw intake manifold and joined this too the snorkel tube...snorkel brackets were welded to the cage...simples, and no cutting of anything that might me structural/crash zone..

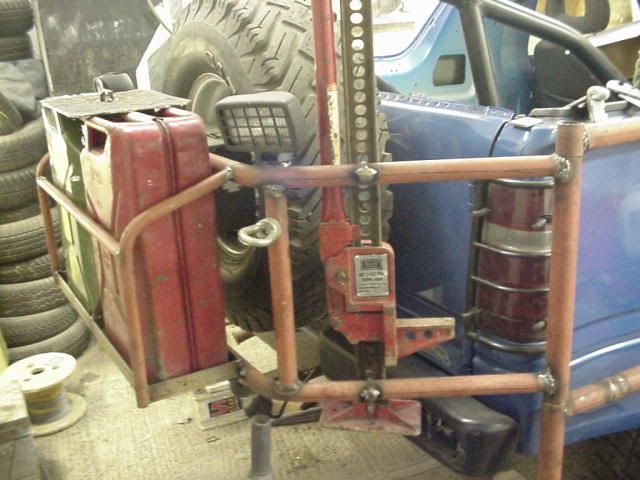
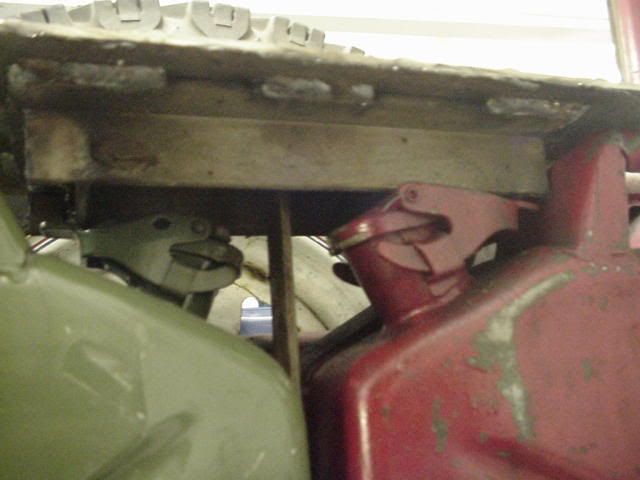
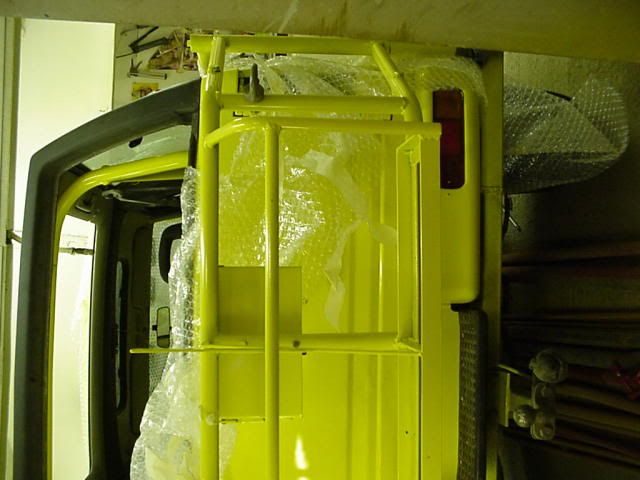
Wanted to protect the rear also...but also needed to still use the rear door, so I devised a swing away rear cage, which incorporated twin jerrycan storage...one for petrol and a brand new jerrycan for water for the dog!Rear cage also stows the hi-lift and carries the rear spots...This is secured closed on the N/s with 2 antiluce catches...which can be padlocked to stop the spare tyre getting stolen..
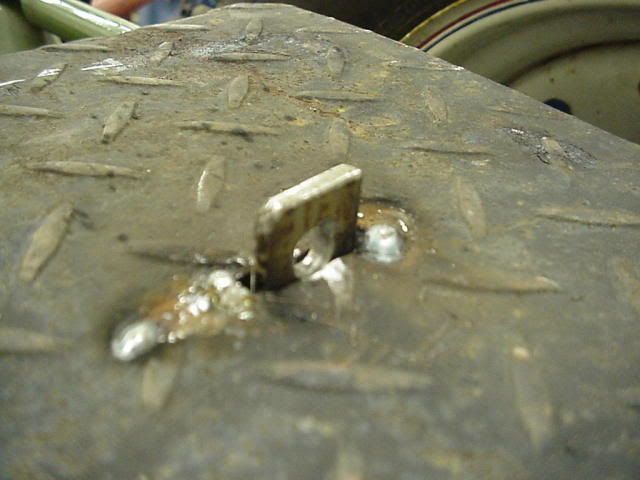
I was concerned about the risk of idiots setting light to the jerrycan of petrol, or nicking it, so I made a plate that padlocks over the top of the jerrycans to stop them being removed or opened...this plate is made of steel chequer plate, and on its lower side has a rectangle of angle steel welded on to it so that the plate doubles as a larger foot of the highlift, the angle keeping the foot of the jack in location in the middle of the plate, the chequered surface providing more grip onto the ground. CB magmount eventually ends up on this plate...
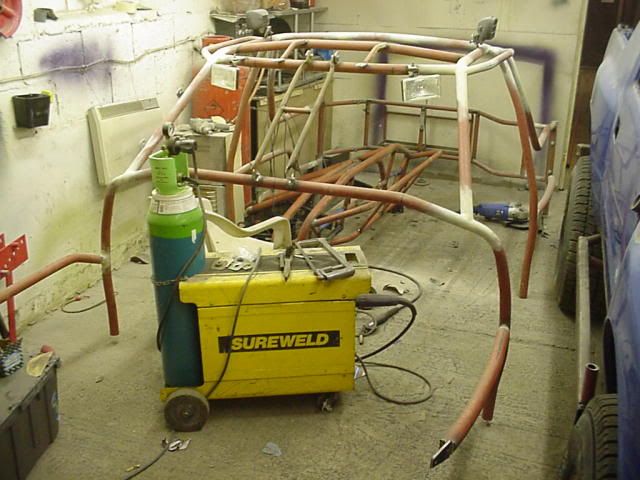
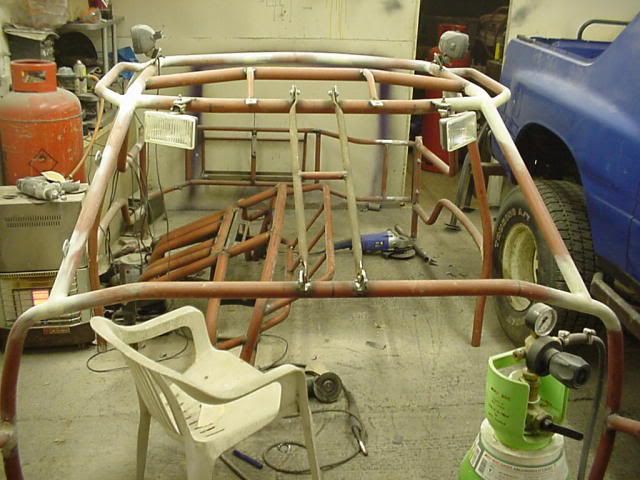
the finished cage...ready for painting...removed to fully weld, then filled the welds to make it look really pretty (and cos the wire feed motor had been playing up in the mig,so some of the welds looked none too pretty!)

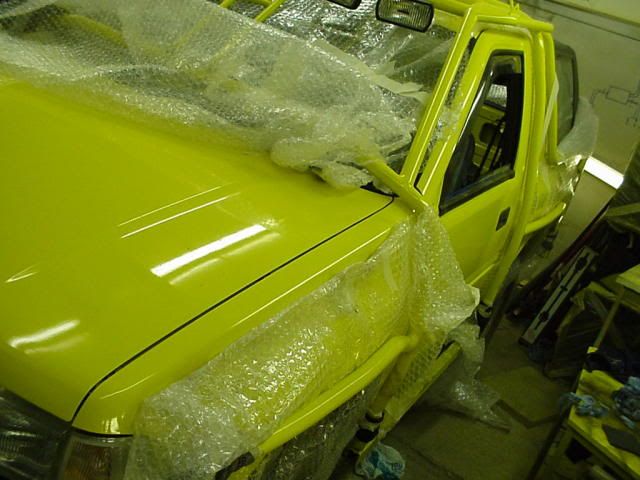
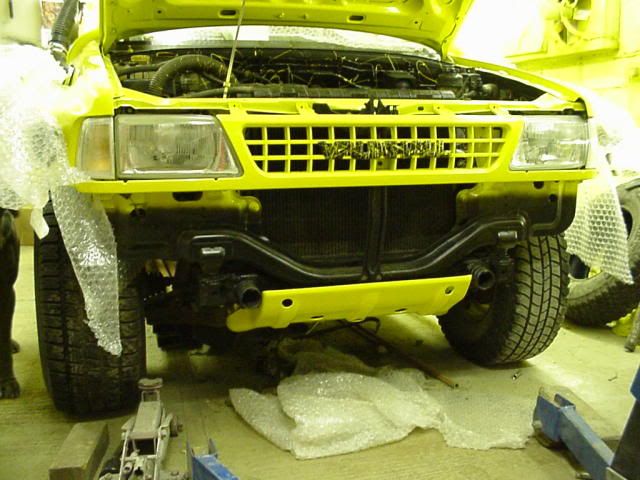
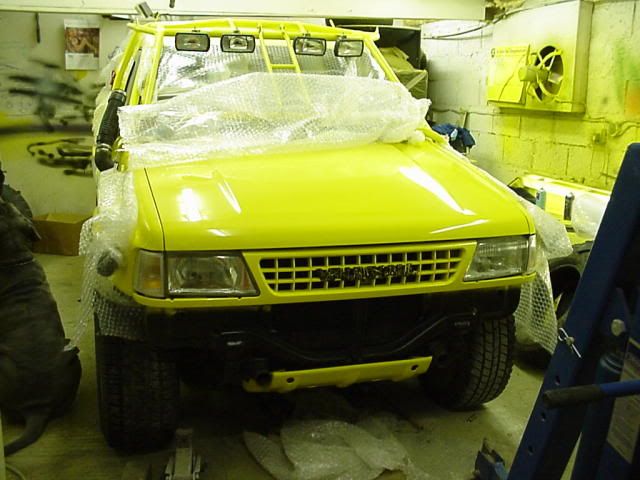
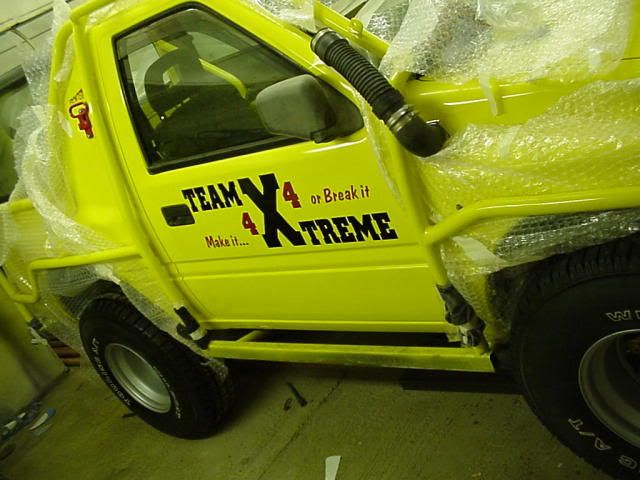
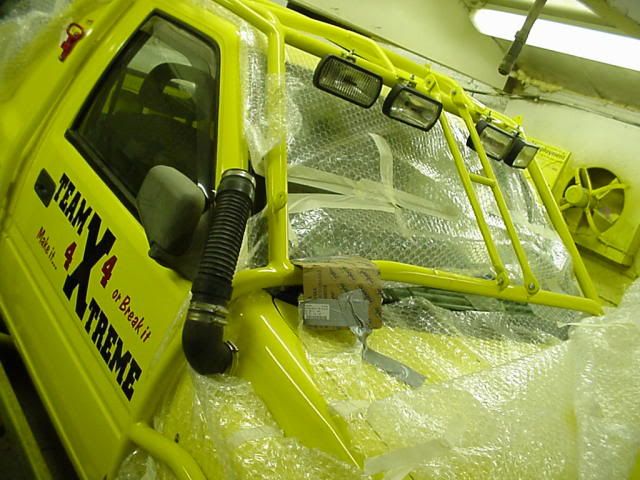
Then came paint....daytona yellow...Cage was painted off the car and welded on after...
Then reassembly...bubble wrap was to protect the paintwork as cage was lifted back on...
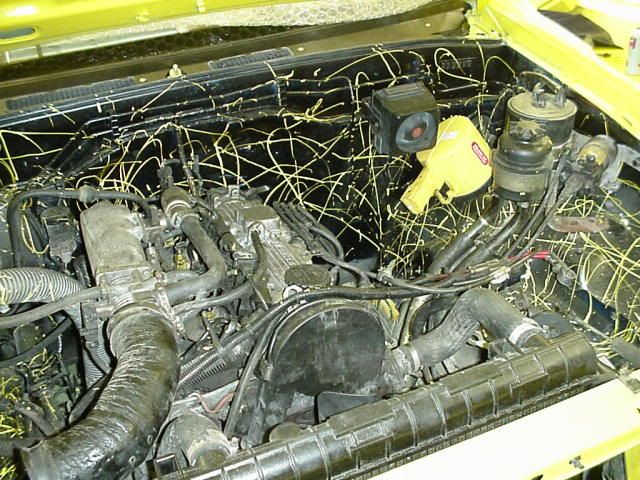
Spots were mounted on the top of the cage...inner ones are driving lamps for better long range lighting, outers are fogs which give a wider beam that lights up down the sides better...Did a Greg special engine bay paintjob (the splatted engine bay is a gregster trade mark on many motors!!)


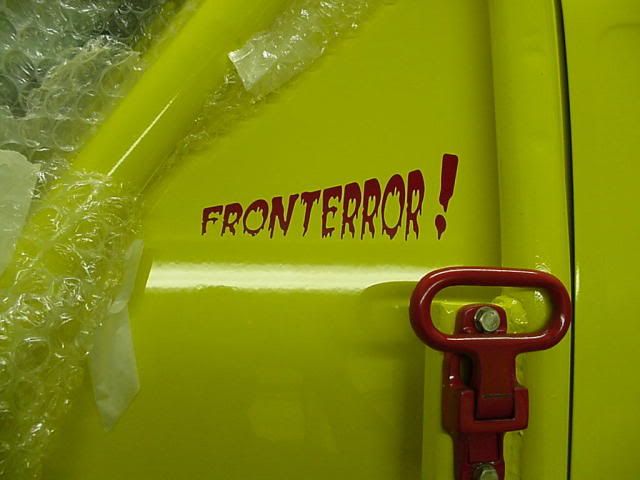
then graphix..
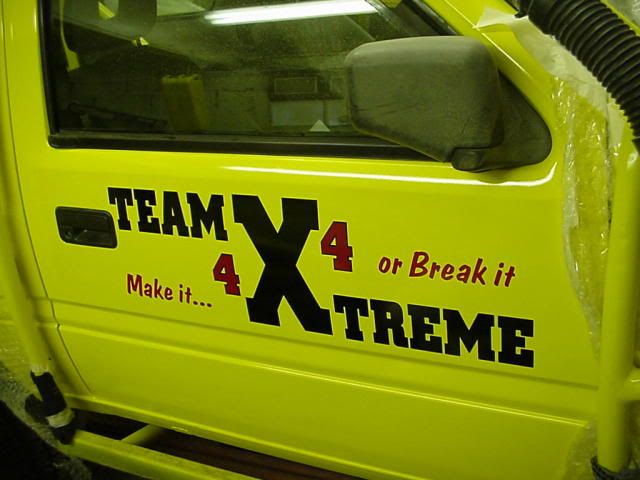
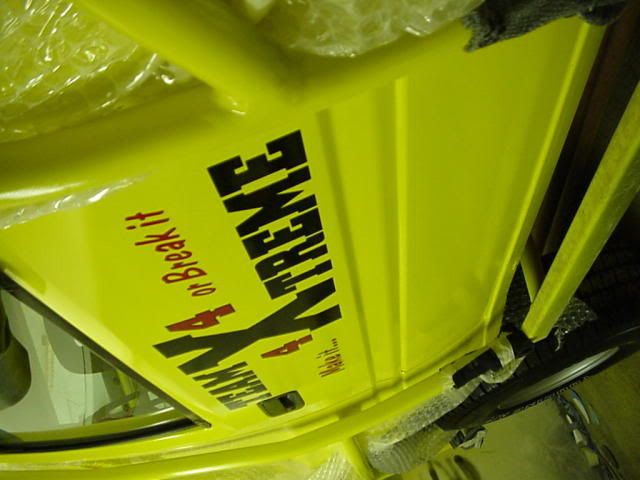
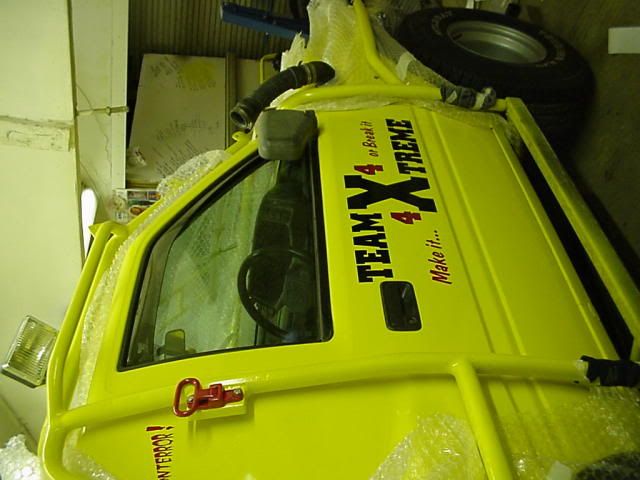
The mark of the beast....created by my matey graphics company...I told him I wanted FRONTERROR but in scary writing...the boy did well!
(the red thing if you are wondering, is a drop down step, that makes climbing onto the roof real easy...a spare part that had been kicking around off my mates old classic army lorry)
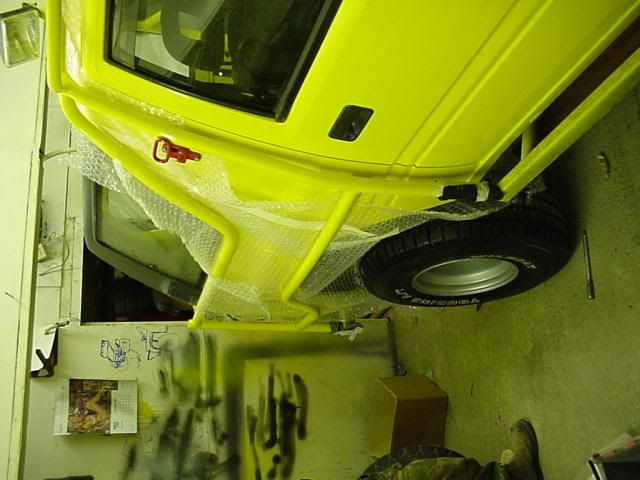
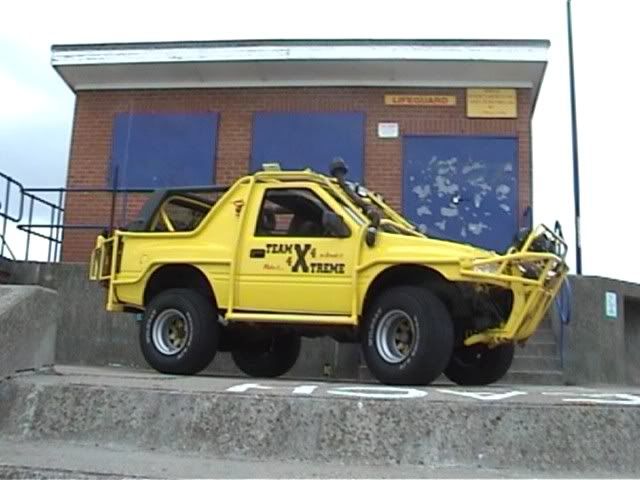
The finished article :dance: :dance:
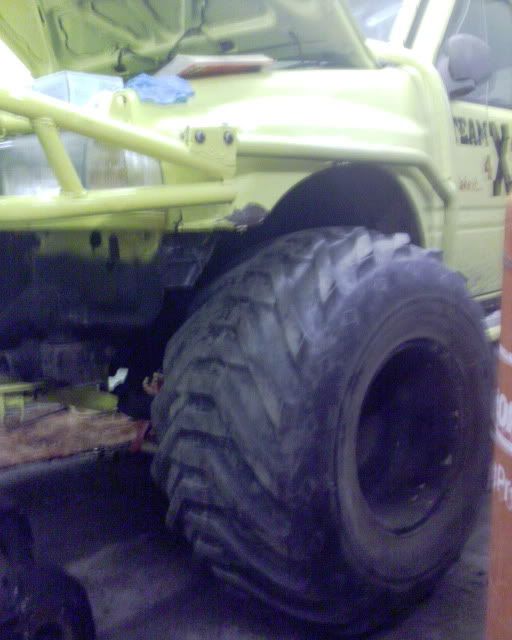
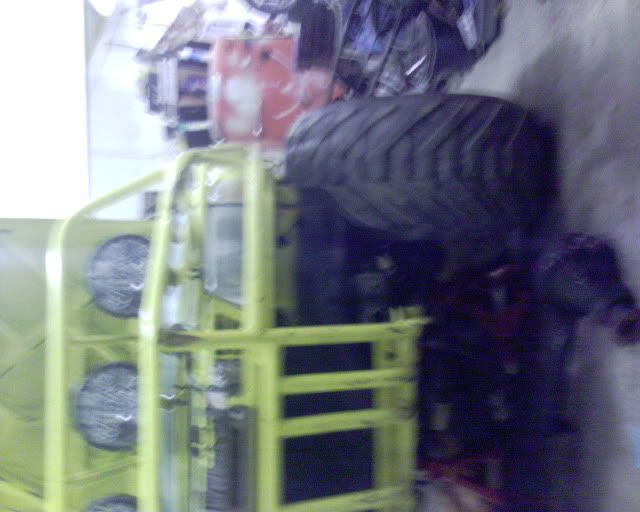
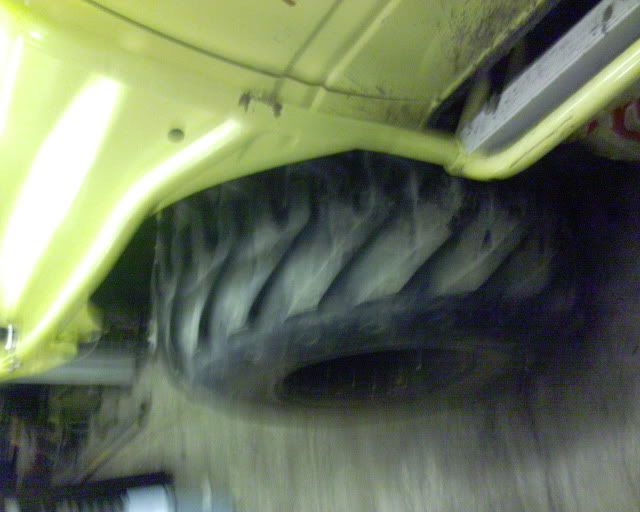
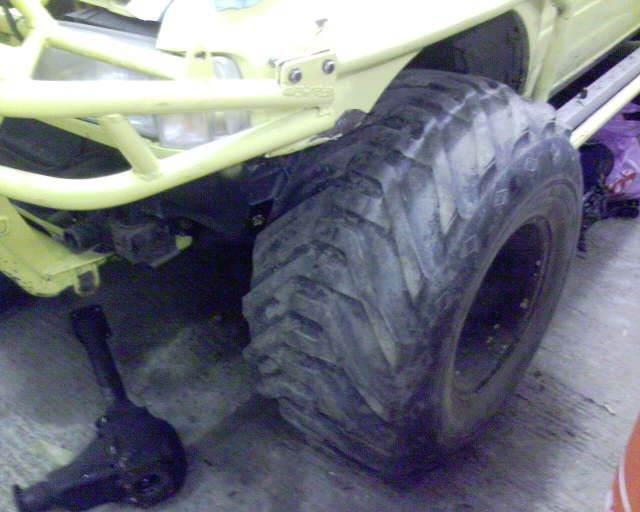
Experimenting with a set of my bigger tyres...38x20x16"  and adapters... and adapters...
Steering was an issue...so needs SAS front to do!!
Recent pickies with soft top, and small 31-10.50 15's on her as I moved her back home....to clear other projects up the workshop before it can get up there for Chevy V8 diesel..live axle conversion and 38.5" boggers...watch this space...
Thanks for lookin.... |
|
| Back to top |
|
 |
Google
Sponsor

|
| Posted: Sun Jan 08, 2012 3:41 Post subject: Google Ads keep this community free to join! |
|
|
|
|
| Back to top |
|
|
Da Gregsta
**
Joined: 11 Jul 2011
Posts: 76
Location: Kent
|
| Posted: Sun Jan 08, 2012 3:51 Post subject: Da Gregsters "Li'll white locked up leafer"...2.0i |
|
|
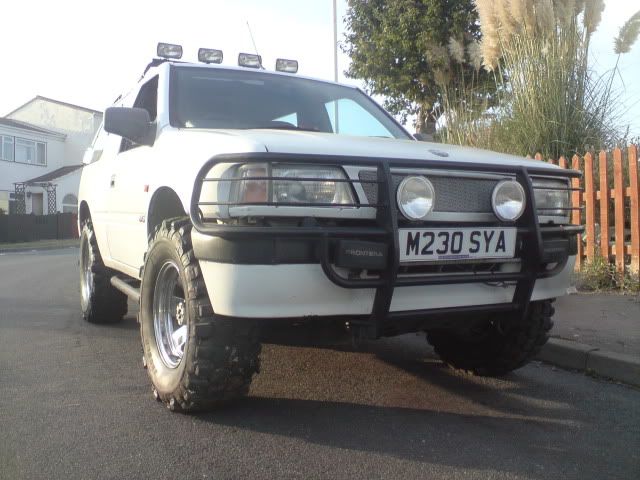
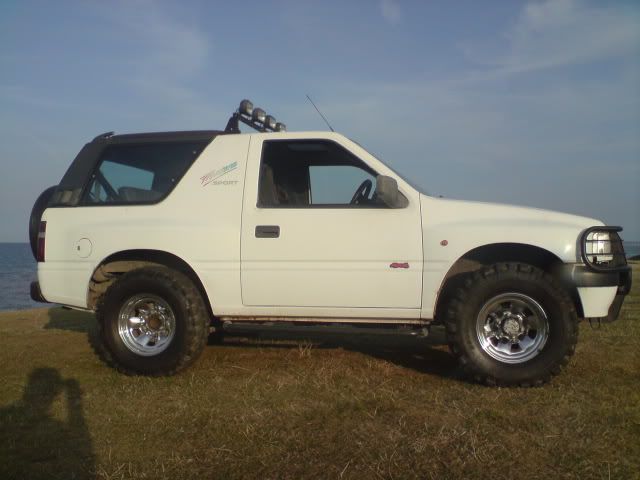
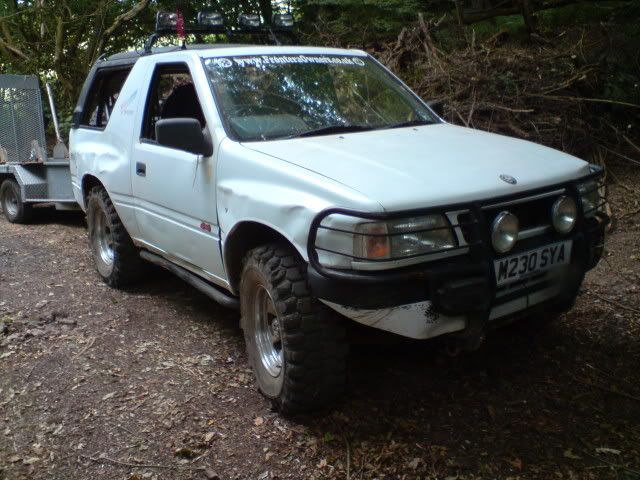
Gregsters 2.0i Sport A series leafer...
Sept 2009
Picked this car up of Dean MSI64 on fog a few months back (thanks mate...TOP FELLA! ) :dance: :dance:
Has since undergone a bit of surgery...
Replaced steering box as shot...
Sorted out electric fan...
Trimmed back the cam belt cover as broken and rubbing on the belt...not good...will replace soon!
Changed a couple of bulbs and got a puncture repaired...
And it passed its MOT!!
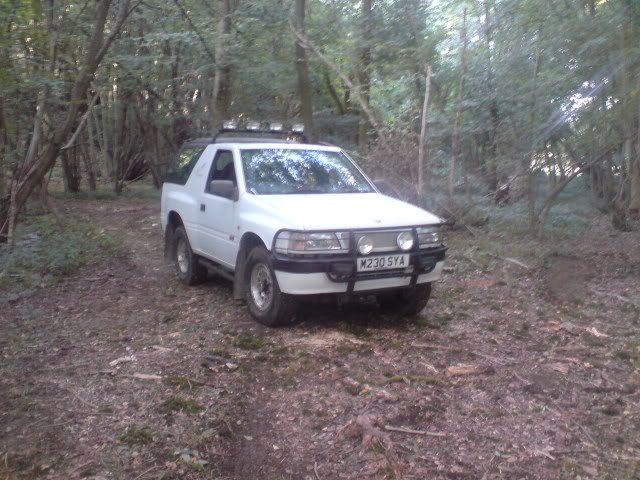
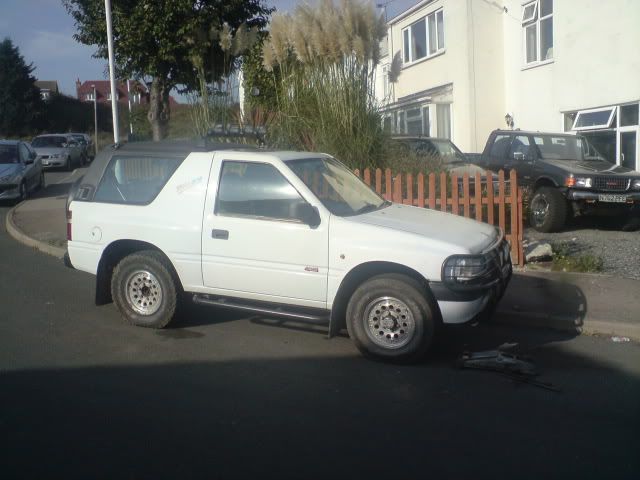
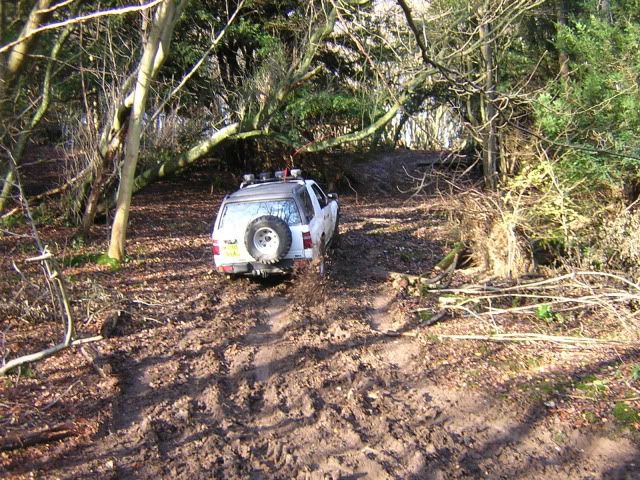
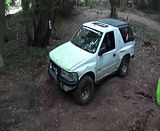
Looking as it did when I first got it...only not so GREEN after washing it a couple of times!!
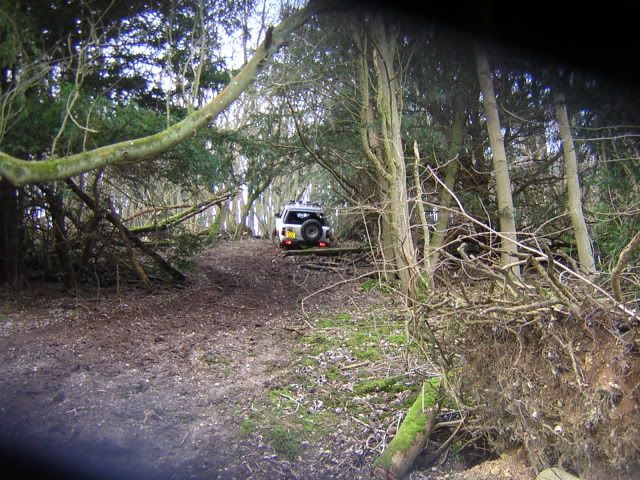
Pickies taken up the woods on its first outing after getting it on the road...
Then it rained up the woods...and it wouldnt go up the hills with the a/t tyres so decided to fit something a bit more purposeful that I had knocking around...
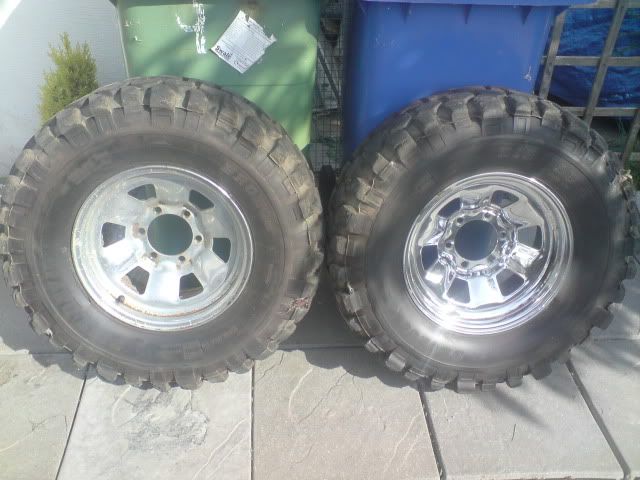
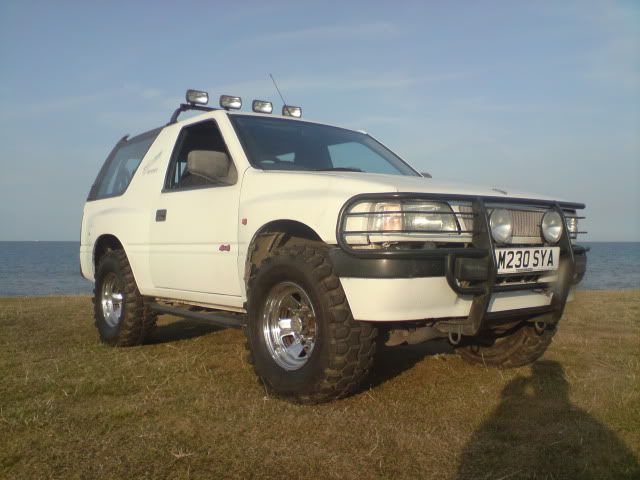
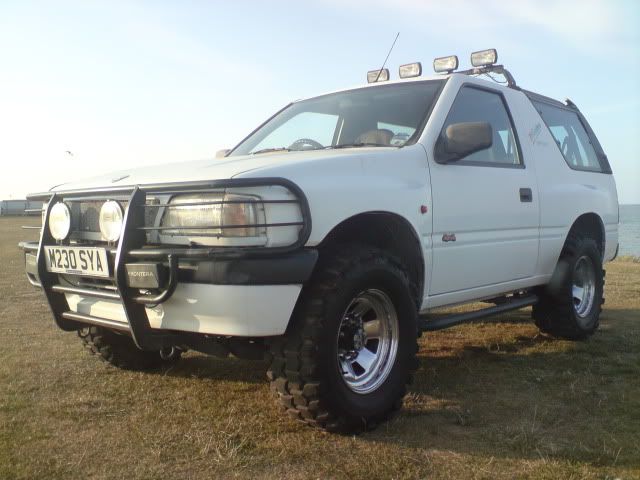
a set of Toyota Landcruiser Chrome steels with 31-10.50-15 Bronco dirt devil tyres... :dance:
Hadnt polished them in probably 2 years  ...but they came back OK (few little rusty bits though...but thats what the sea air does here :axe: ) ...but they came back OK (few little rusty bits though...but thats what the sea air does here :axe: )
The one on the left is how they looked....the one on the right after it had 2 cigarettes worth of elbow grease!!
The current alloys on the car I might but on Sals purple glitterball, after a refurb...as they sit in a bit more so will be ok on her coiler and not stick out as much as the leafer star alloys on it at the mo....
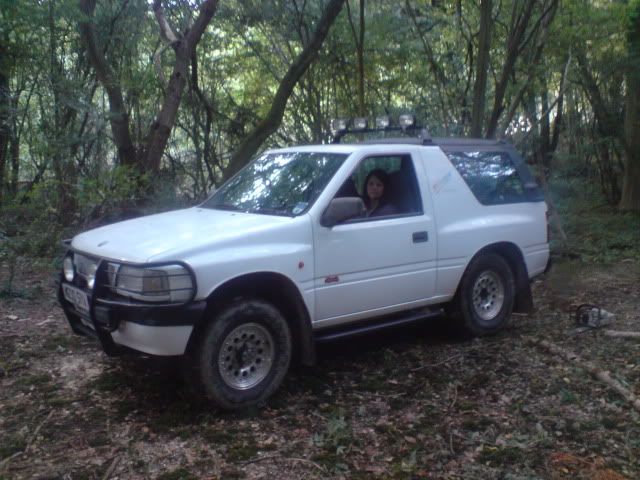
But these wheels look way to small on the little white leafer, and you nearly need a torch in the wheel arches to find them...
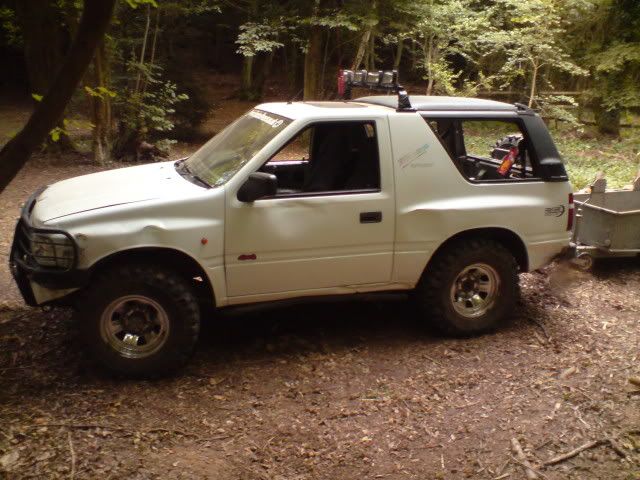
So off they came...shortly followed by the mudflaps which would get ripped off anyway!!
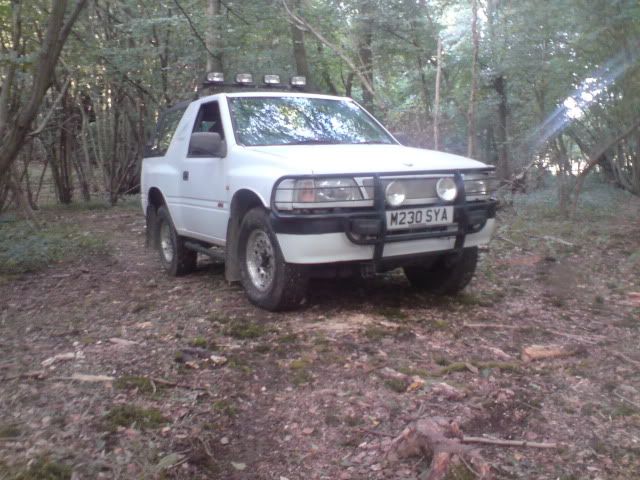
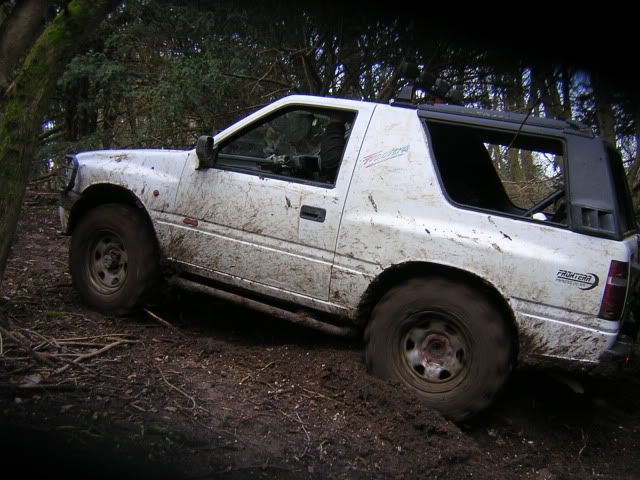
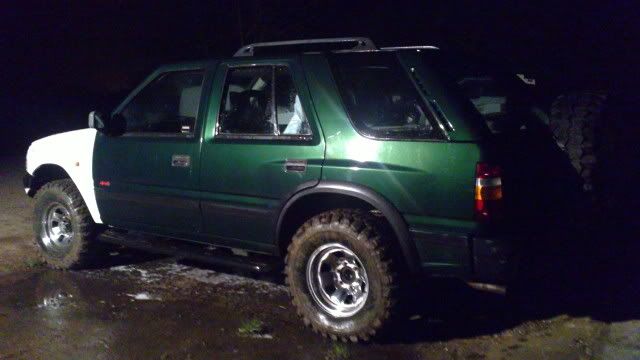
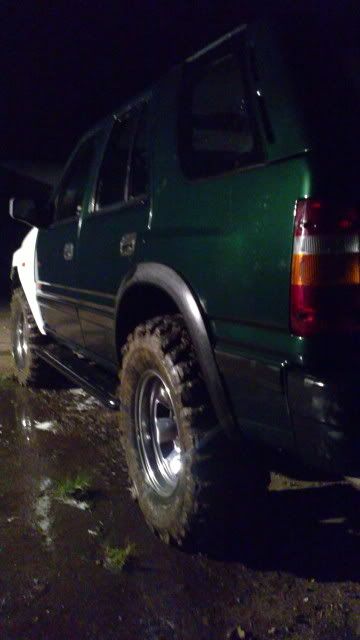
And on went the now shiny landcruiser rims with the dirt devils...a little bit of a tweak to the torsion bars to stop the tyres catching on lock...and jobs a goodun...
Now that looks much FATTER!!
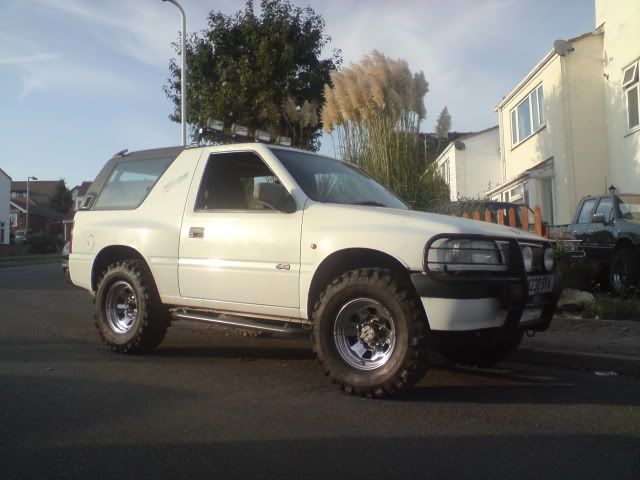
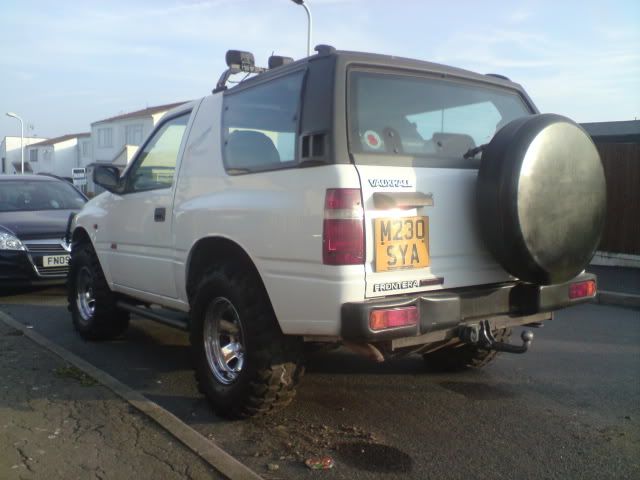
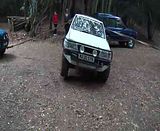
Looks better now and now makes the tyre noise that it should...
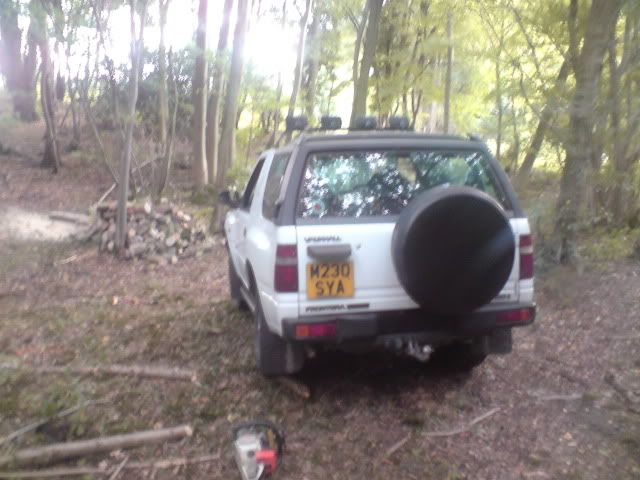
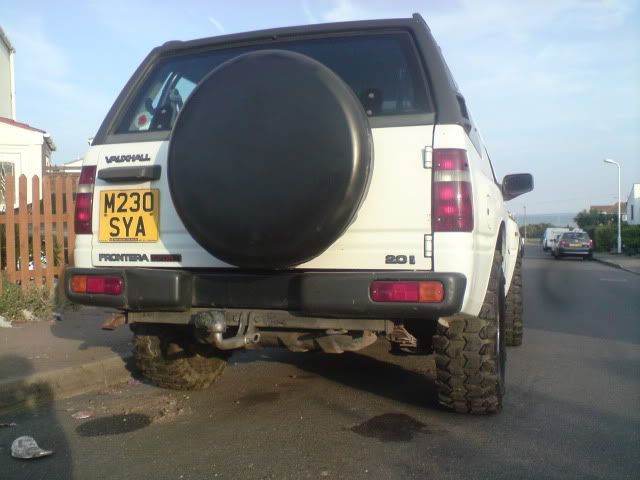
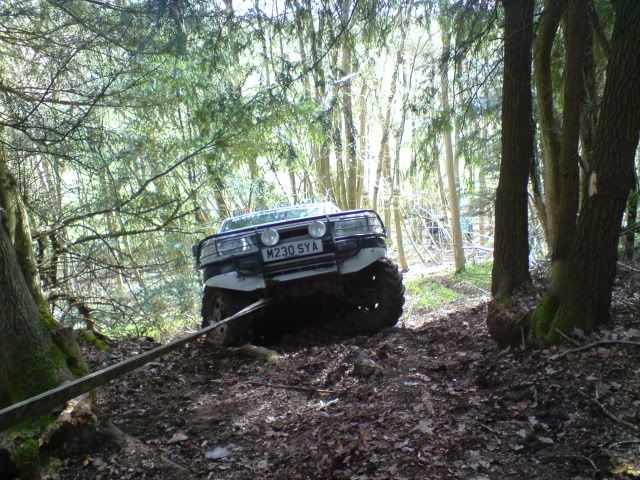
Took it out for a rumble...and heres a couple more pickies down the road by the Big wet wobbly fing (sea)
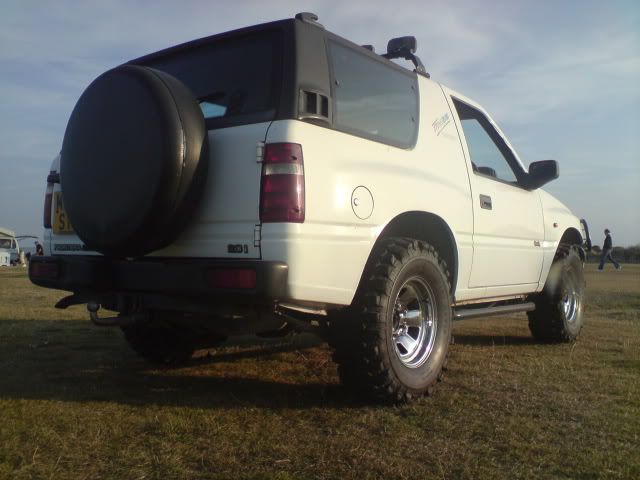
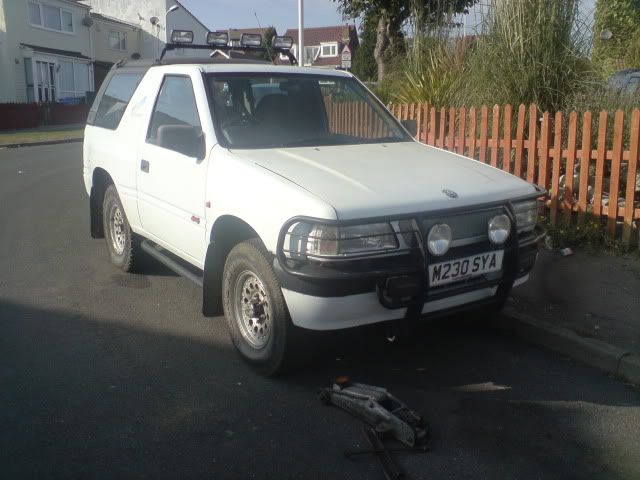
Next jobs....
Remove light bar and make full length roof rack to locate on roof rail mounting points and 2 new mounts up front...
Fit lights to front and rear of roof rack, and brush wires to the front...
Relocate spare wheel to roof...fit spare dirt devil onto fronty rim first...
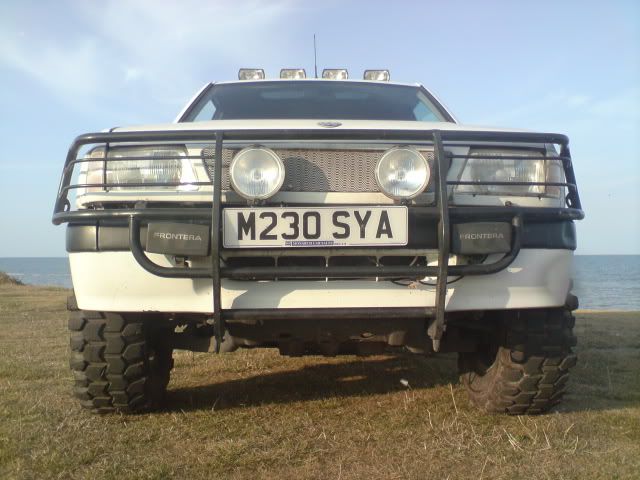
Modify bullbar (not sure how its gonna be yet...but a bit different  ) )
Make hilift mount for tailgate...
Fit +2" hangers at rear and level on torsion bars...
Fit a stereo as sally hates my singing...
Fit fiddle brakes to rear wheels...
Make a smooth belly plate and rock/tree sliders...
Lwb taillights and remove in bumper ones..
Remove towbar and rear bumpers and fit some tougher..and rear skid plate...
...
August 2010
Wotcha Foggers....
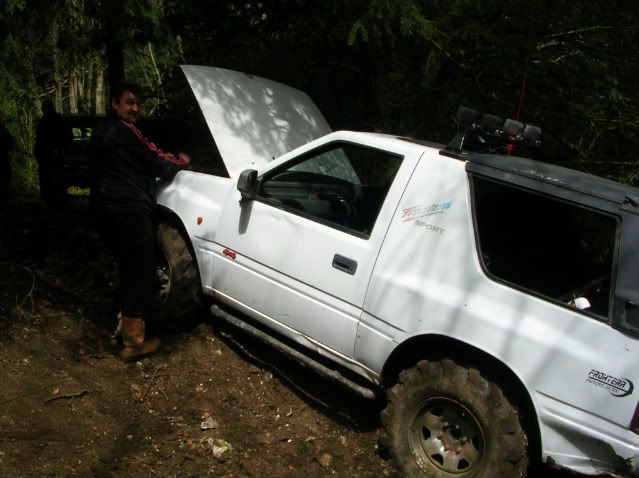
WELL I HAVE FINALLY BUST IT!!!
Front diff is dead
This little car has done amazingly over the last 11 months, has rescued more stuck fronties than the AA I reckon, sometimes getting bent itself into the bargain to save your shiny(ish) paintwork...and its had its more than fair share of brain in the glovebox moments for everyones amusement...
:well done: :well done:
Genuinely this car has done more miles off road doing crazy stuff, than it has on tarmac since I have owned it...
I hope it has bought as many smiles to everyone elses faces as it has mine...
But the final straw for its drivetrain was a non stop 7 hour offroadin session round the woods, taking the landowners wedding guests on 4x4 "experiences" round our offroad playground...
Never have so many been so scared by so few eh Pete (my follow my leader partner round the woods doing this!)...
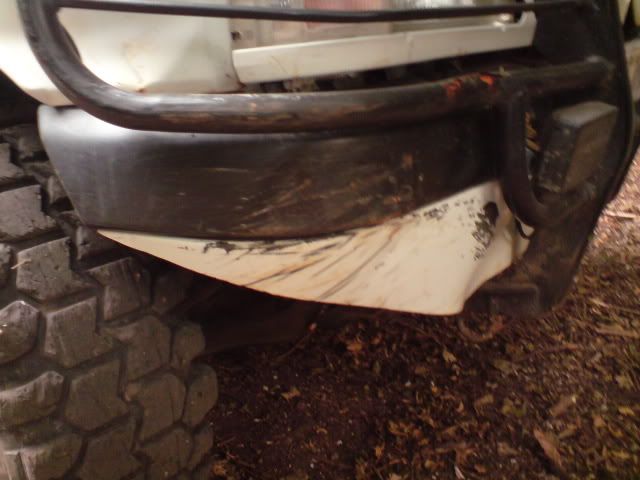
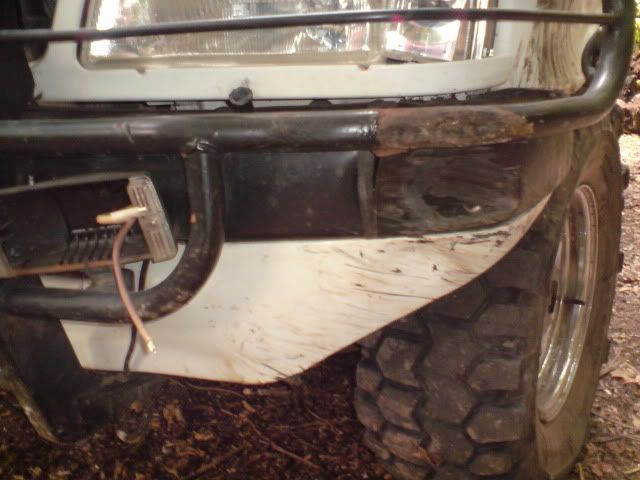
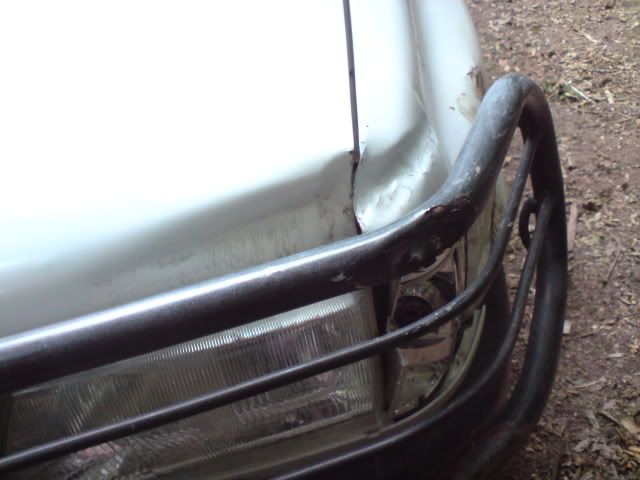
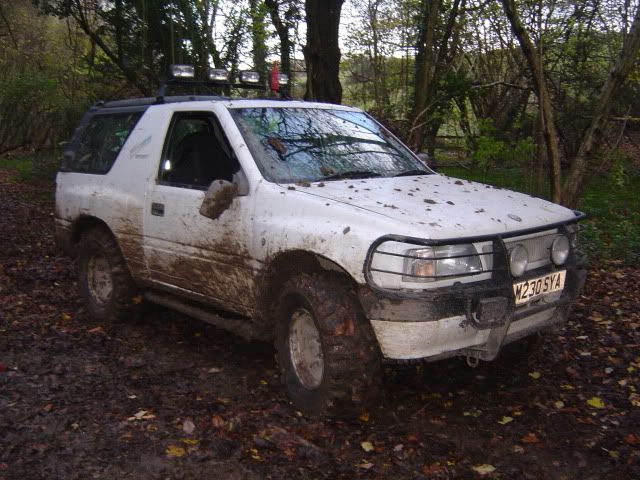
Before it met the woods....and had a brain placed in its glove box on many occasions, and carried out many a daring sacrificial rescue...
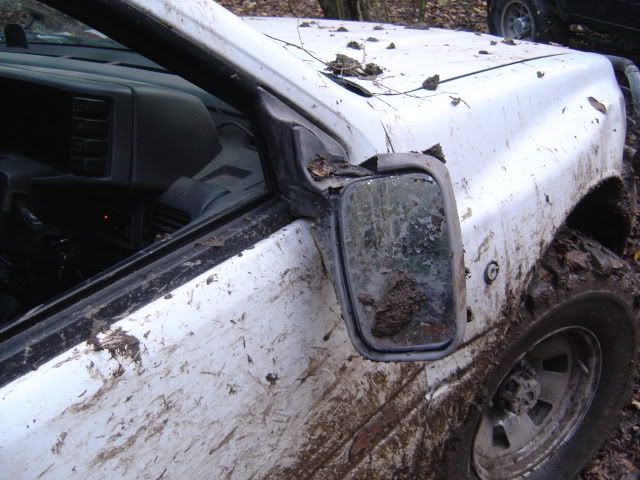
And these taken today....
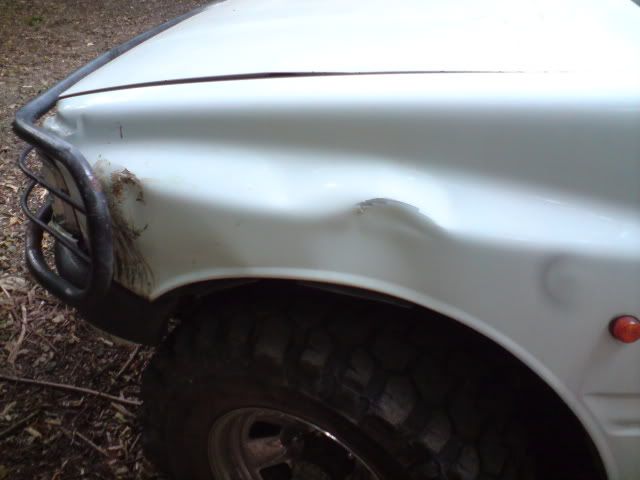


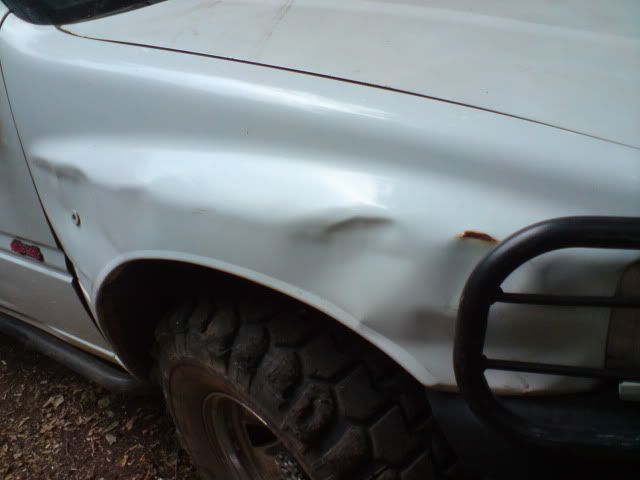
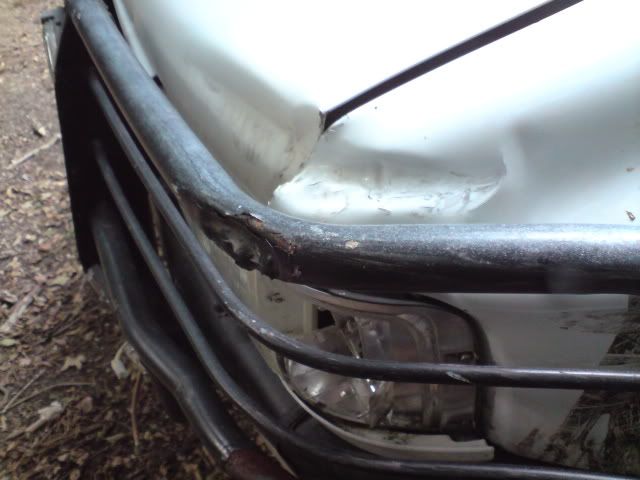
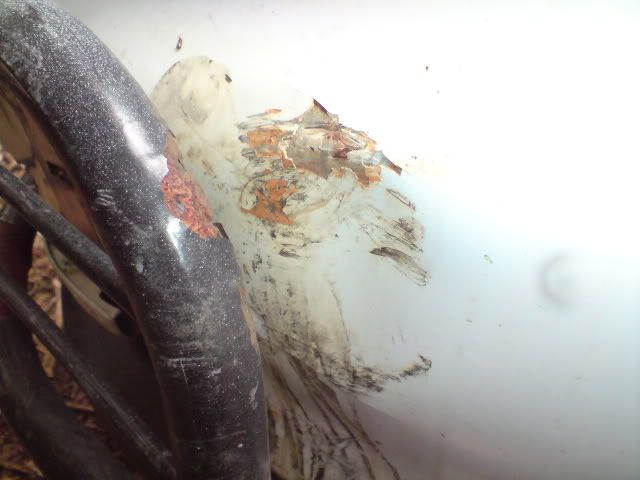
Other than a blown rad this diff failure is the first real issue with the li'll white leafer....
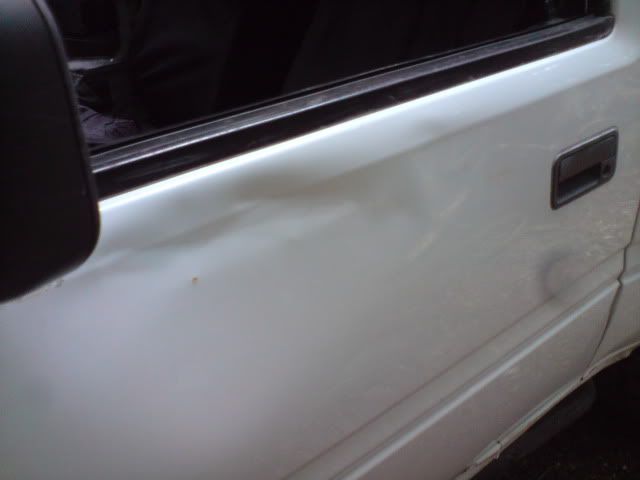
but it has been through more mirrors than triggers broomstick has sticks,
IT has been punished at nearly every workday and picnic, sometimes with its special tyres on it...and claimed king of the hill in the winter when it was a tadge goey up the woods...
And it has been and done everything, even when the weather did its best to make everything impossible...and its aint modded really, just manual hubs and a set of muddies....thats pretty much it!
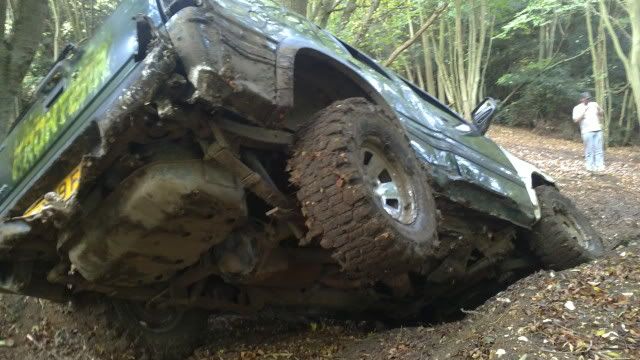
Some of its finest moments...


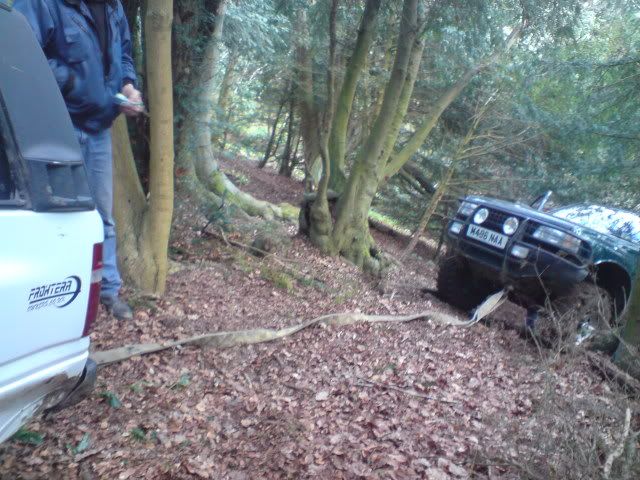
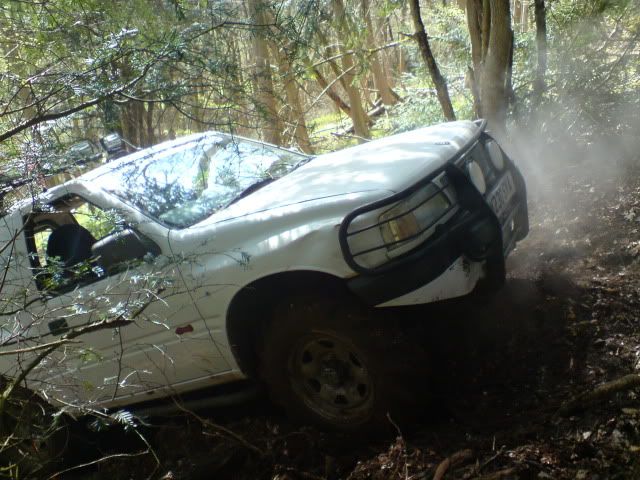

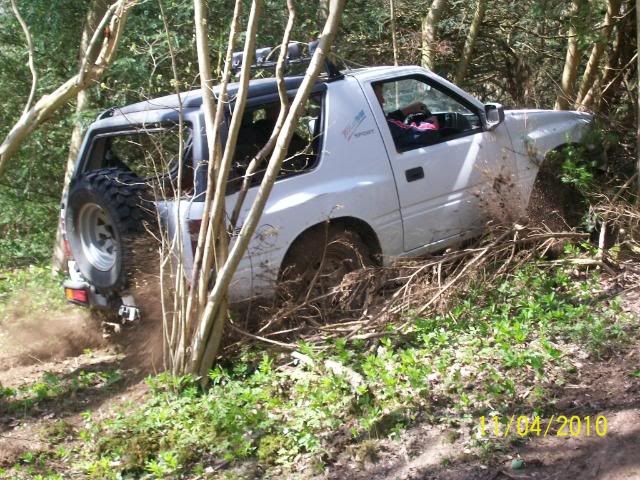
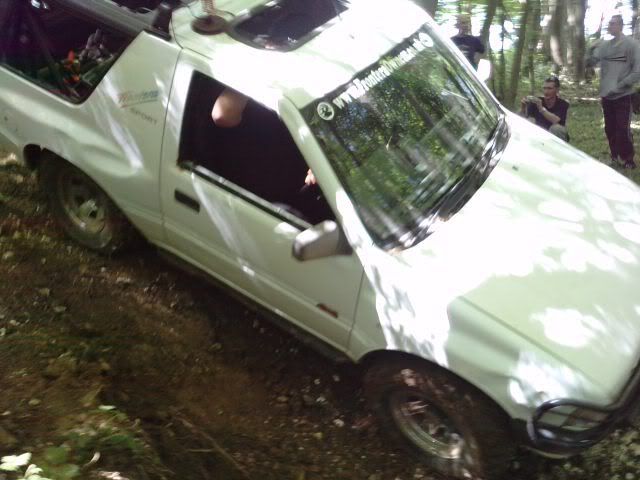

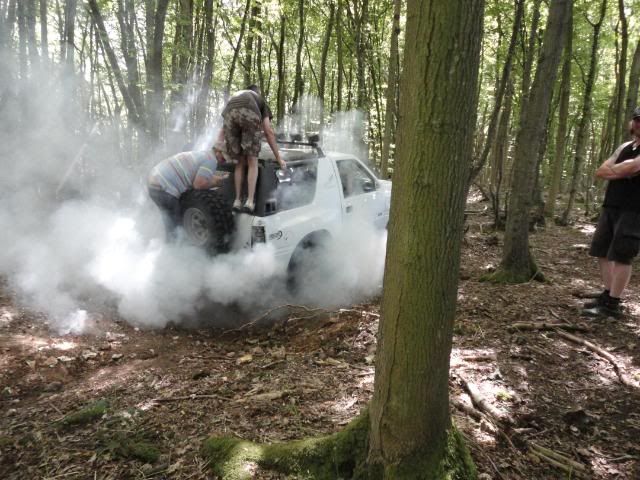
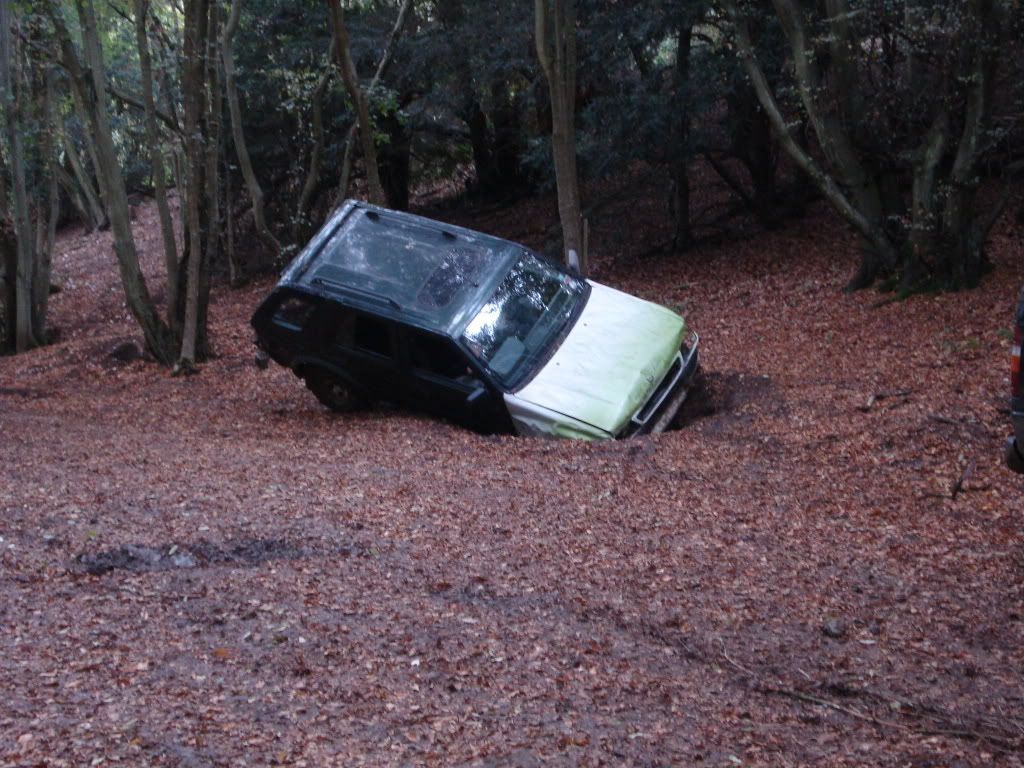
Please dont think that your car will end up like this in the woods....this car has done litterally hundreds of miles up there, driven through trees to make new tracks, got into impossible positions to pull people out, and has been driven by a loon who suffers from red mist syndrome every time...
Lets hear it for the li'll white leafer....a hero 4x4 if there ever was one!!
BUT IT LIVES AGAIN!!!!!
During a 7 hour marathon non stop offroading seesion taking the landowners wedding guests on 4x4 experiences round our woods....the li'll white leafers front diff decided to split some teeth!!
Cant be doing with only RWD up the woods so the front axle needed sorting....
There is kinda only a couple of ways to do this job...
1/ buy a good 2nd hand diff...spend best part of a day stripping the axle out & fitting new diff and reassembling.....1 day and £75 for diff+balljoints!!!
2/ buy a good 2nd hand complete front axle, & spend best part of a day stripping axle out of car and reassembling...3/4 day and £100ish for axle+balljoints!!!
3/ take it to a garage and let them do it............................................................................................10mins and £350-500!!!
4/ Do it da Gregster way..............................................................................................................1hr ish and ......£0.00!!!!
[size=150]How NOT to....da Gregster way!
[/size]
Lift front of car to enable better access....or drive up ramps to workshop and do it there as it was raining and the paint was still wet on the Landy in the workshop!
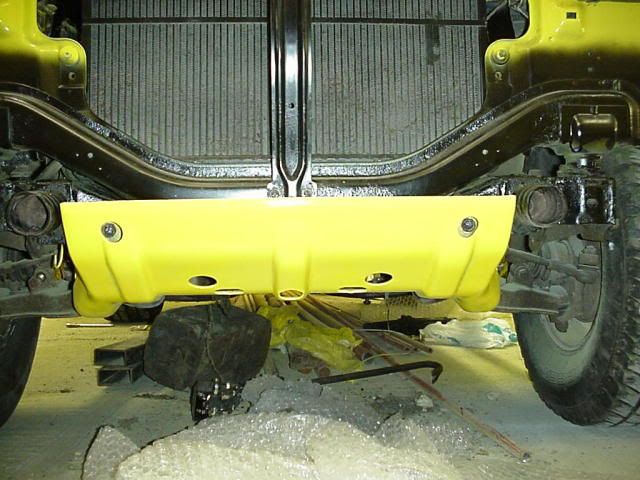
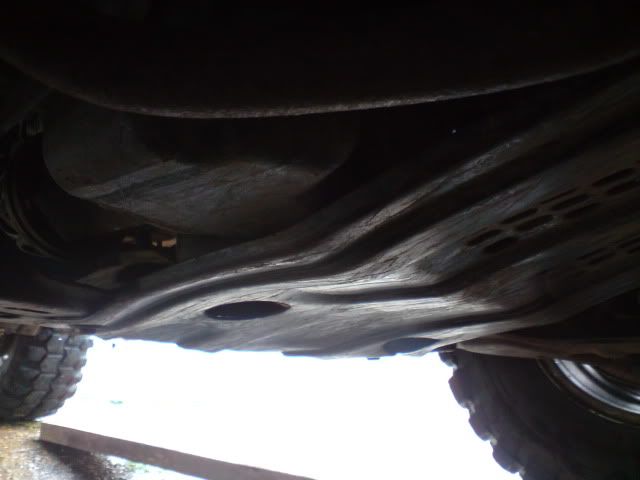
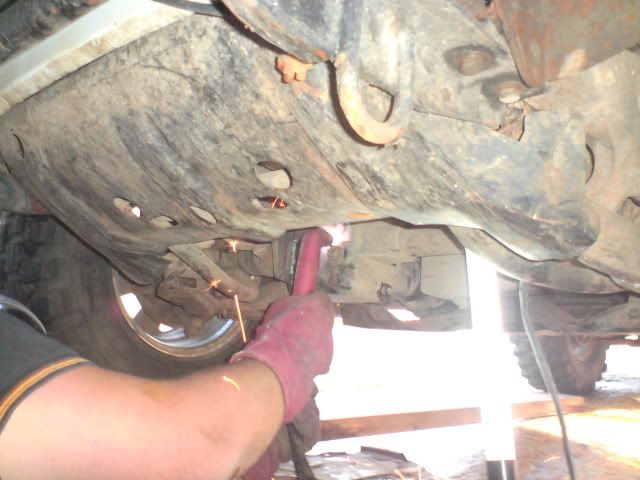
Locate fixing bolts on belly pan...
Hopefully you belly pan will be straighter than this one, which has certainly done it job (was resting and bent around the diff)...
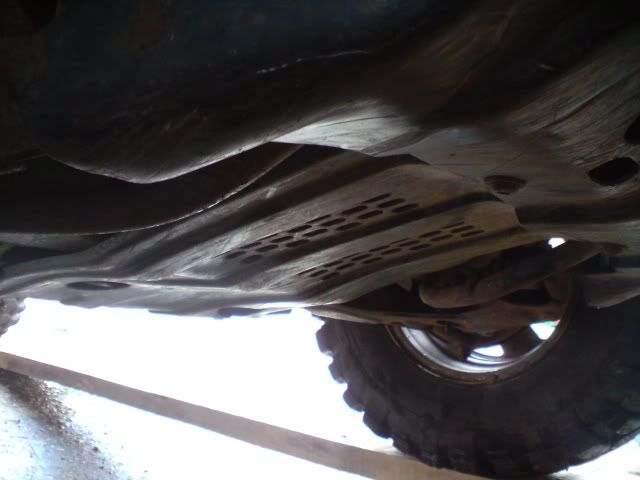
Then fight with the torx bolts to get em out....a couple were mullered (heads ground over from bottoming out) on this one so chisel and molegrips were employed and allow belly plate to land on head!
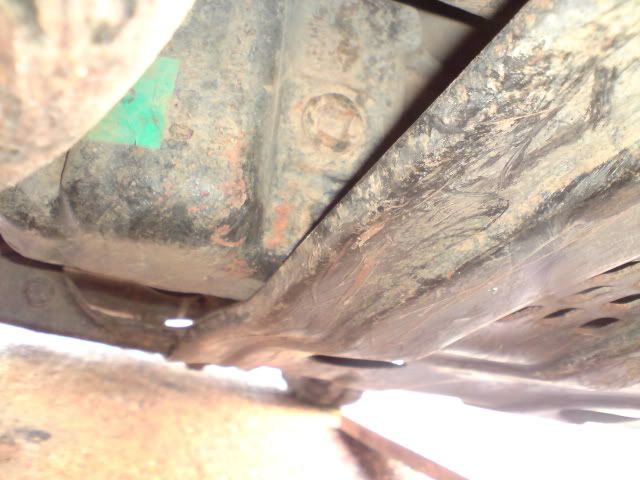
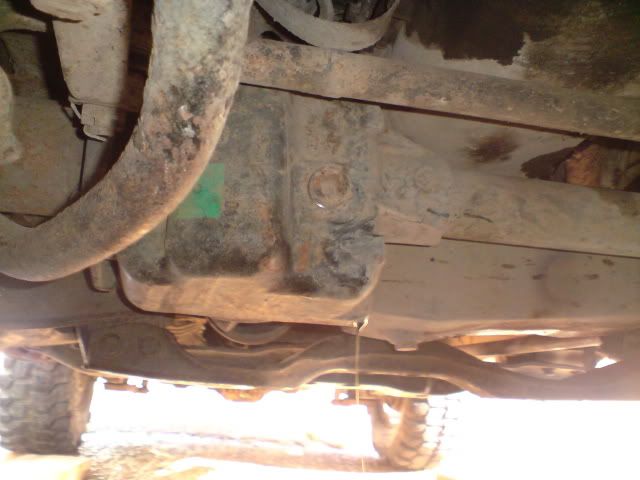
Then the diff is exposed so you can get at it....
Check fill plug will come undone and then remove drain plug and let the oil/fillings/teeth out into a badly placed container...ensure that smelly ep90 runs up arm into armpit...
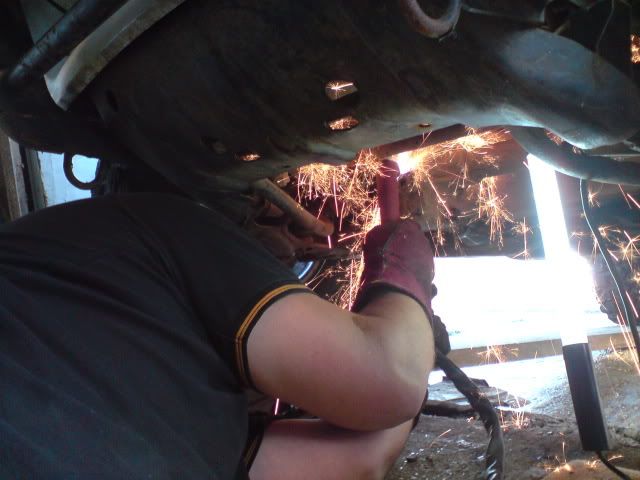
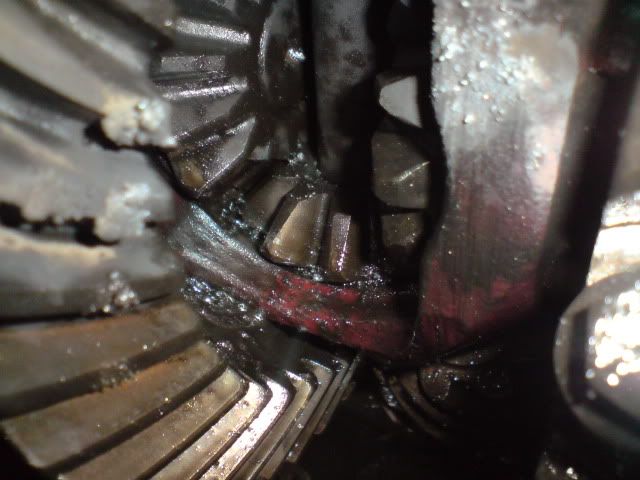
Next reach for trusty plasma cutter and commence making a new opening to enable access to the differential inside the axle casing!
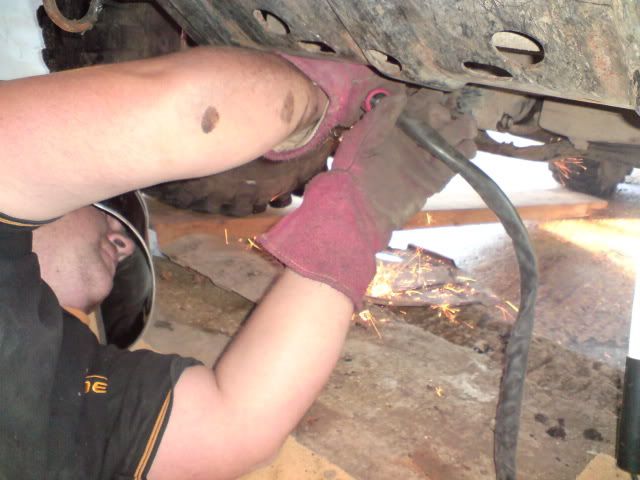
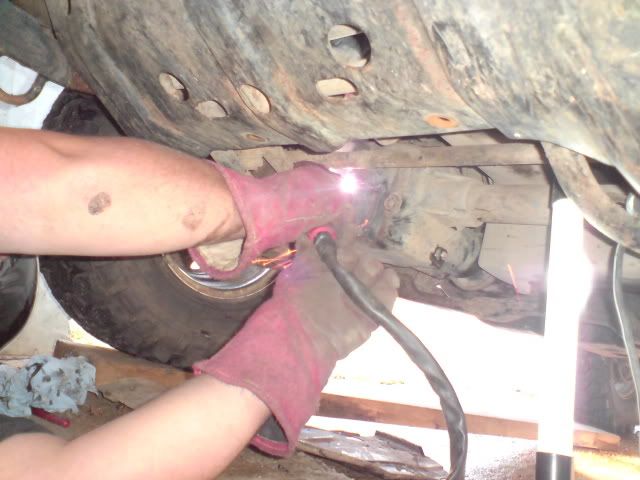
Then once access hole has been created you can see what joys are inside....and how many teeth are a gonna!
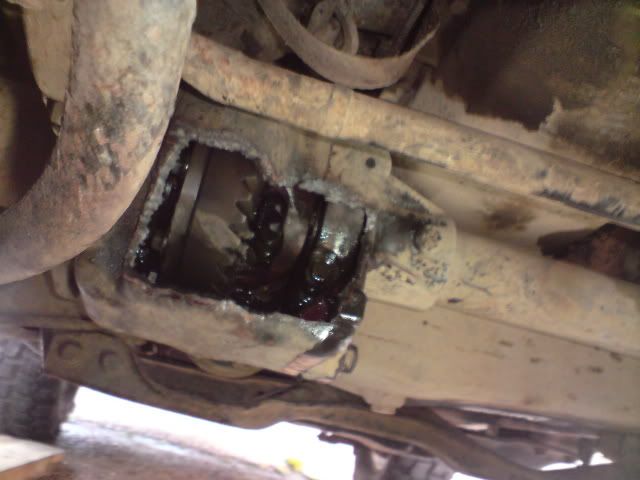

Hmmm busted diff!
Next worst of the ep90 was cleaned of the broken cogs and carrier,(catches fire other wise!) and plasma spatter from the plasma was brushed off crown wheel...and it was given a liberal coating of anti spatter spray...
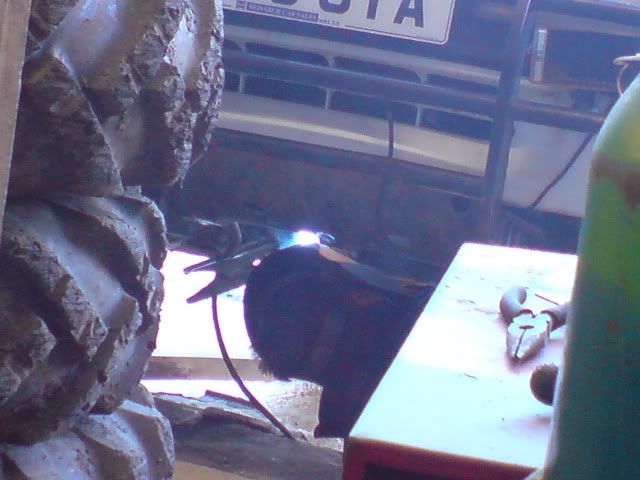
Then break out the mig and get weld the broken cogs together were they mesh...and for good times sake and cos a few few teeth were missing weld the cogs to the diff carrier....
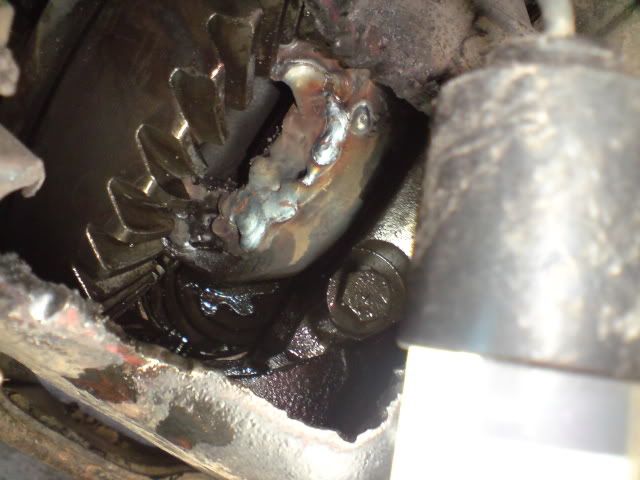
Then rinse/brush any weld muck and the last of the teeth out of the casing, and clean up the crown wheel nicely...
Next weld the casing back together...
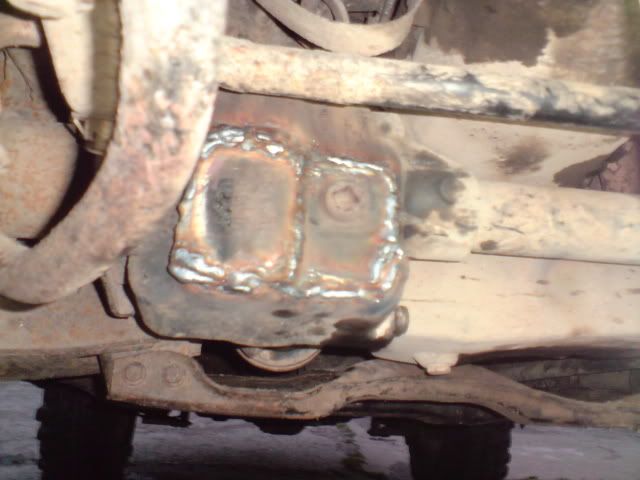
Add oil and check for leaks...add a bit more sticky metal if you get any seepage...
Rotate diff several times to wash off he gears, then drain oil out again into badly placed container....warning this time it will come out much quicker as the diff and casing are still hot and hence the oil much thinner.....oops!
Then I used a magnetic pickup tool through the the drain hole to collect the last few bits of debris!Try not to get it stuck as it enduces a moment of panic where you can envisage the cutting of yet more holes to extract the pickup tool!
Finally refit drain plug and tighten, and refill oil to correct level and refitt and tighten fill plug...
Then wipe excess ep90 of you and the diff/floor (I am sure it goes in like a wave, which then sloshes to the back and comes back at you!)
Then use oily cloth to clean oil filter above your head so the car will think it has had a service hence making it happier after its keyhole surgery!
Then refit belly plate and job done....ready for the mud....
We then stripped, cleaned and reassembled the Aisen Manual Hubs as they were really stiff, and with a locked up front would need to be used much more...
[size=150]The results.....[/size]
Took about and hour and a half actually, but that included fighting to get to of the belly pan bolts out, and rebuilding the manual hubs! Excuse the cutting and welding...this was a rush job as Sally was getting impatient and had had enough playing cars this day...need to put a new liner in the mig as the wire is sticking too! Removing the steering link makes much better access but takes time so the plamsa had to sever cut some of the casing sooner than giving a nice clean chop...and jacking the car up would have helped a bit so not scrunched up underneath, making working easier...but I was too lazy so did it the quickest way
And gotta say it was awesome up the woods the following day...
On a set of tyres that are really *beep* in the mud as clog up really easily, it made a massive difference...traction was awesome and cross axleing was a thing of the past!
Right up to the point when I (driver error!) gave it loads in reverse doing an extraction, with only the front right having loads of traction, and snapped one of the driveshafts in half...but not a bad fix to do as the axle doesnt need to come out!
Good thing is though...cos its locked up front, that doesnt mean RWD so play over, if means 3wd...which was interesting and took some getting used to but still was able to deliver FUN....
Now to find another shaft!
but I have plan!....Gonna cut the replacement shaft in half and weld on flange on bit 1" from end, and a tube and flange on the other bit, so 1" of shaft slides inside the tube, then bolt the flanges together...
The idea is to drill multiple holes in the flanges and then experiment with the number of bolts that hold the flanges together so that I get reasonable reliability, but the bolts will shear before the shaft snaps again...
When they do snap its just a case of driving into a hole to get the wheel in the air and replace the bolts...then play again!
The sleeving should stop the shafts flapping around when the bolts fail...
Should have a fuseable link in the front end then...if its reliable then I will cut the other shaft on the other side and repeat....
Will just carry a load of spare bolts then and not break anything that requires dismantling to repair!
[size=150]
Well there you have it "How NOT to" fix a front axle and save a load of dosh and time into the bargain!
[/size]
I dont recommend anyone try this at home....this car is primarily an offroad play thing, and this "mod" needs the car to have manual hubs not autolockers!
But then the front CV's kept busting as when crossaxled one front wheel would try and drag the whole weight of the car......
After a meet spent driving in 3wd some drastic action was called for!
The fix......Weld up the rear diff as well!!!
This worked fine and preserved the front end, but destroyed the power steering....and after suffering arm ache for a week after a meet with no PS, the hoses were replaced and the relief valve "tweaked" to give more assistance to overcome the locked front end...
She was proper fun then...drove like a tank over anything you pointed it at!
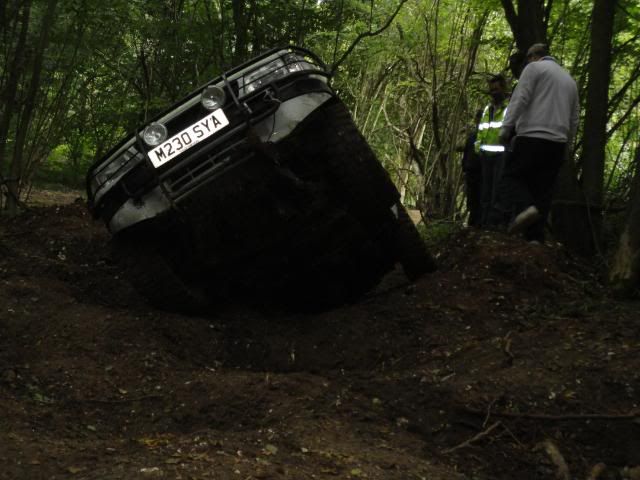
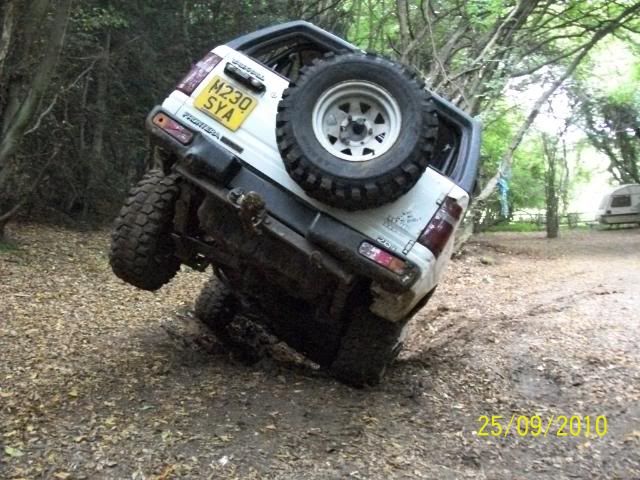

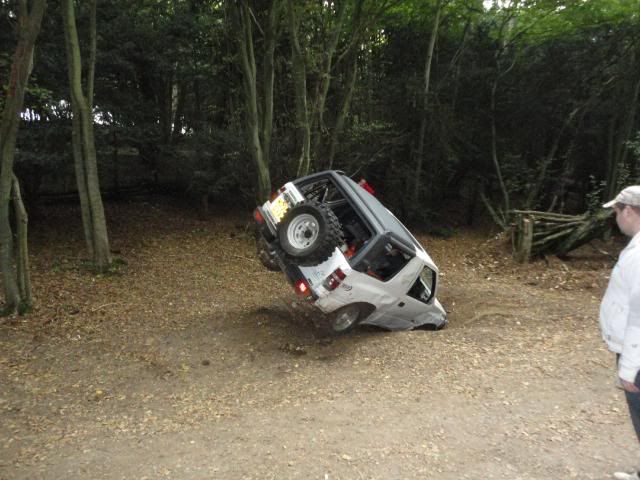

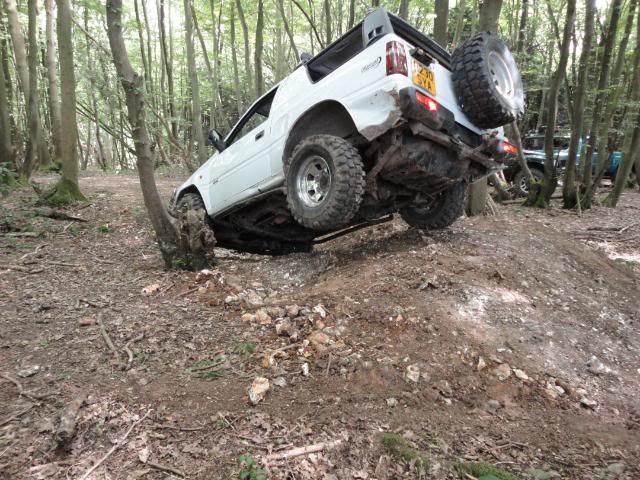
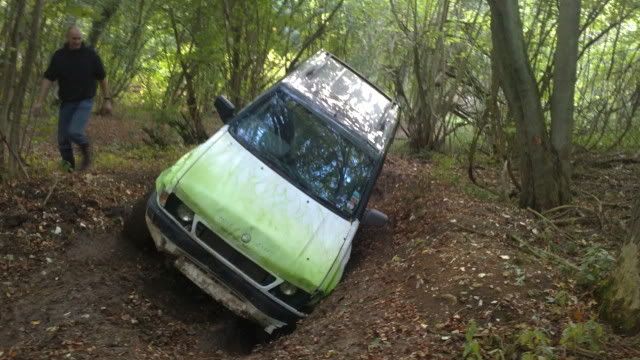
Some Videos of it doing its thing all locked up...(click the pic below for vid)
and it demonstrated its remarkable fall over angle (click the pic below for vid)
and with the welded rear in 2wd it was really good at this....(click the pic below for vid)

March 2011
Well its finally properly dead....
The pinion sheared off the front diff after an over zealous moment dropping the clutch with too many revs at the meet before xmas...
this combined with the welded front and rear diffs and cut dumper tyres kinda killed it...
I considered sticking another axle in it, but....
the clutch is knackered,
the power steering is knackered after I tweaked the relief valve to get a bit more out of it to help with the welded front diff...
nothing is straight underneath, infact nothing is removeable underneath without the gasaxe coming out to play...
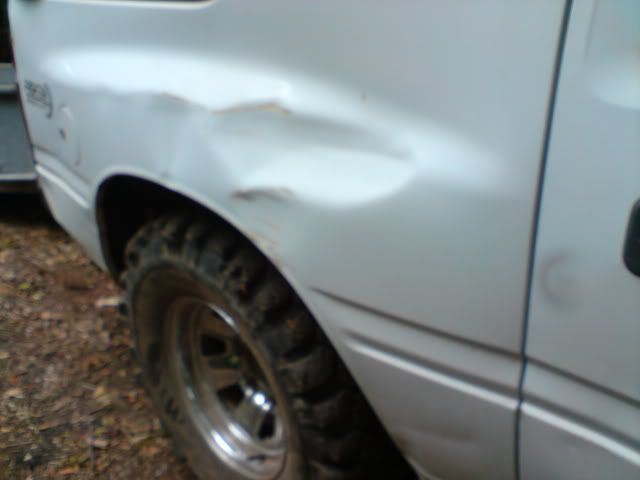
the body work looks like it was styled by Titleist's top golf ball designer...
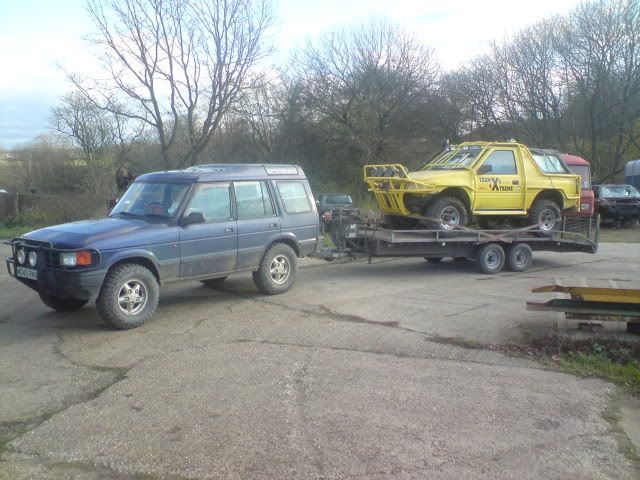
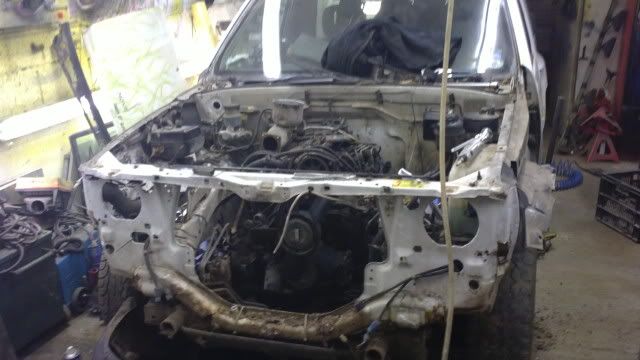
so its gone into the workshop...
and is being dismembered of its goodies (both of them)
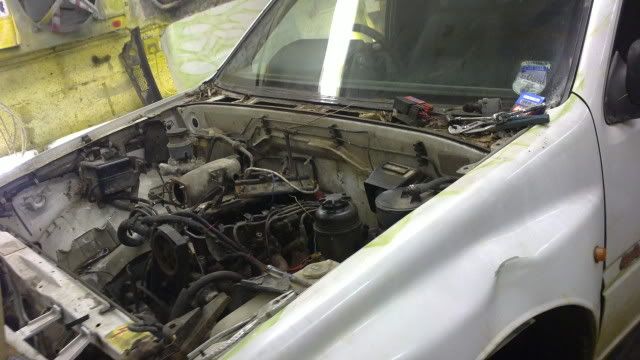
and now looks like this...
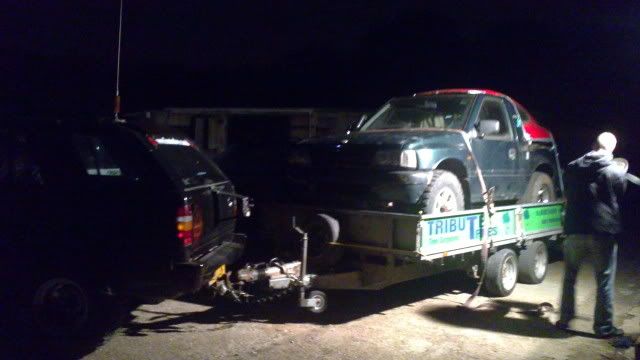
but whats this pictured outside the workshop on late on saturday night????
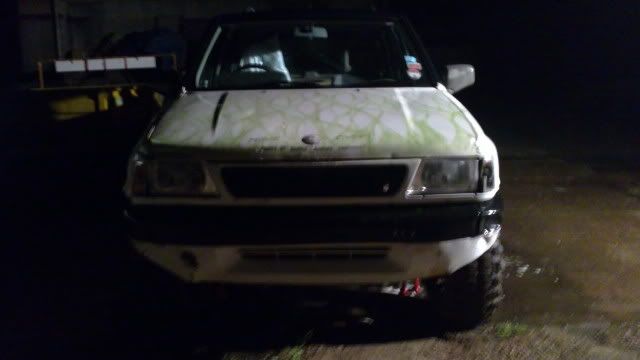
Could it be that the Li'll white leafer has risen from the ashes????????
Thanks for looking... |
|
| Back to top |
|
|
DYLAN
Moderator


Joined: 25 Sep 2006
Posts: 5115
Location: Chesterfield, Derbyshire
|
| Posted: Sun Jan 08, 2012 3:55 Post subject: |
|
|

_________________
 
2002 S-TYPE JAGUAR 3.0 SPORT |
|
| Back to top |
|
|
DYLAN
Moderator
Joined: 25 Sep 2006
Posts: 5115
Location: Chesterfield, Derbyshire
|
| Posted: Sun Jan 08, 2012 4:06 Post subject: |
|
|
The unstoppable frontie
_________________
2002 S-TYPE JAGUAR 3.0 SPORT |
|
| Back to top |
|
|
Da Gregsta
**
Joined: 11 Jul 2011
Posts: 76
Location: Kent
|
| Posted: Sun Jan 08, 2012 4:26 Post subject: Da gregsters 2.4lwb Frontera...The BGL (Big green leafer) |
|
|
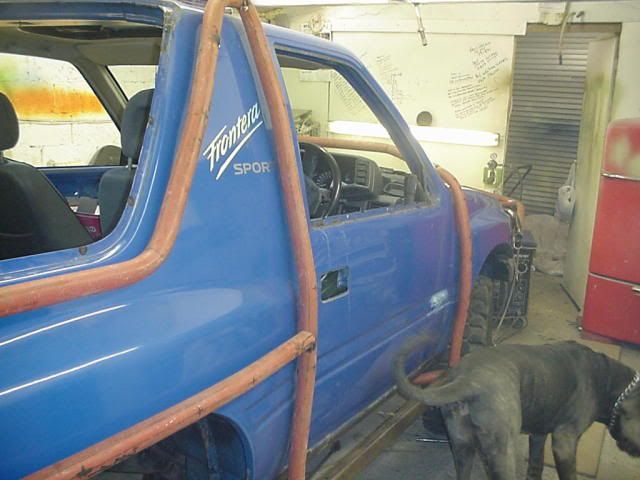
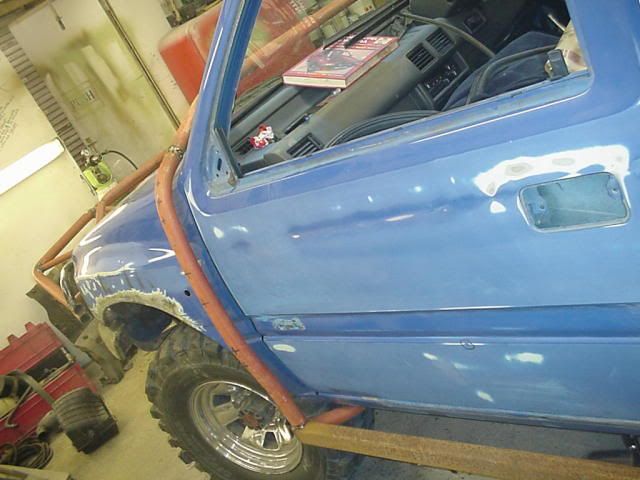
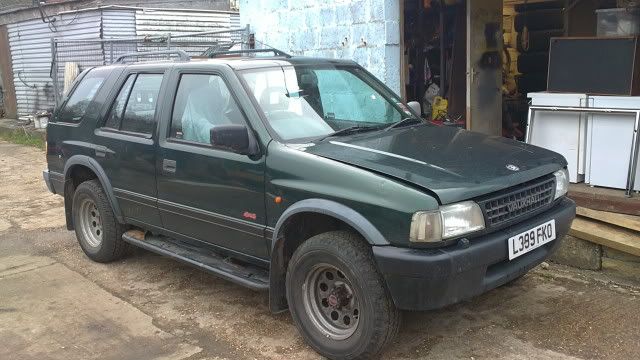
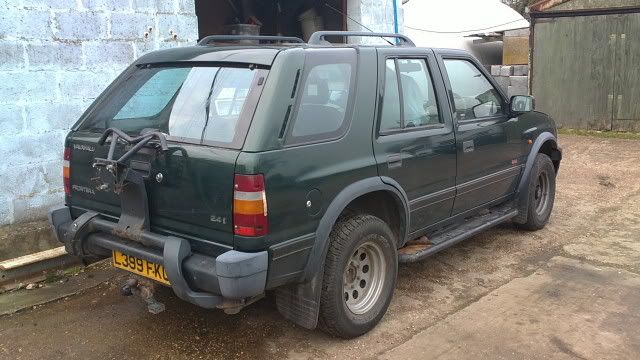
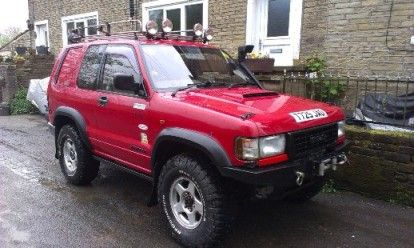
This is our 2.4i LWB fronty.....
Originally bought as a donor for an interior for the 2.5tds, but put into service because it passed an MOT without too much hassle and was too tidy to break...
BUT
I had an idea  h yer: h yer:
with the li'll white leafer dead, and the 2.4 being worth more in bits than as a complete car....I needed another plaything....
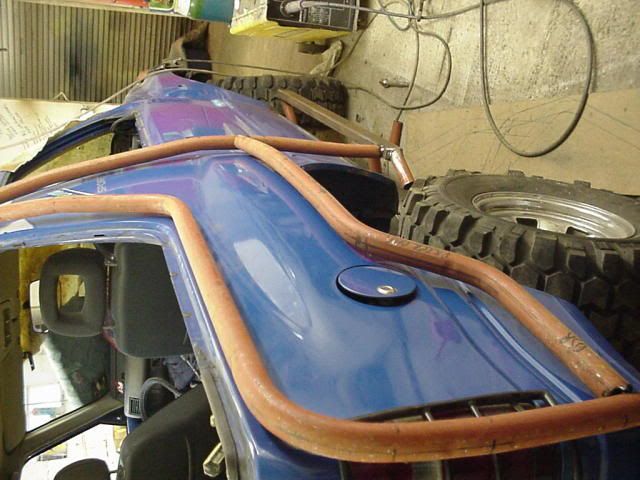
so this happened
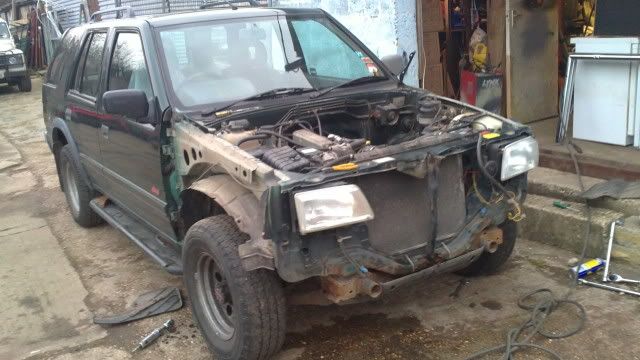
some of the more "vunerable" good panels were removed
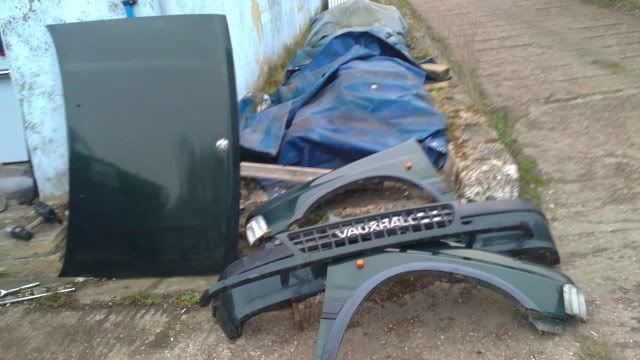
to be replaced with....
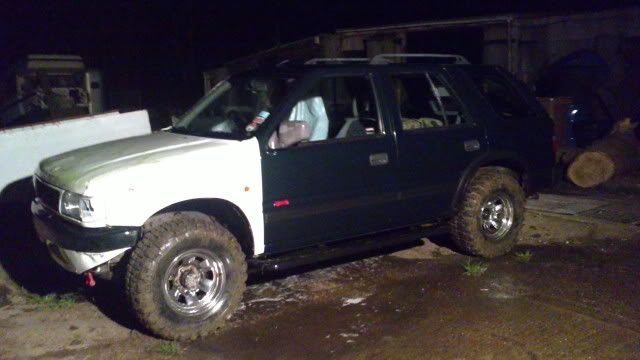
after much fettling with a sledge hammer!
Li'll white leafer reincarnated onto a 2.4i lwb!
The LWL's dirt devils on landcruiser chrome steels got some mods courtesy of the tyre cutter to try and stop em clogging...
from
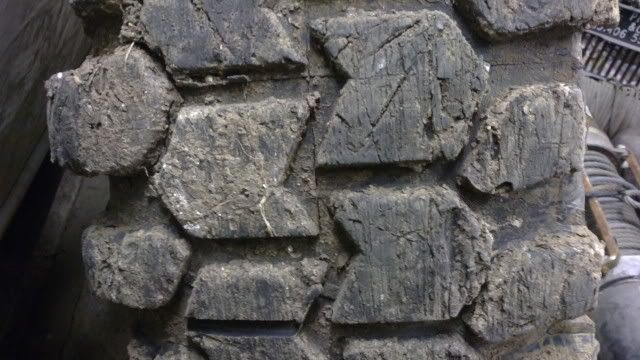
to
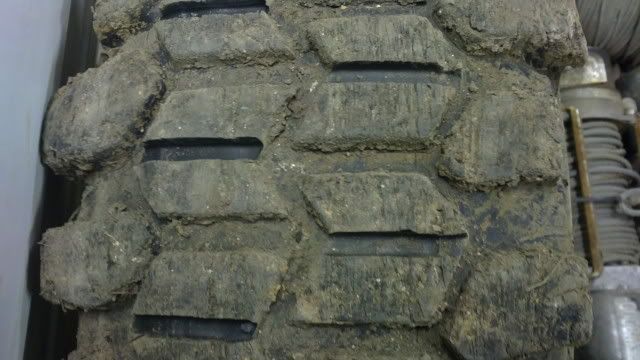
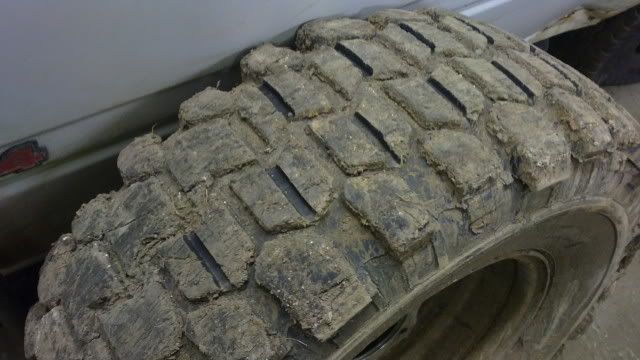
and it worked a treat...
Reversed them as well to give some new leading edges to cut in to the dirt...
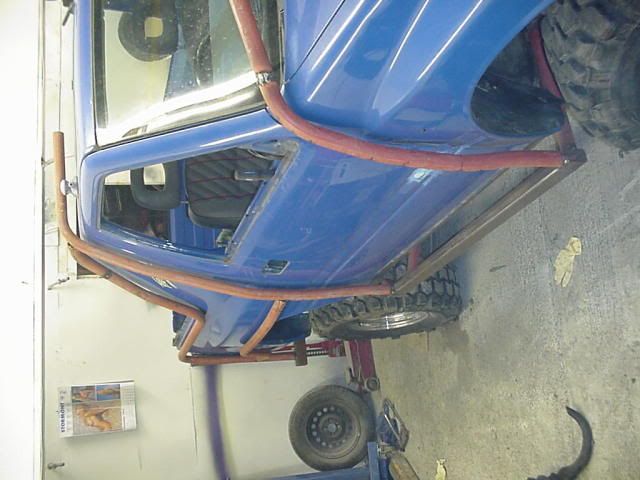
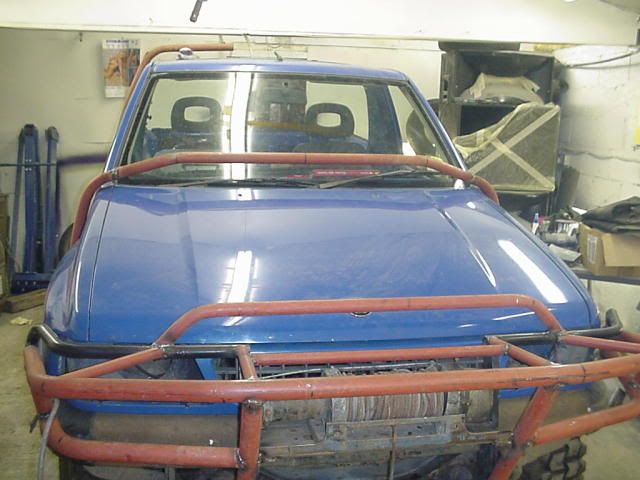
Towbar was removed, rear recovery point added, front recovery points added, aisen hubs c/o LWL added until I weld up the autos, and the torsion bars tweaked a bit...
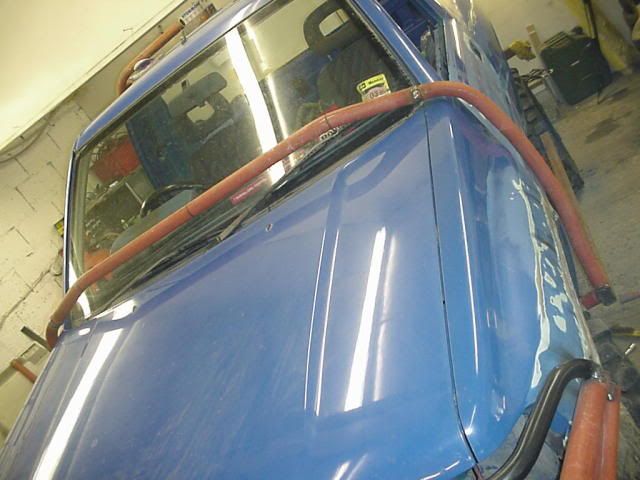
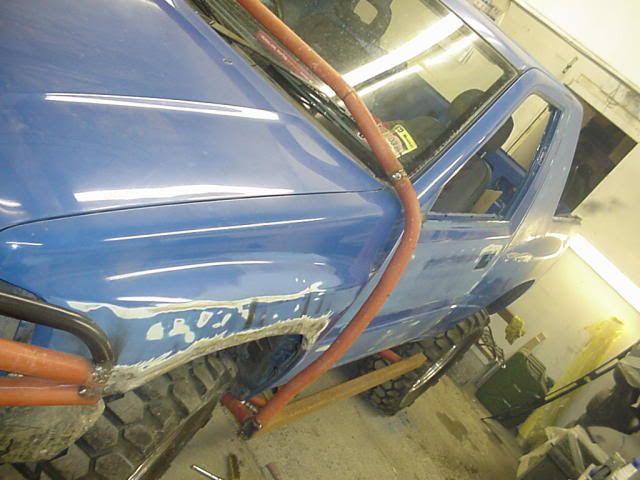
and now it is this
So kinda Li'll white leafer lives on, I aint gonna dent some nice straight front end panels (cos they are not on it!)
Its debut was at the March 2011 picnic in the woods....and it got a couple of second glances from the regulars who thought for a second that the li'll white leafer was back...
I even forgot for a moment driving it, as the drivers view is identicle, and drove into a tree thinking it had a bullbar, when it didnt and I bust a headlight!
The tyres work a treat and I am well impressed with the 2.4i engine offroad...its nothing special on road, much preferred the 2.8, but offroad it has the livelyness of a 2.0i but with what seems like twice the torque and engine breaking. Even in a heavier car it climbs at low revs in 2nd low and picks up when you hoof it, and comes down hills on overrun at a nice controlled speed without the need for breaking....
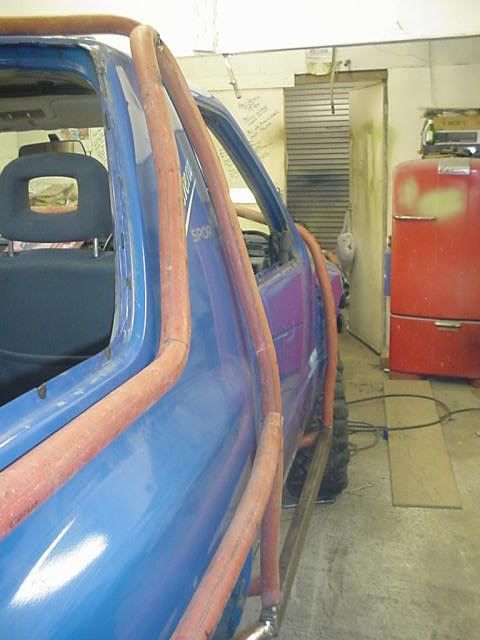
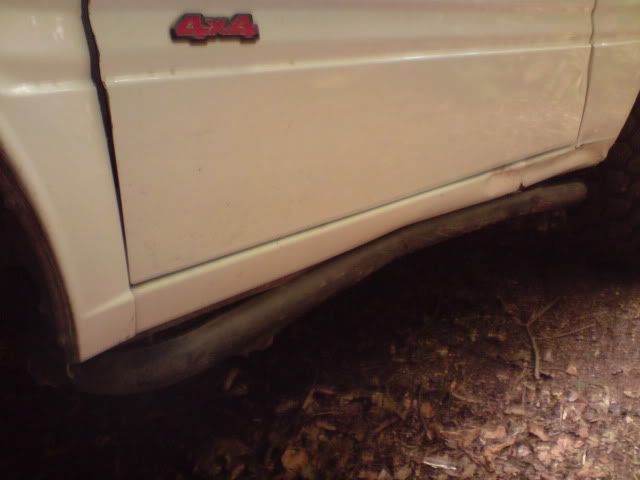
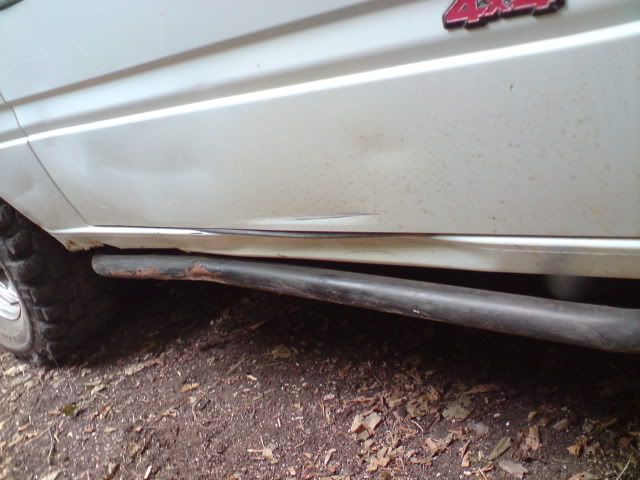
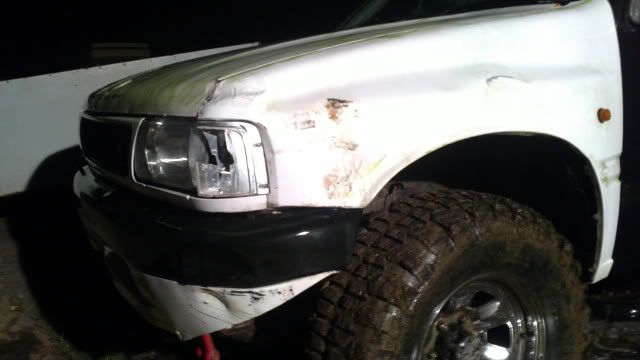
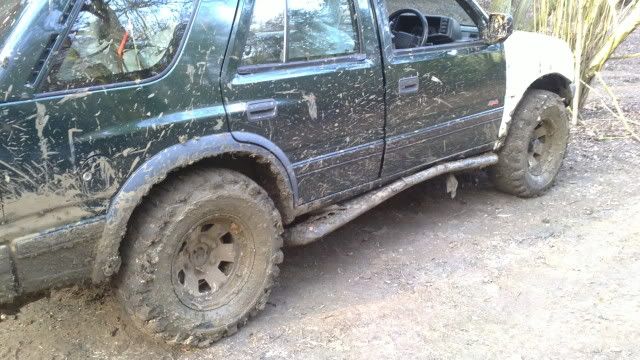
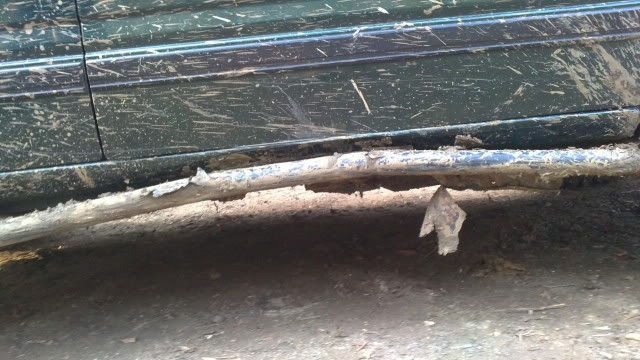
The side steps got some wounds...well they would doing silly stuff in a lwb with next to no lift.
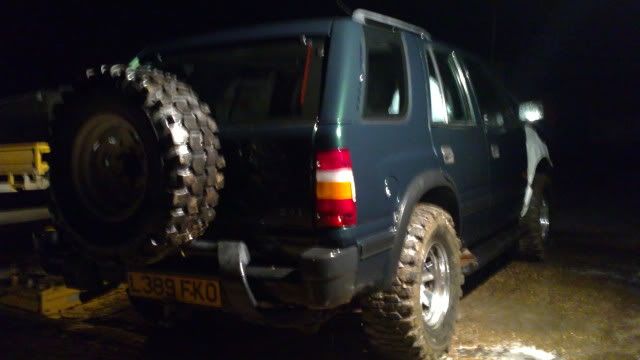
Some pics of it up the woods...
LONG LIVE L'ILL WHITE LEAFER....(or bits of it!)....
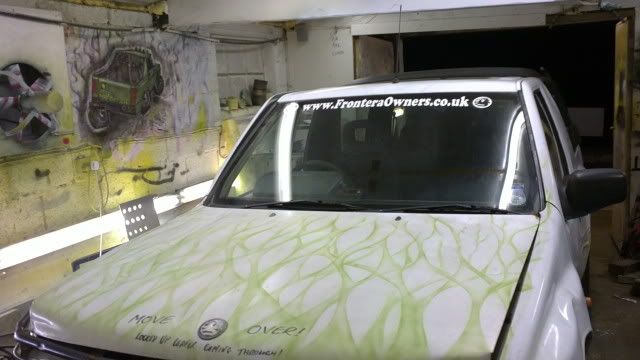
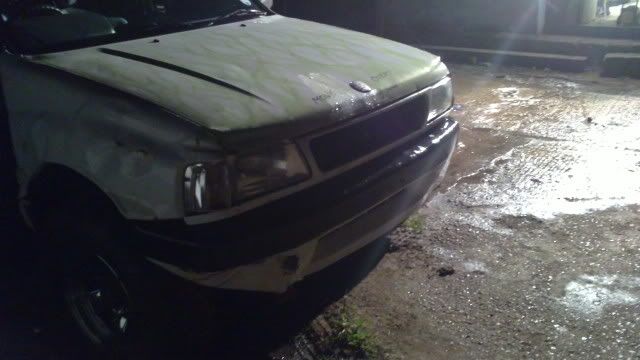
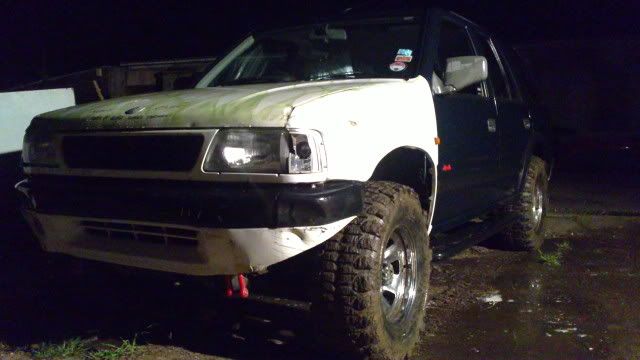
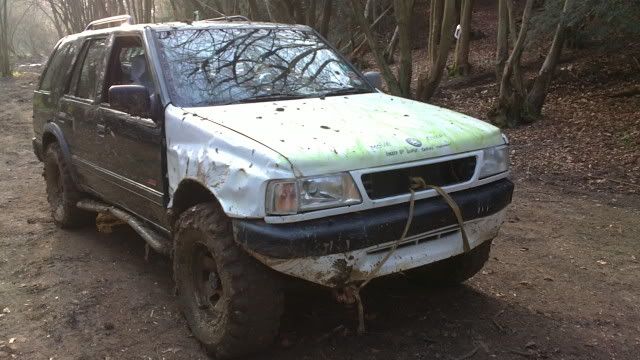
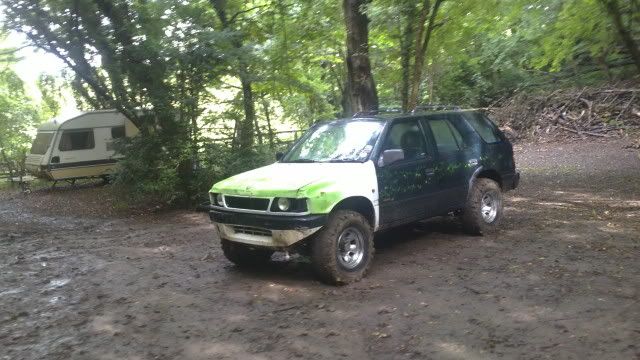
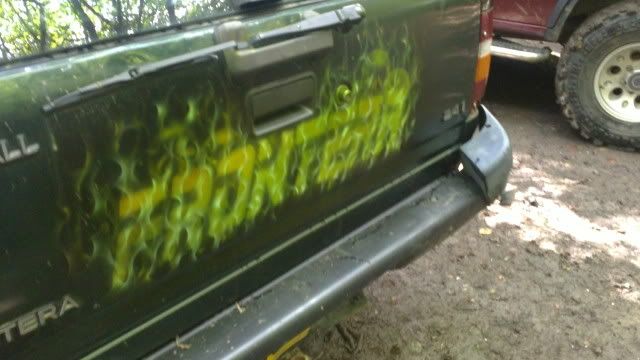
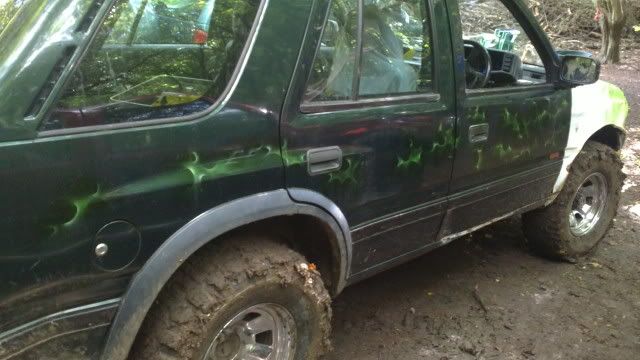
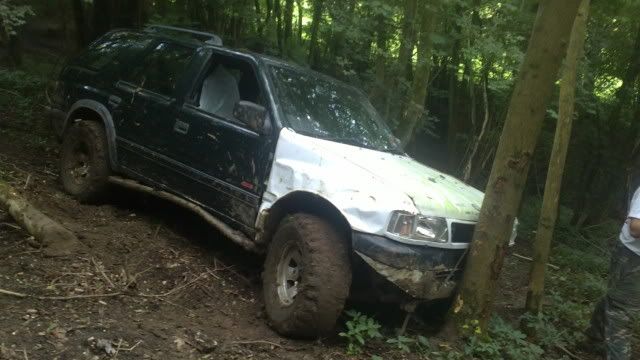
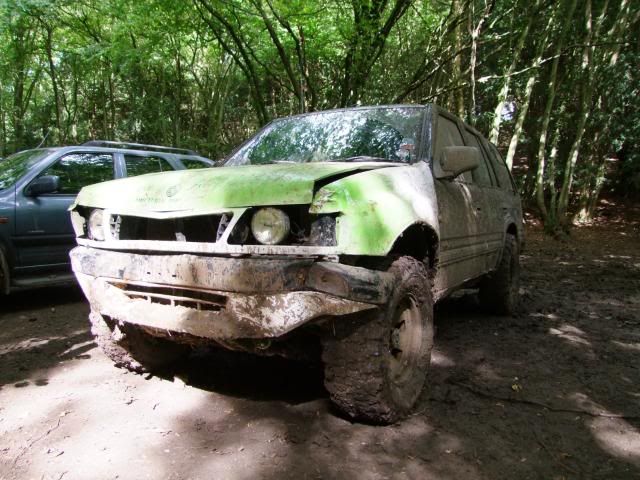
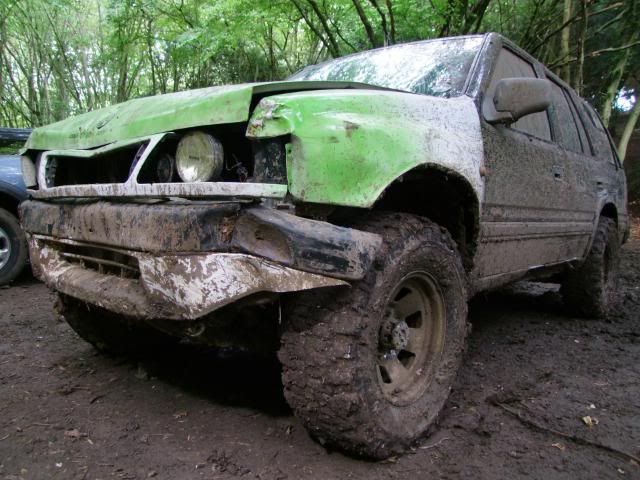
For the August weekender in the woods, the BGL had a bit of a lash up make over...
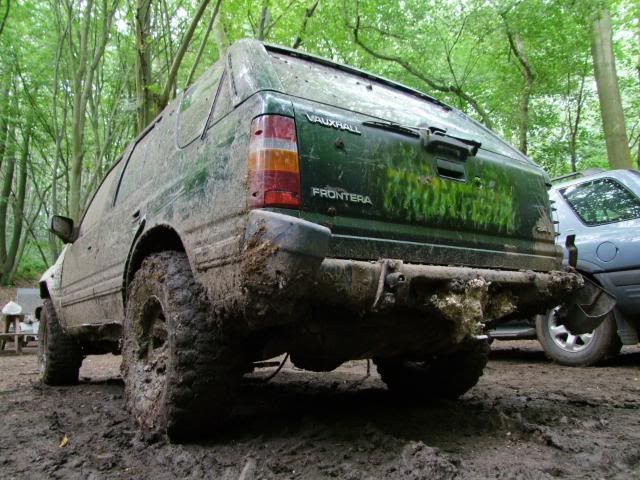
Airbrushed tailgate, toxic green flames, slime green candy fade on the front, and a redneck headlight conversion...
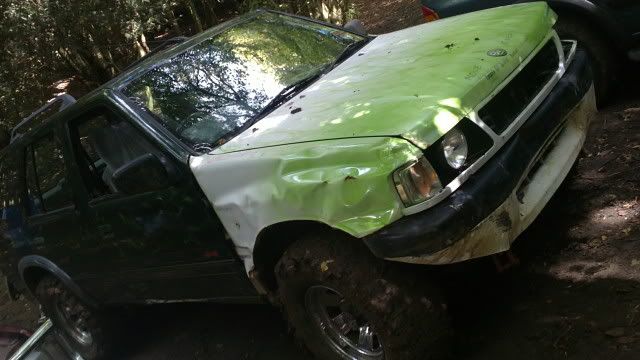
And then the usual fun/madness began...

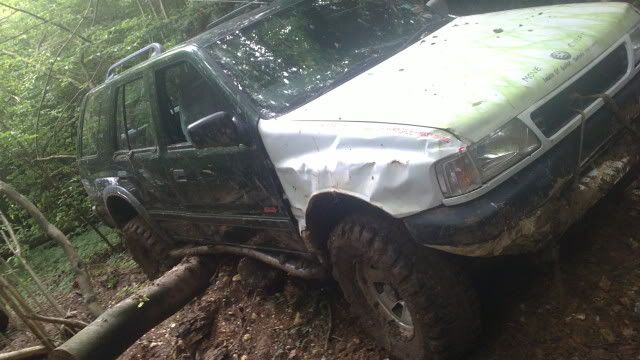
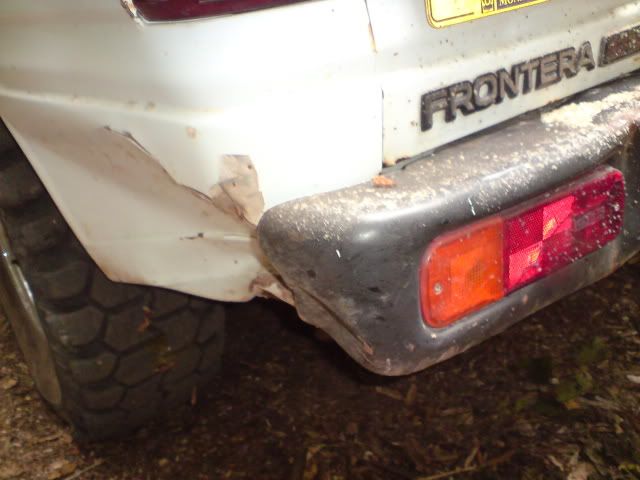
Much stuckness, tree in front, and another against the rear bumper!
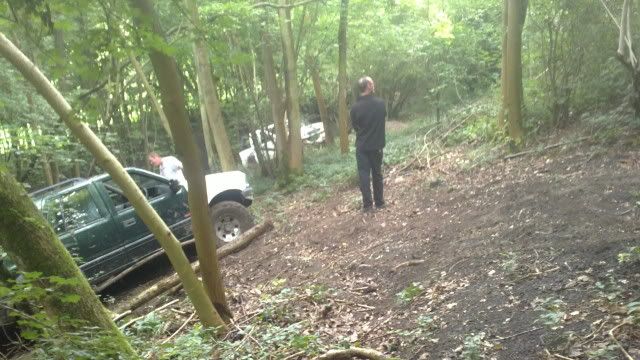
After much fun and mud....
Then another picnic in the woods...
Lurking with some of its buddies in the clearing..
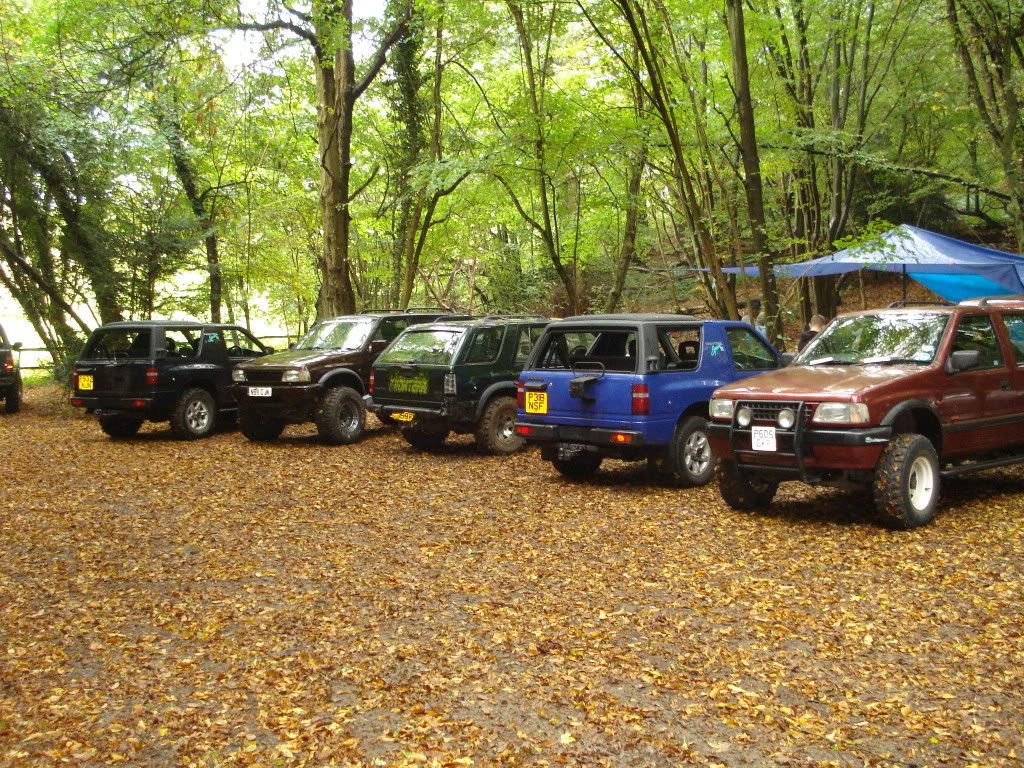
Modelling the tyre changing hole...
So theres my old 2.4, the BGL...my beater...
Its now sporting a welded front diff from when it bust at the August weekender...next up...
well thinking of 3/4 eliptical rear suspension, to be different and fiddle brakes on the rear...we'll see...
thanks for looking.. |
|
| Back to top |
|
|
Da Gregsta
**
Joined: 11 Jul 2011
Posts: 76
Location: Kent
|
| Posted: Sun Jan 08, 2012 4:36 Post subject: Da gregsters 2.8 Frontera shorty Wrecker... |
|
|
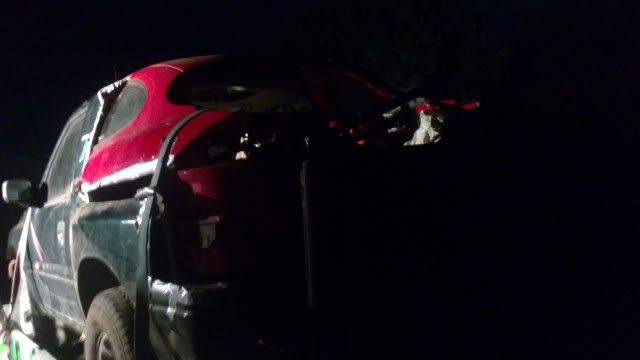
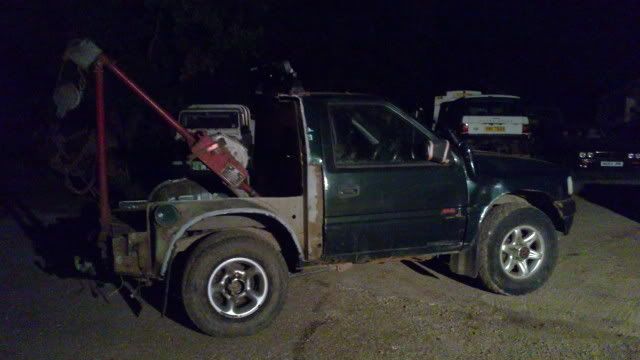
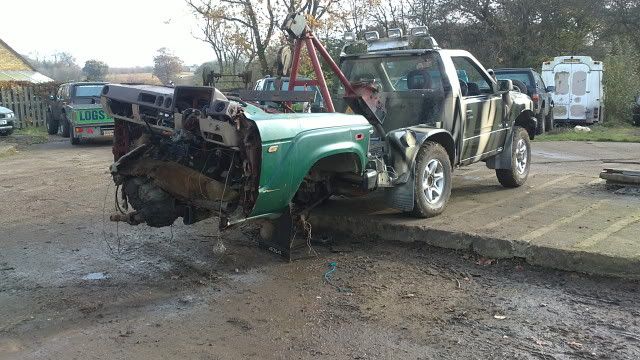
I recently purchased the ex-bobbinsjob, ex-mapracing from FOG, 2.8 shorty... 8)
Paul had "been creative" with it, trying to fuse not two breeds, but two species of car together, using duct tape and lots of grinder disks. h yer:
Sadly he didnt have time (or ran out of wacky backy) so I took on the frankenstein of fronteras.
Compassionately known as FUMA at Pauls rehab clinic, UMA cos the back came off a puma, and the F came from the words muttered most as the "scientists" endeavoured to get the two parts to "take"...the 2.8 shorty is now checked in to the redneck engineering clinic for cosmetic reconstruction/amputation...
The destiny of this truck is kinda sad, as its gonna be cut up late spring time...Sals 2.8 shorty has a bent chassis where the OSF wishbone joins and it isnt an easy fix, so the plan is for Project wrecker to be useful until I have time to remove the body from its chassis, rebuilt the chassis with new lines and bushes and then pull the frame off of Sals glitterball and slide the shiny new frame/engine/drivetrain under it...
Sals existing frame complete with 2.8 power will then have all its IFS cut off, the rear fronty suspension removed and a front and rear fourlink set up mounted on it with some tasty GQ patrol axles, and when done it will slide under the Yellow Fronterror...
The fronterrors frame and c20ne will then become a buggy, or might find its way under a Jago 4x4, sintra or something equally silly depending on what around at the time.
So the plan is to turn the former Fuma into a useful tool up the workshop and woods for the time being. ( I am getting old, and although I can still carry axles on my own, I suffer for a week afterwards, so a tool able to lift and move stuff will be proper handy to sort up the side of the workshop so I can make space for my new spray booth)...
It aint gonna be pretty, it will be rough round the edges, function is far more important than anything else...so expect the worst and you can only be right if not surprised...
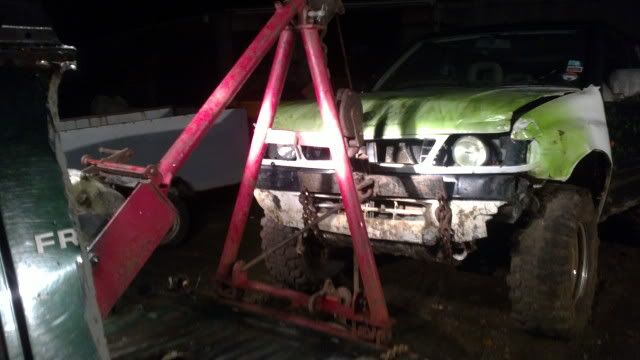
Mid october 2011
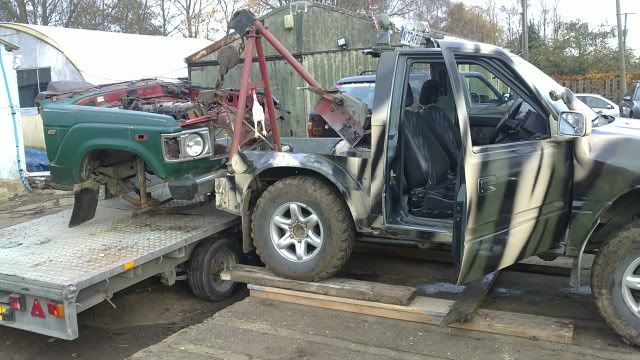
Picked her (it?) up last tuesday from Pauls place with the trusty 2.8lwb and the ifor, with Davetherave providing assistance.
The frankenstein conversion...and structural duct tape...
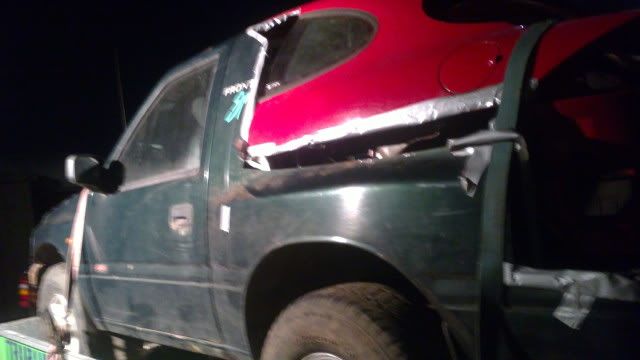
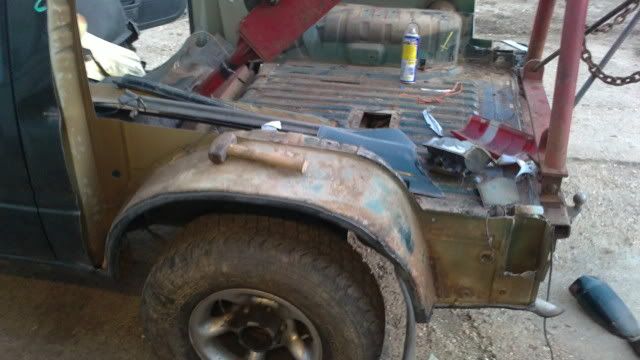
The puma back end went in the frag the following day, along with most of a landcruiser that I had been cutting up...
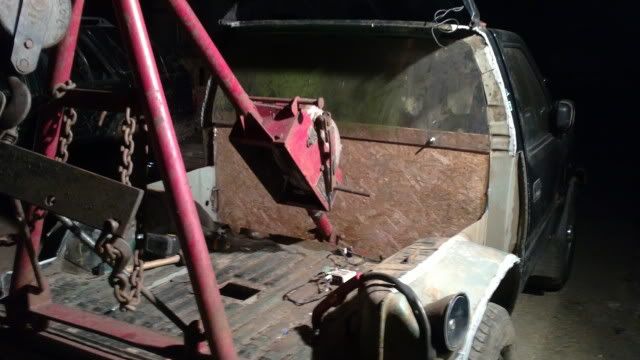
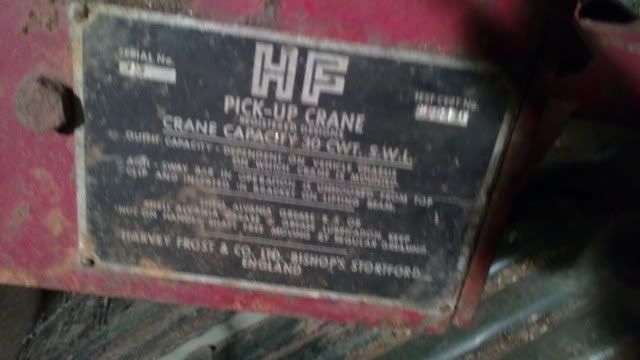
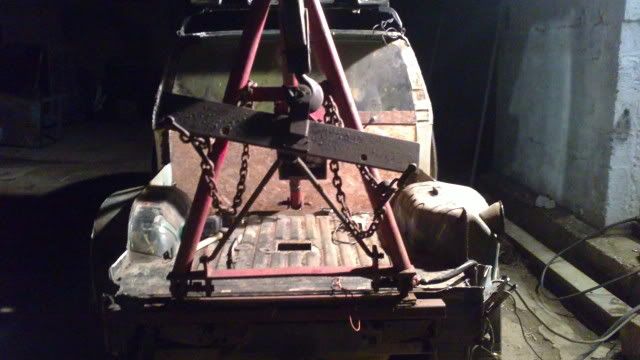
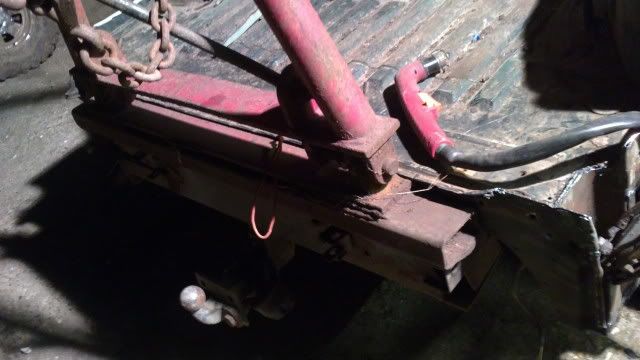
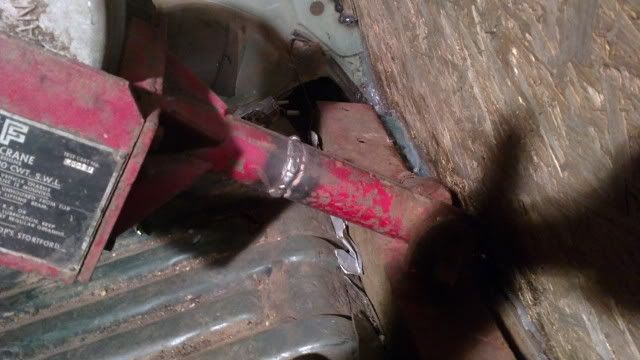
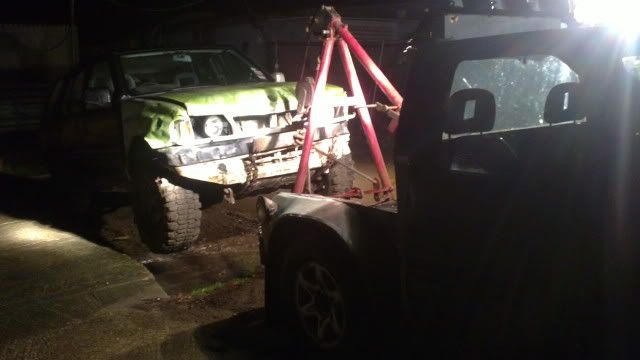
Then thursday evening my brother came up for a couple of hours so we modded and mounted a harvey frost wrecking crane on the back, cutting the floor so I could weld in a new crossmember onto the chassis for it to mount to (this can be easily cut off again when the chassis gets renovated for sals truck)...
The rear mount is welded direct onto the top of the rear of the chassis.
The crane is pretty heavy and took both of us to get in place.
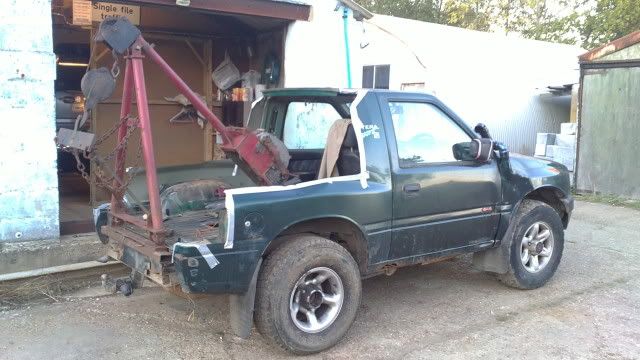
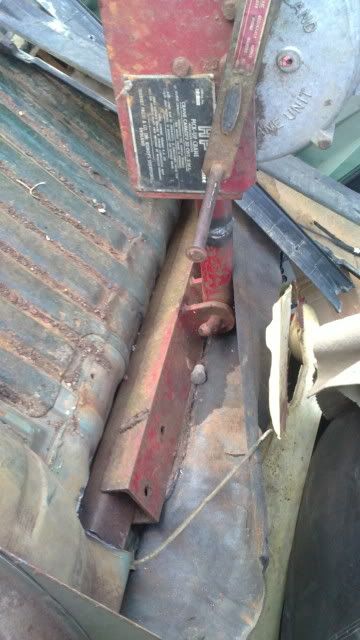
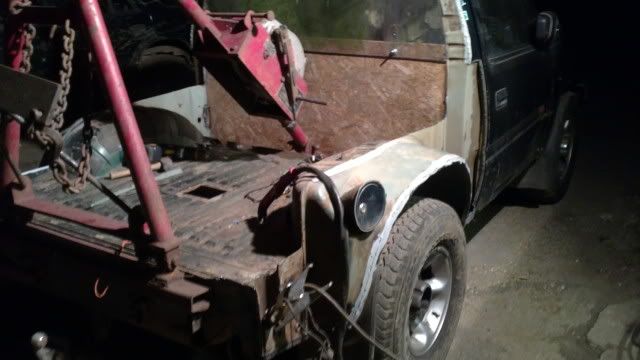
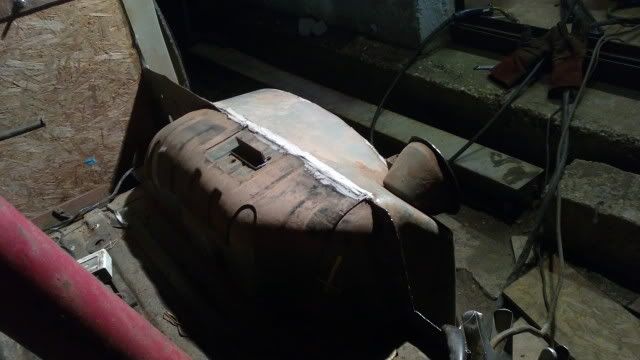
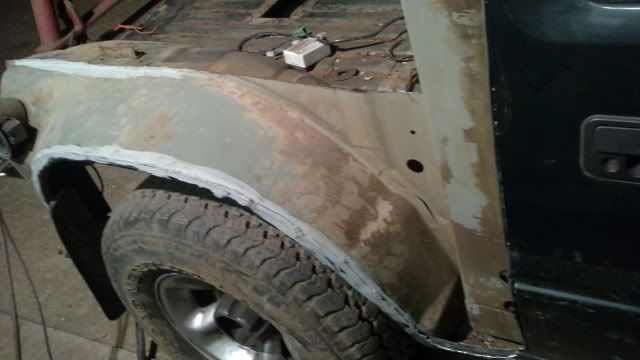
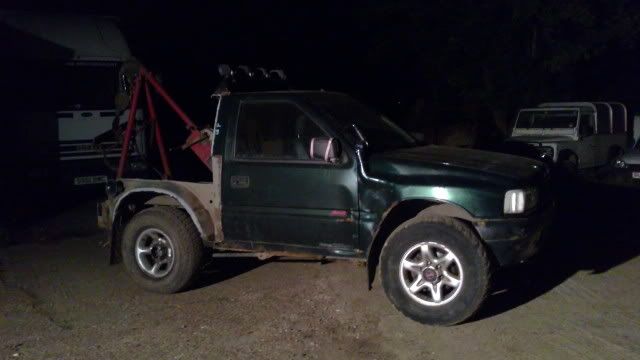
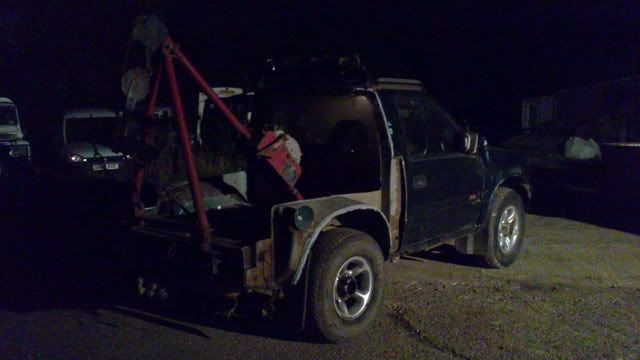
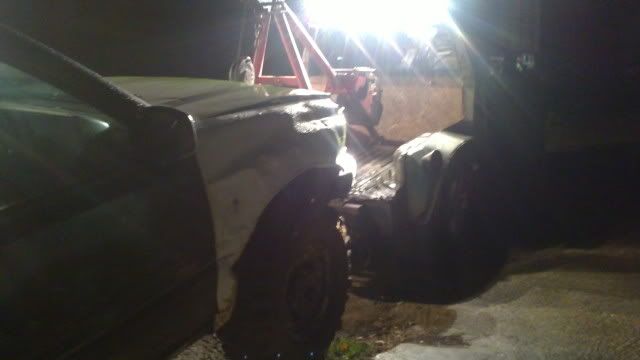
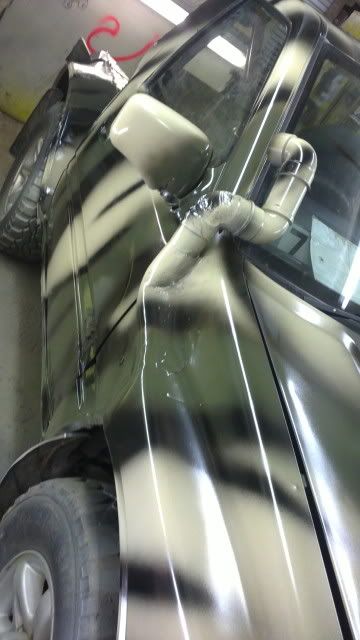
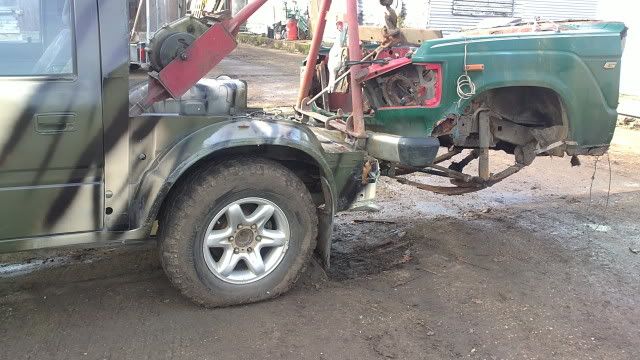
Then went up the workshop after work last night and cut off the remaining rear quarters and tidied the back with the plasma cutter, before welding the edges of the arches in and the outer skins into the b posts. Seam sealered the edges so nothing sharp to get cut on (thats the grey gunge you can see round the edges in the pics)...
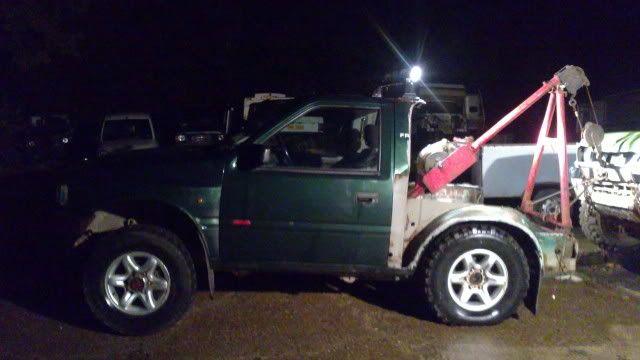
Has a nice step-side look to it now and getting in and out of the back will be nice and easy.
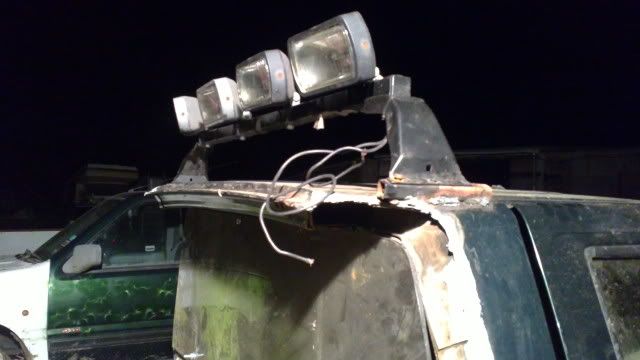
Modded an old light bar I had kicking around to fit, welded it to the roof skin to it will make a sturdy hand hold for getting in and out of the back. Of course the lights all face backwards as worklights.
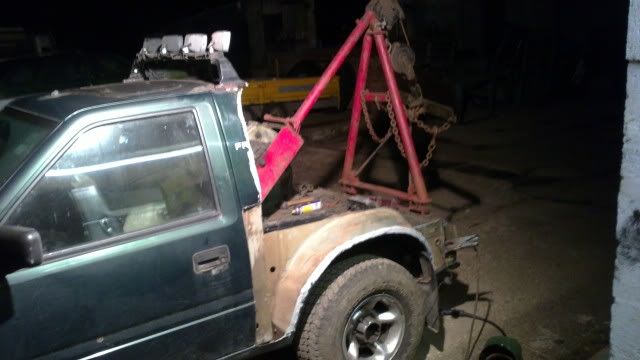
Loads more to do and add yet...winch, pruning platform, steps to get to the roof, bulkhead, skid steer solid wheels/tyres to name just a few, will post more pics as it gets there and some of it working...
Its getting there though...
Oct 2011
Done some more to the old wrecker...
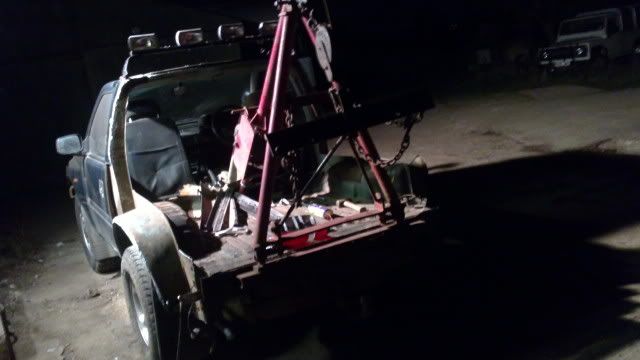
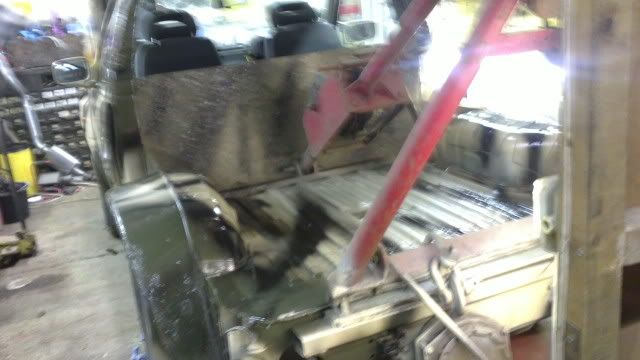
Lashed up a bulkhead out of some wood stuff (hate it though...it catches fire when I try and weld it!)
and used a perspex sport rear window I had lurking around...
Keeps some of the water out, but more importantly keeps the wildlife out.

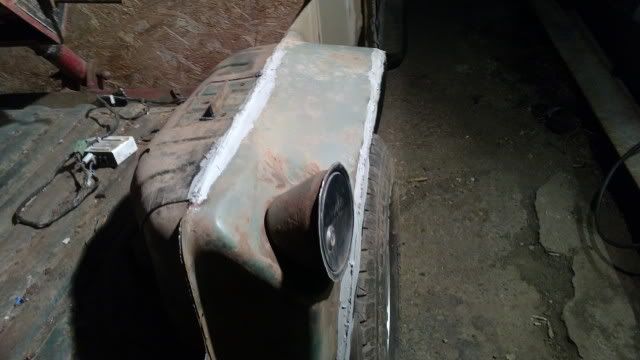
Rear arches on the old step side...(filler cap makes me laugh!)
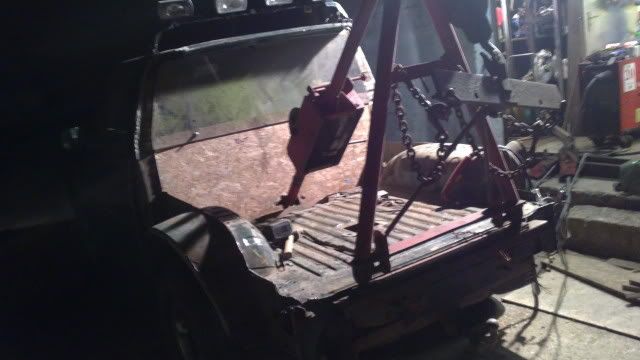
The ancient HarveyFrost crane...off an series 2a landy...then my patrol...now this...

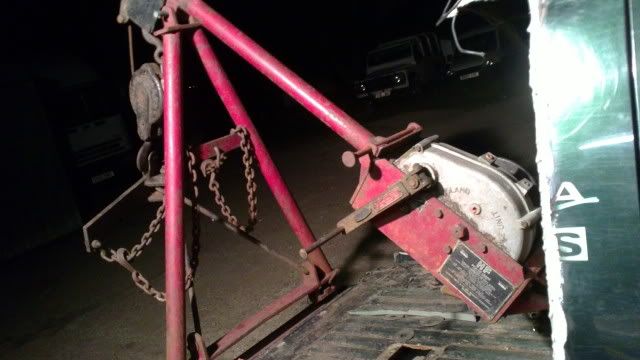
Modded for swb fronty!
Getting there now....
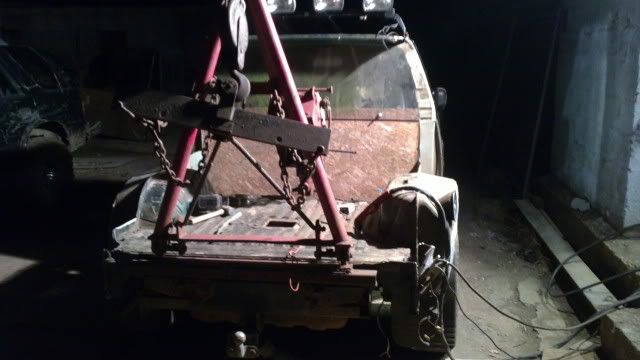
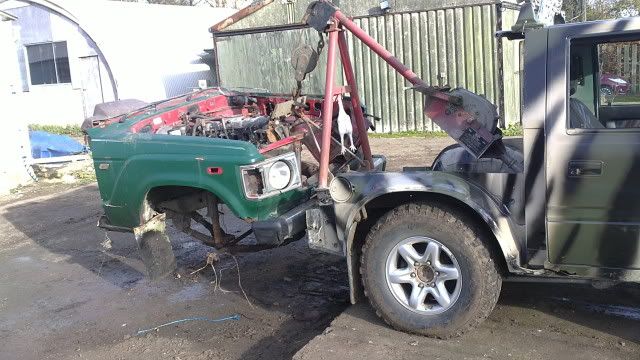
Would be rude not to try it out....cue the BGL (the big green leafer...2.4i lwb)...
Hmmm thats squatting...
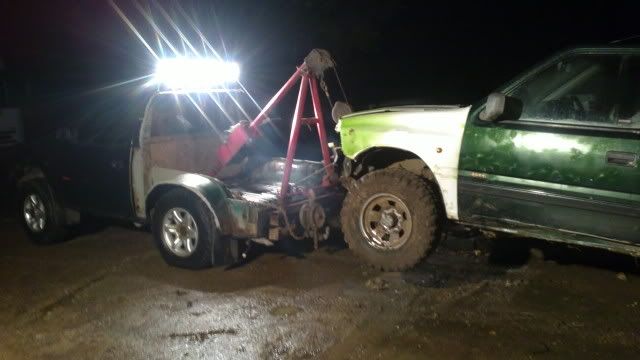

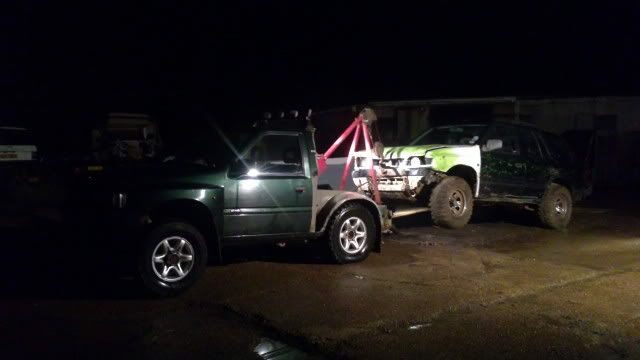

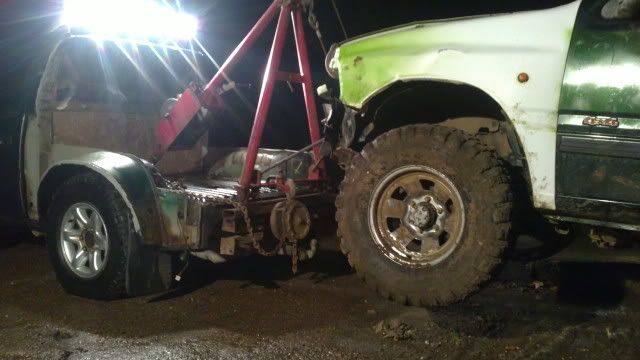
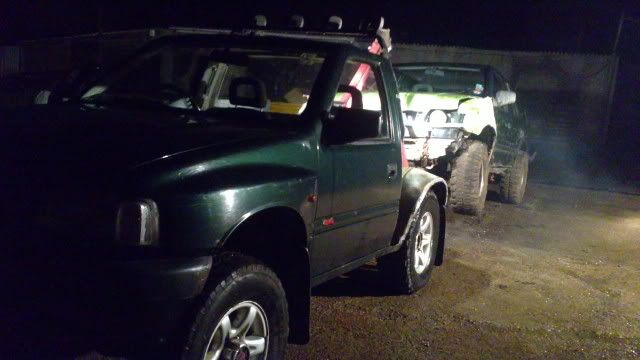
Think the rear end on the fronty needs beefing up a bit...soft springs might be good for flex, but they struggle with a lot of weight though!
In fairness this kinda set-up on a 4x4 was not really designed for lifting the front of a 4x4 thats bigger than the tow car. would have done better lifting the rear of the 2.4, but what the hell it needed a proper test!...
But we will make it have it though...I have some heavy duty rangerover springs which should do the job in the rear of the shorty, and will look at introducing some more weight onto the front end of it as a counter weight. I have a hooj winch off a hgv wrecker that takes 2 people to lift, that should do the trick on the front I think!
Need more air in the rears to, 30psi was never gonna cut it was it really...
So anyway...thats how the wrecker is coming on...it works, it towed the 2.4 round the yard, although it was pointing to the stars a bit.
So next up...
Some sort of paintjob, from what I have kicking around in the paint cupboard up the workshop...
Beasty wheels...need redrilling for 6 stud, but should solve the tyre pressure issues...
Pruning platform up front...and ladder,
Storage on rear...
Genny mount on rear, and kettle mounting!
Radio and weather proof speakers for out-back.
CB
Spare wheel mount somewhere...
The beasty wheels, no flats with these guys!

Thanks for looking, more coming soon....watch this space...
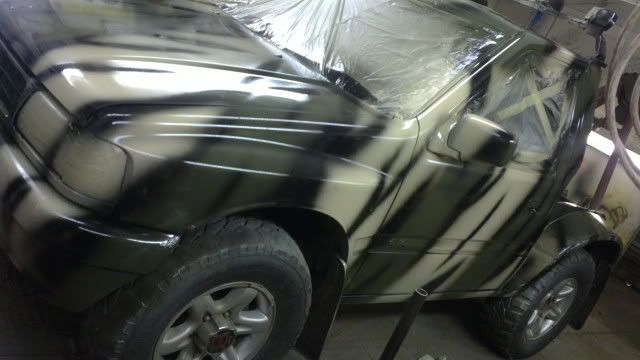
Nov 2011
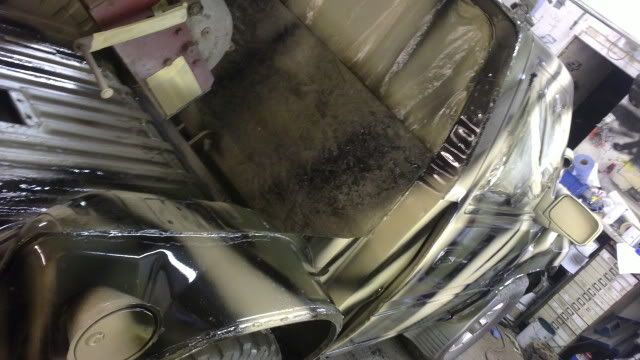
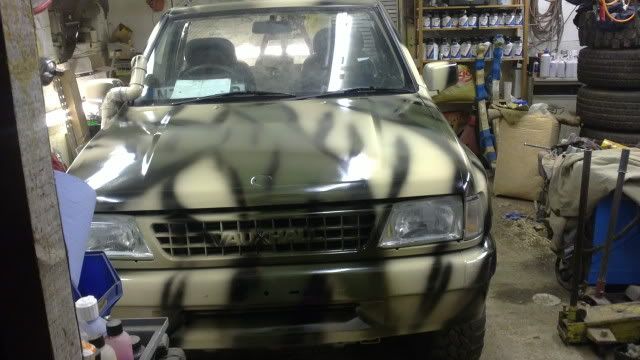
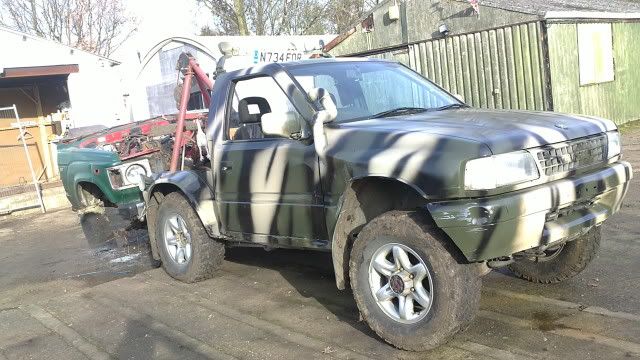
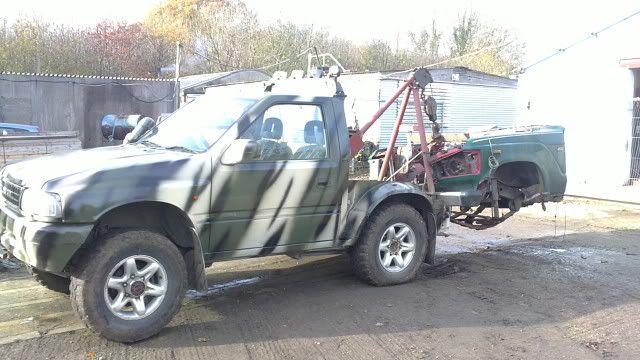
Decided that a coat of paint was needed to freshen up Project Wrecker and cover the bits that have never seen daylight before...and opted for doing it in Nato Green Satin finish 2 pack as I had some lurking around somewhere...
So gave it a quick prep by blasting over it with 320grit on the DA..blew it off, panel wiped it quickly and masked it up...
As I fumbled in the paint cupboard looking for the nato green, I came across some desert sand satin 2k and some satin black 2k also...
....and a grin started forming as silly ideas manifested themselves in my head!
So the sensible Nato green subtlepaint job kinda went out of the window,
as did the "I'll be home by 9" for Sally... and I got kinda "creative" with the Wrecker (and got home at 10.40!)...
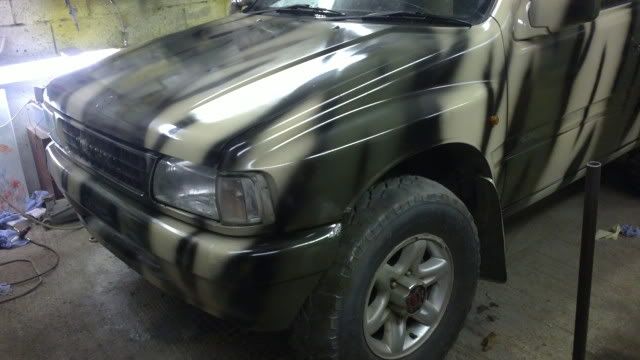
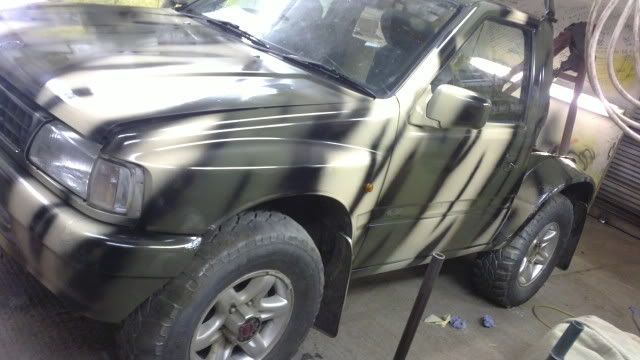
All painted now, looks mad eh?
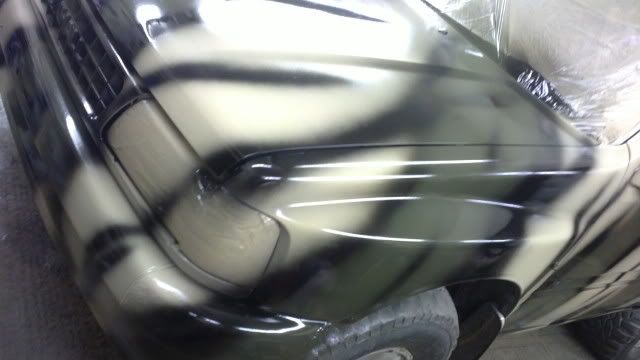
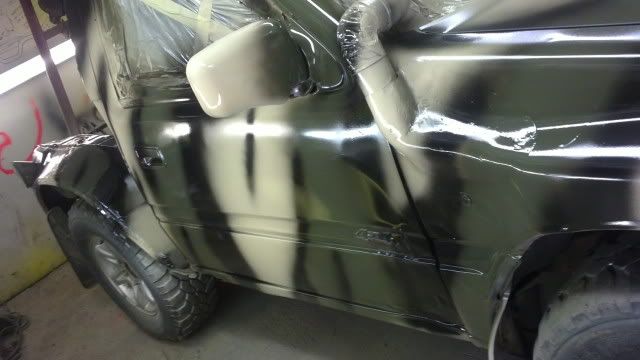
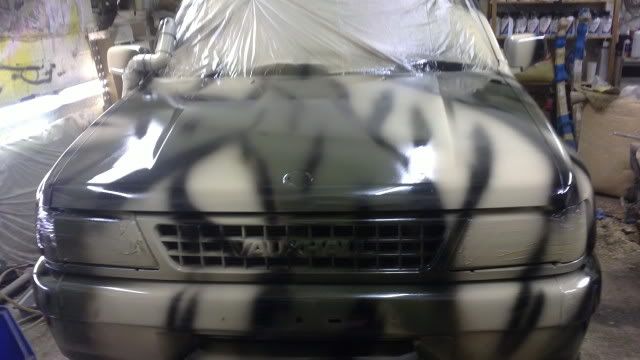
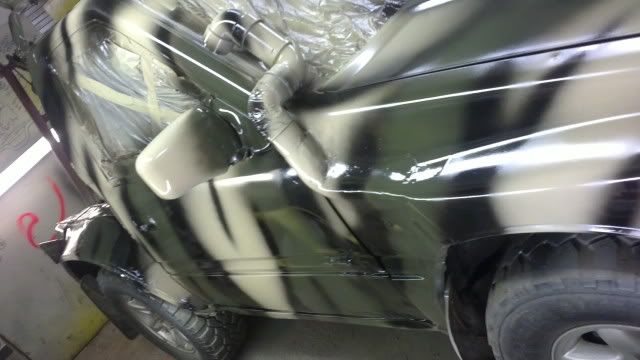
Will whip the masking off 2moz and take some more pics...
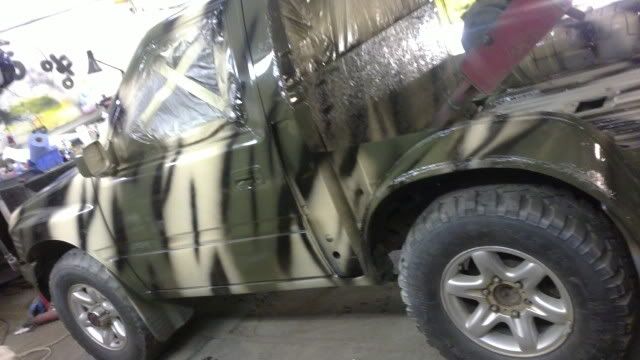
Whipped off the masking tonight, and refitted the rear window...and cleaned my guns (me bad..should have done them last night )
Looks ok...better I think with some glass bits and black rubbers breaking up the safari camo effect...

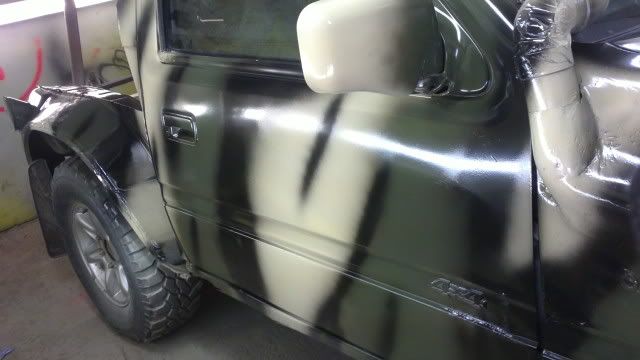
next job is to sort the rear springs by fitting some armoured rangerover rears I have lurking up the workshop, wire in some rear lights, sort out some sort of seal for the rear window, fit a cb and radio, and get the beasty wheels sorted for woods and workshop use...
Its getting there slowly...but should be really useful when done... 8)
Nov 2011 workday at the woods...
Well the redneck wrecker saw daylight for the first time since its paintjob...but not before it underwent more modification...
Earlier in the thread you will see that, although the wrecker lifted the front end of a fronty, it was lacking in the rear suspension department....
So it needed some beefier rear springs...
Now some foggers put landrover rears in the coilers, to give a couple of inches lift over stock...but I had a pair of +3" HD landrover coils conveniently on the redneck pile of useful stuff,...
....so Davetherave and I battled to get them in!
The first side wasnt too bad, but the second side needed me jumping up and down on a scaffold pole to force the axle down enough to get them in while Dave fought with it underneath...and that was with spring compressors on em wound down hard!
Defeat was never an option and the orange zebadee legs finally got in the new homes...
Bingo...I reckon 5" rear lift! and these springs are so hard that I could hardley compress them with my body weight, whereas the fronty ones I could squeeze up with my hands.
Granted it wont flex much, as down travel is about 1/2" before the shocks top out, and up travel needs more weight than this car has got, but for hauling loads hanging on the back, this is ideal...
anyway into daylight...


I attached the rear number plate (redneck styley)...I put one screw in and Dave went to straighten it...I gave him "the look" and screwed it on wonky for effect!


Then off to the woods for a workday with Dave


Its great for hauling stumps...


and Daves car...(see vid below)

even out of the woods, up the hill to the road and back to the workshop where it was less muddy to unhook it!


ahhhhh...lift restored

The new beasty springs!

The wrecker with its family up the workshop...


Then the redneck intercom was fitted, one short squeak for go, one long squeak for stop...


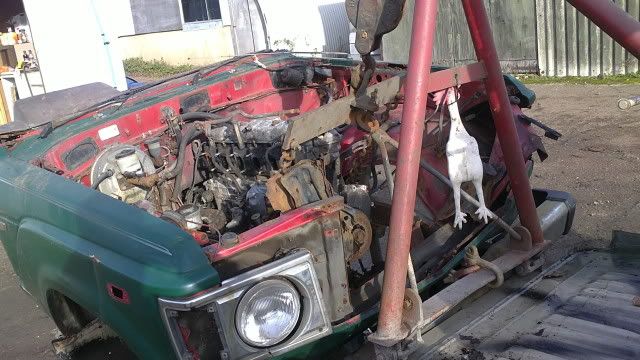
Then hauling engines time...I had sold this sd33 nissan patrol diesel engine, and needed to load it for the fella...
cue Project wrecker...
It lifted it a treat and carried the weight no probs at all, and this is a seriously heavy cast iron 6 pot diesel, sort of thing that bends engine cranes...but the wrecker is almost level with the weight of probably a mini hanging on the back!


We reversed it up my wooden ramps onto the side of the fellas IFOR and then lowered the engine slap back into the middle of his trailer...
Was brilliant...and NO BACKACHE!! :dance:
This was what I built this truck for and its done exactly if not better than expected...
Well pleased...BIG thanks to Dave for his help..top man... 8)
Anyway...thats where we are up to now...IT WORKS!!!! :dance: ....more mods to come though, so watch this space
End of November 2011
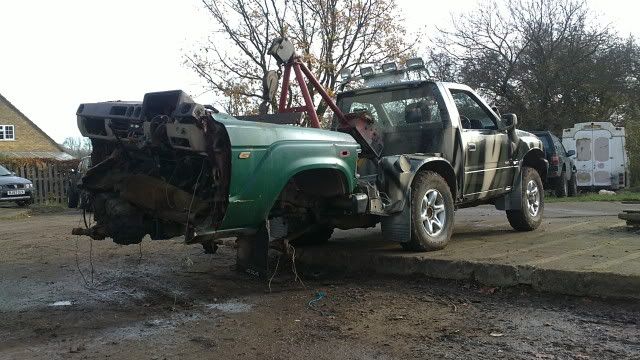
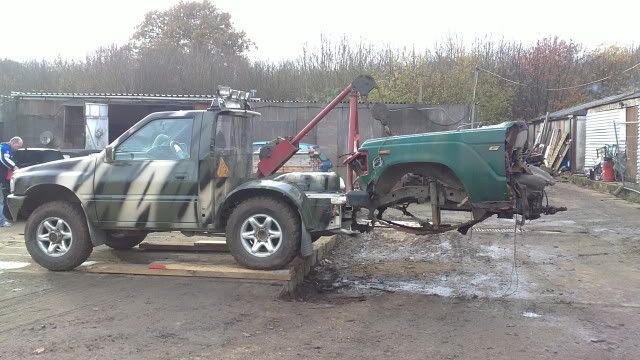
Well today I inflicted the ultimate challenge on the Redneck wrecker....
Could it dead lift the front end of a landcruiser, complete with chassis engine and gearbox...probably 3/4 of a tonne if not more, and extending a good 5ft out from the back of the wrecker, so I could load it onto the trailer to run it in...
Well...it took 2 hands on the winch handle on the harvey frost to lift it, and it needed 65psi in the rear tyres, and the steering was crazy light as the front tyres barely touched the floor as I dragged it from down the side of the workshop....but it did it...it flippin well did it... :dance:
Gotta say this little wrecker is awesome... 8) 8) 8)

Stacked planks were needed to give it just an extra bit of lift so I could reverse the trailer underneath it...and some more air in the rear tyres...
Then I backed the trailer underneath it with the trusty 2.8lwb
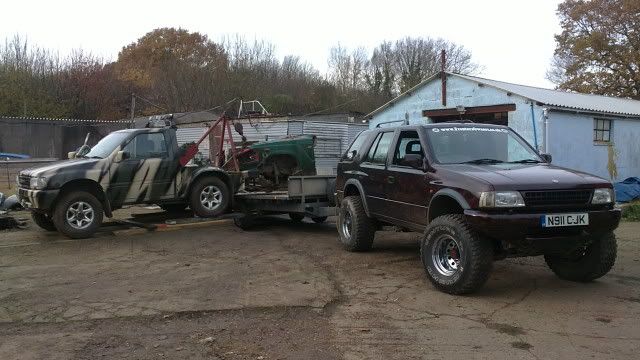
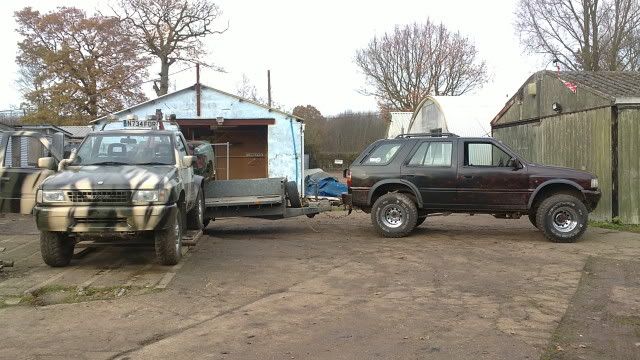
And job done...loaded... 8) 8) 8)
Robbed a few more bits off the Landcruiser to sell on eblag...and then it was off to the frag with some more junk...
Really pleased with how the wrecker is doing, its has surpassed my expectations for sure and is a really useful tool...Its even good at recovering stuck 4x4's too, it winched out Davetheraves 2.0i sport from the pit of most certain doom at the last picnic...
I really thought it would have probs with lifting the landcruiser front end though, but it proved me wrong...Nearly a tonne of dead lift, and several feet of it too making the lift more difficult, I reckon that is about the same as lifting the front of a 7,5 tonner and pulling it!
Sadly its poo off road though, gets around the woods ok, but the rear has no articulatuion really due to the poundage/stiffness of the rear end that is needed to be able to lift stuff,
Thanks for looking...will update when it does it next crazy thing... |
|
| Back to top |
|
|
Rhanagar
Lifetime member


Joined: 12 Jan 2010
Posts: 4861
Location: Preston, Lancs.
|
| Posted: Sun Jan 08, 2012 11:00 Post subject: |
|
|
L'il white leafer *sniff*
Bless her little rubber boots. She was a flagship truck.
Though the memories of BGL doing far far more than we expected and also proving that these trucks can suffer far more than we are prepared to throw at them still make me poo my trousers 
_________________
1990 Isuzu Bighorn LWB Mk.I 2.8TD Manual Lotus Edition
1994 Isuzu Bighorn LWB Mk.II 3.1TD Auto Lotus Edition
Deceased
1994 Isuzu Bighorn LWB Mk.II 3.1TD Auto LS
 |
|
| Back to top |
|
|
MikT725
*****
Joined: 16 Nov 2008
Posts: 684
Location: West Yorkshire
|
| Posted: Sat Apr 21, 2012 22:01 Post subject: |
|
|
FANTASTIC love what your doing
_________________
1999 3.1td SWB Trooper. RIP
2004 3.1td LWB
 |
|
| Back to top |
|
|
Rhanagar
Lifetime member
Joined: 12 Jan 2010
Posts: 4861
Location: Preston, Lancs.
|
| Posted: Sat Apr 21, 2012 23:19 Post subject: |
|
|
Gregsta is currently using his talents on mine at the moment. She is going to look stunning. Went to have a sneak preview today and the roof is almost done. The new paint looks fan-bloody-tastic!
_________________
1990 Isuzu Bighorn LWB Mk.I 2.8TD Manual Lotus Edition
1994 Isuzu Bighorn LWB Mk.II 3.1TD Auto Lotus Edition
Deceased
1994 Isuzu Bighorn LWB Mk.II 3.1TD Auto LS
|
|
| Back to top |
|
|
DYLAN
Moderator
Joined: 25 Sep 2006
Posts: 5115
Location: Chesterfield, Derbyshire
|
| Posted: Sat Apr 21, 2012 23:39 Post subject: |
|
|
Is it getting a fancy paint job?????
_________________
2002 S-TYPE JAGUAR 3.0 SPORT |
|
| Back to top |
|
|
Jonceballos
*
Joined: 26 Nov 2012
Posts: 18
Location: Mission British Columbia Canada
|
| Posted: Wed Dec 12, 2012 6:19 Post subject: |
|
|
| wow that yellow beast was crazy |
|
| Back to top |
|
|
|
|
|
You cannot post new topics in this forum
You cannot reply to topics in this forum
You cannot edit your posts in this forum
You cannot delete your posts in this forum
You cannot vote in polls in this forum
|
|


